Transform Your Space: DIY Flooring Installation Tips for Beginners


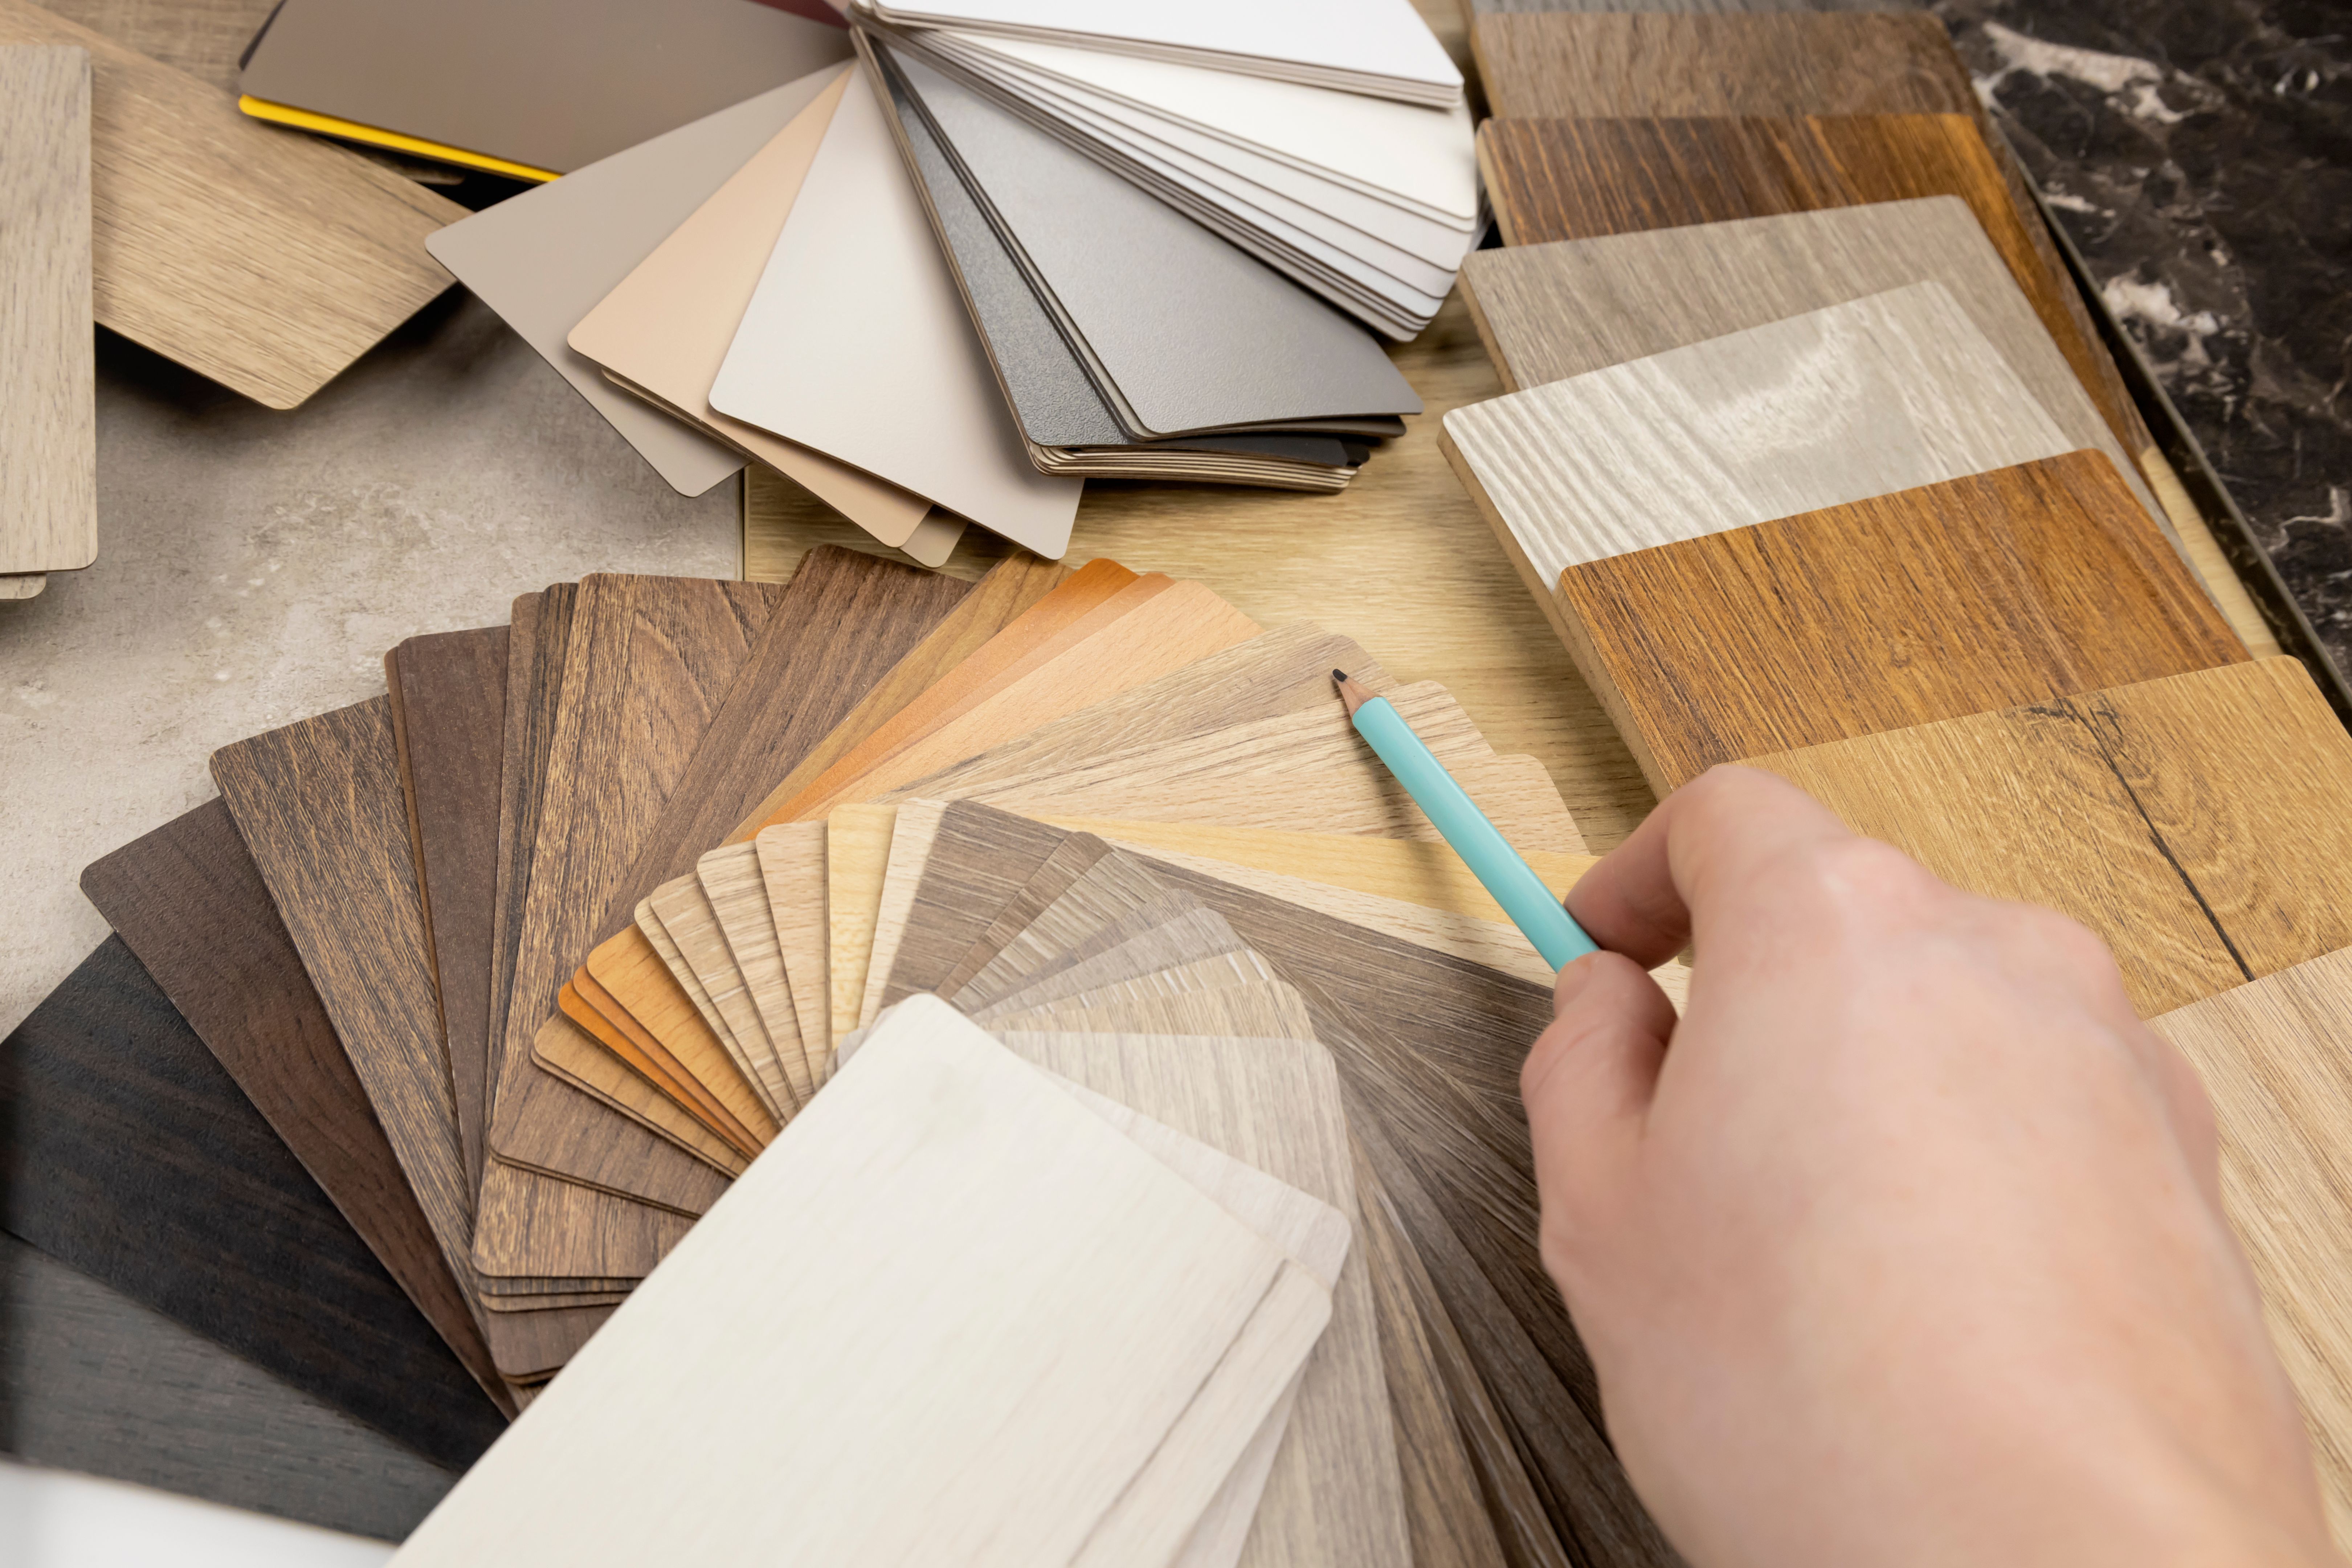
Understanding Your Flooring Options
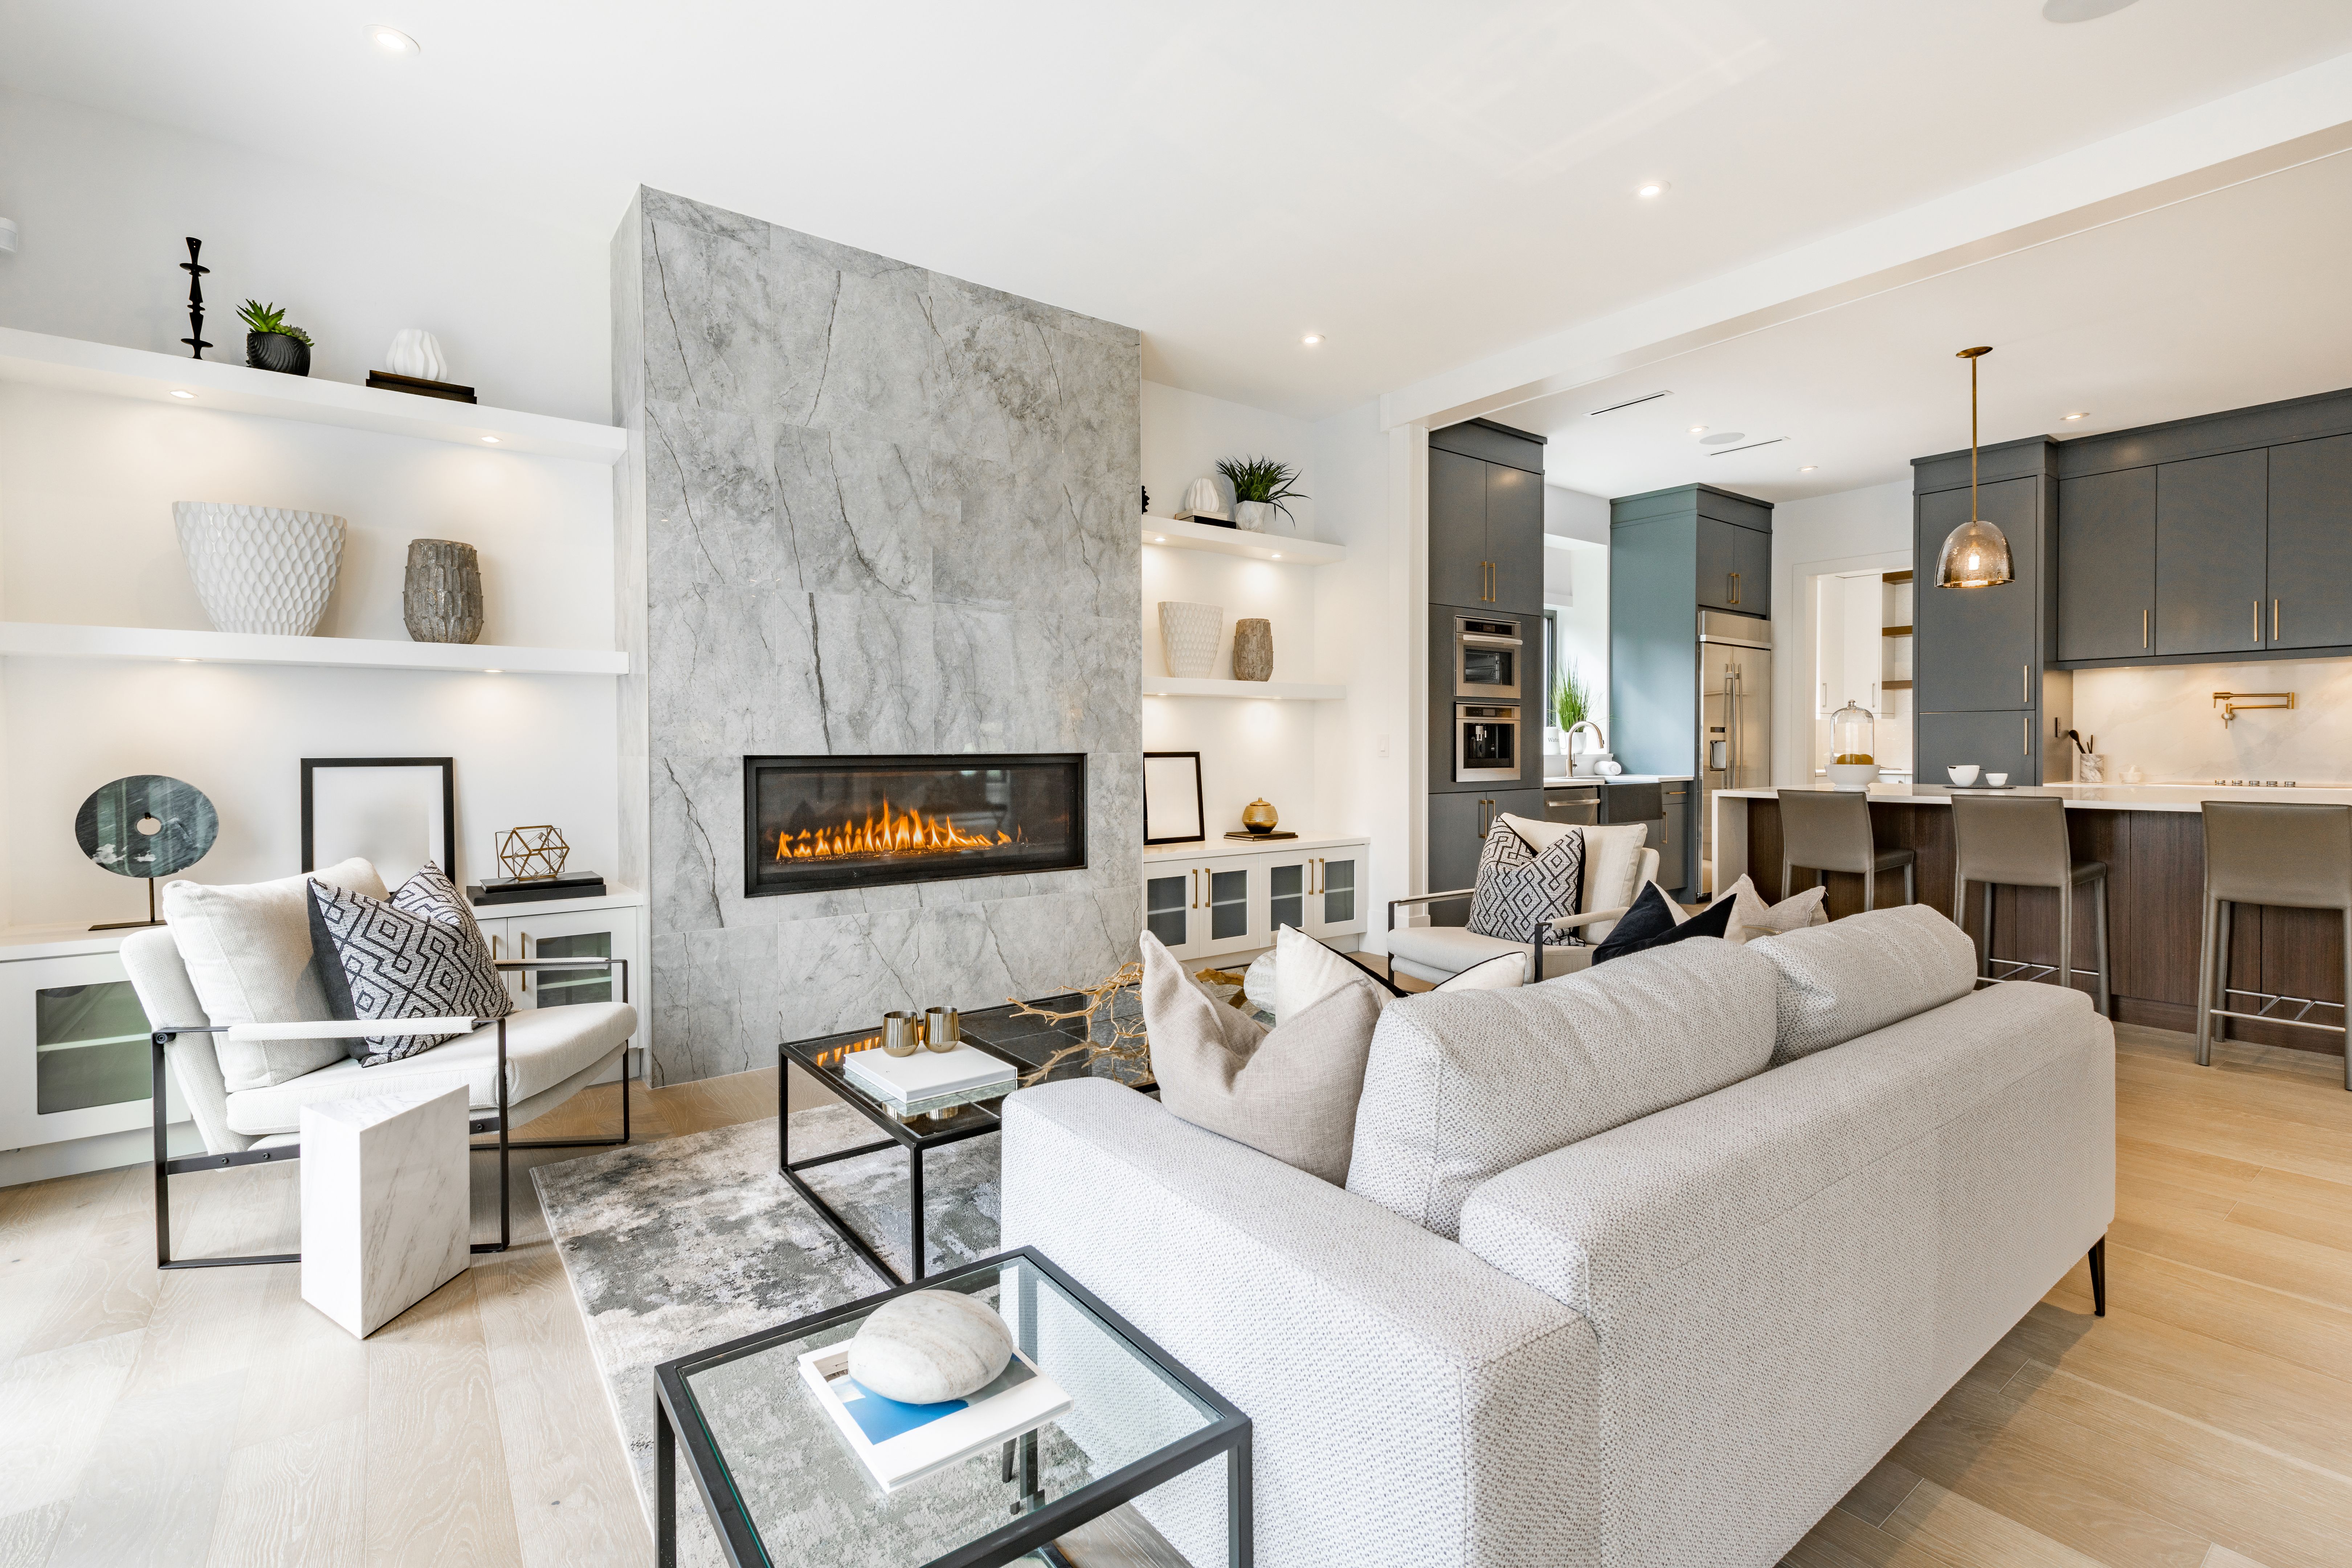
Transforming your space with new flooring can dramatically change the look and feel of your home. However, before diving into the project, it's crucial to understand the various types of flooring available. From hardwood and laminate to vinyl and tile, each material offers unique benefits and installation requirements. Consider factors such as durability, maintenance, and cost to choose the best option for your space.
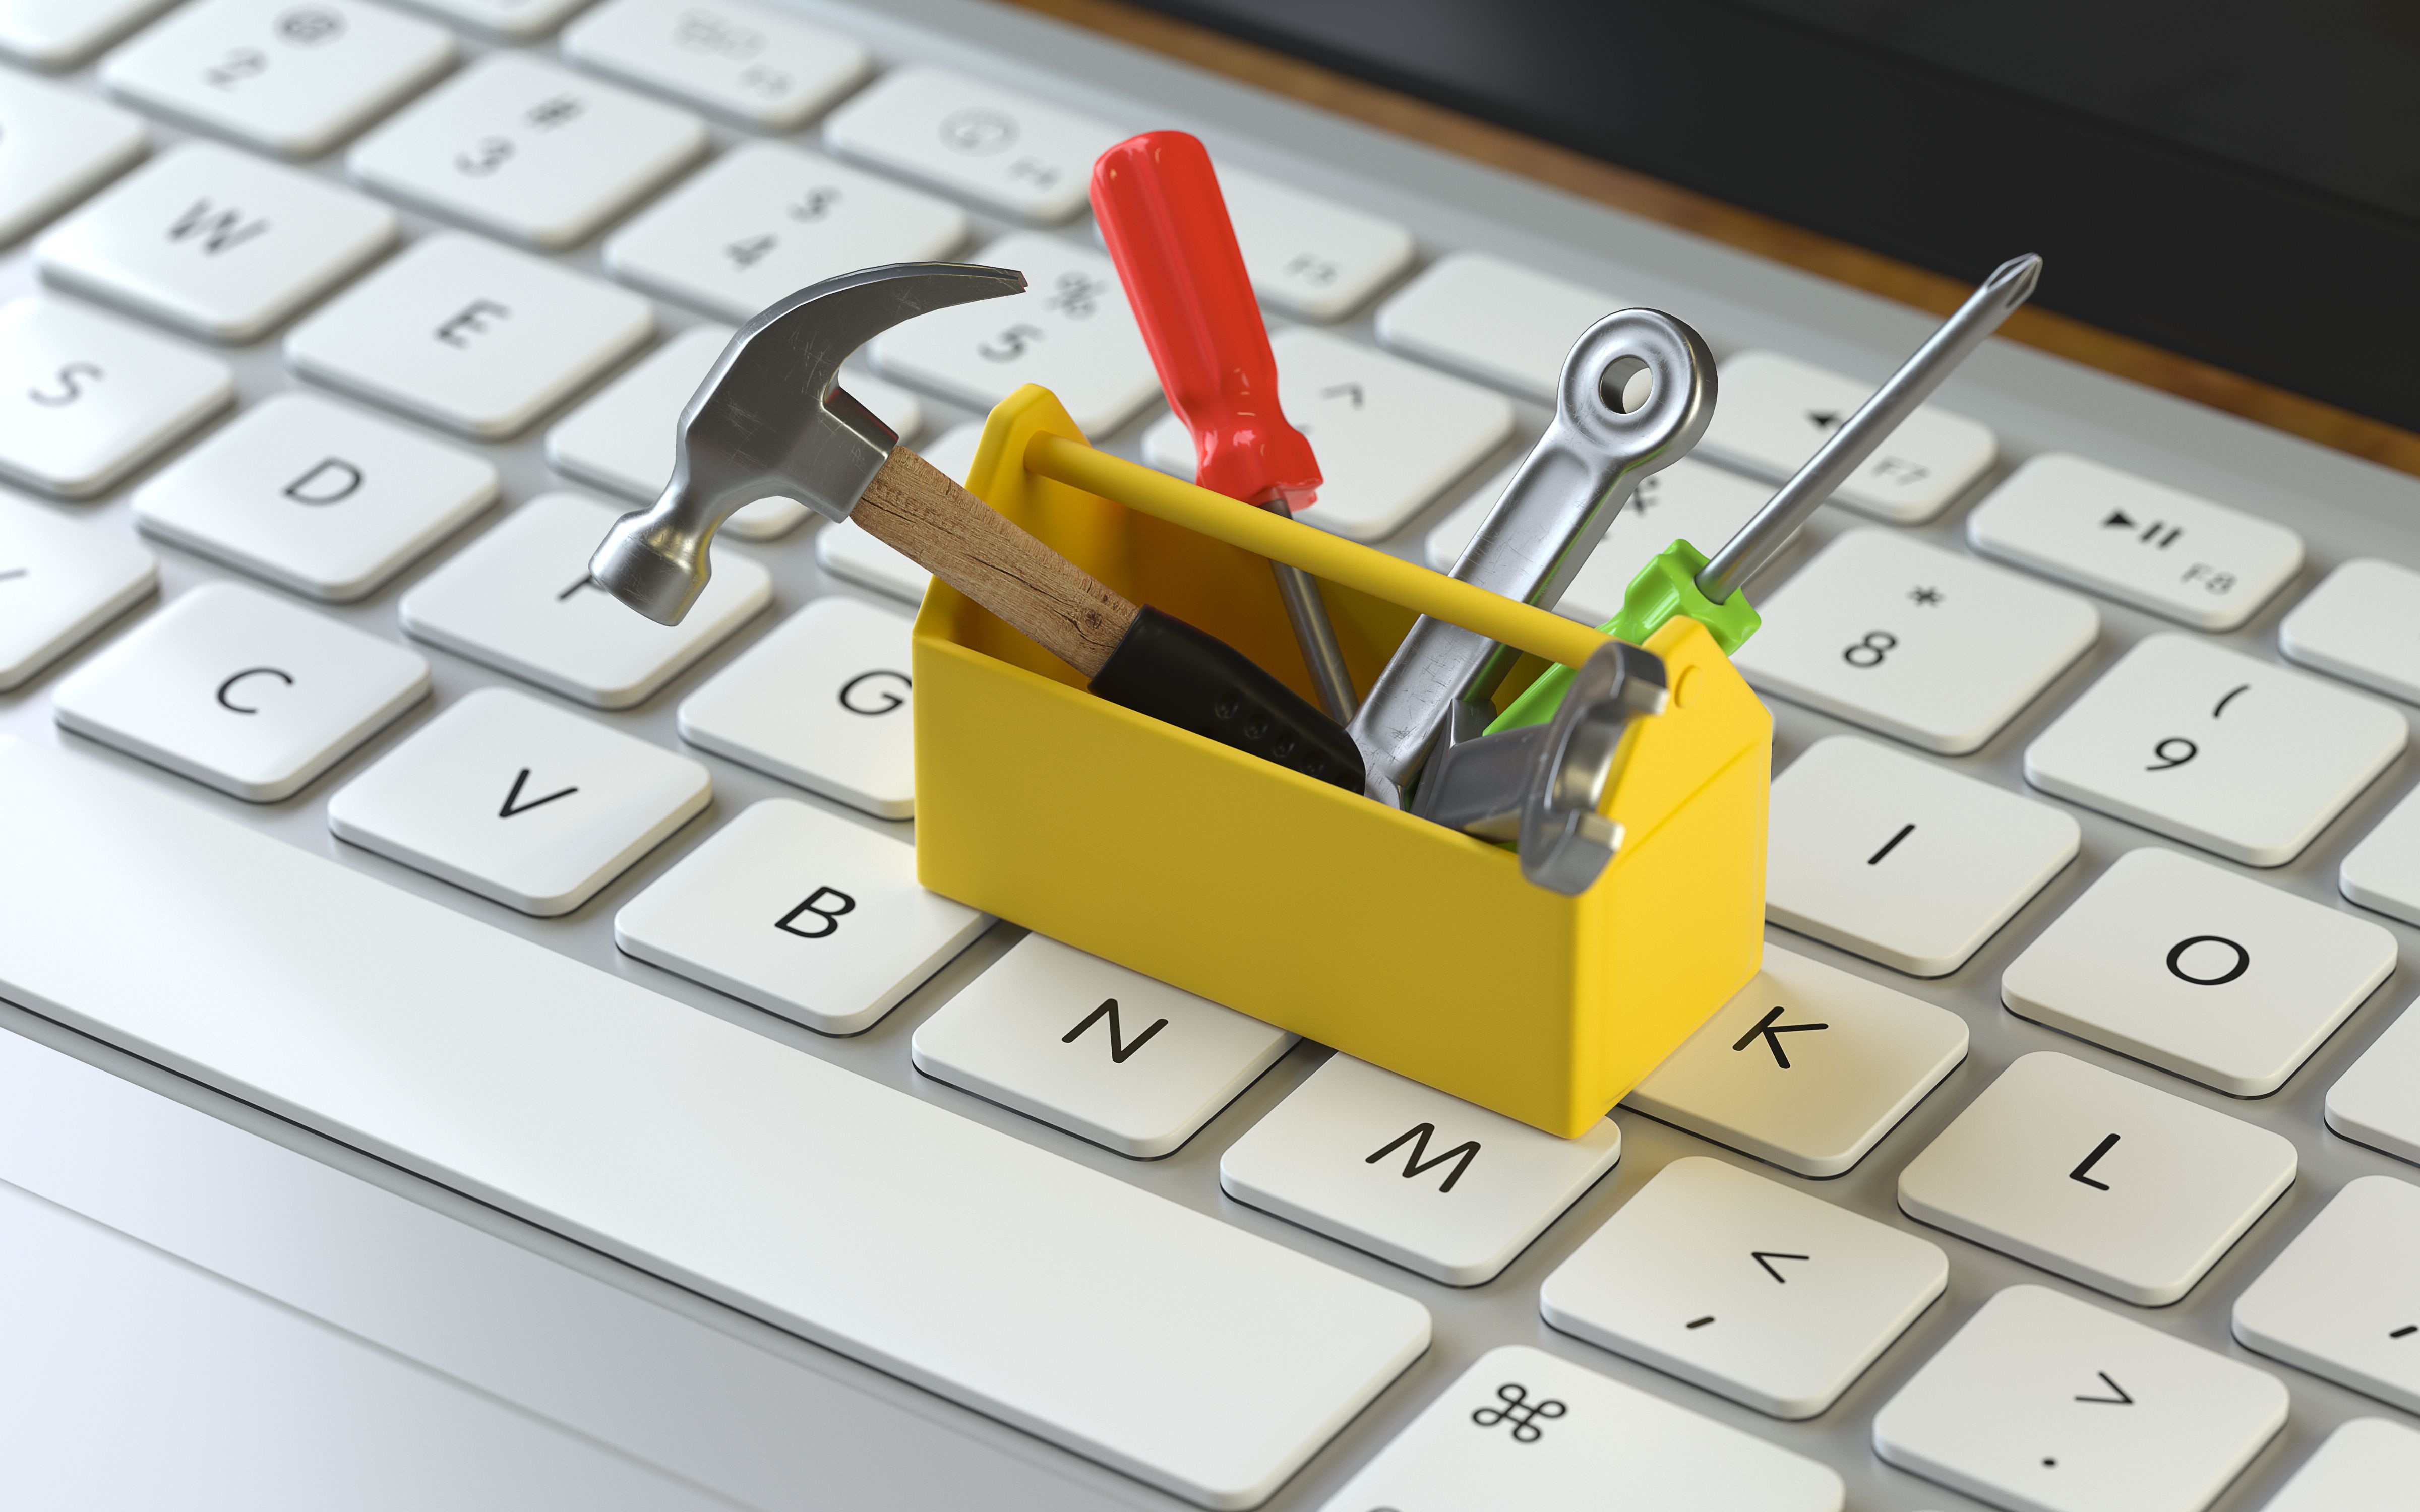
Gathering the Right Tools
Once you've selected your flooring, it's time to gather the necessary tools. For most DIY flooring installations, you'll need a tape measure, utility knife, spacers, a mallet, and a saw. Depending on the type of flooring, you may also need adhesive or underlayment. Ensuring you have all the tools before starting will help prevent unnecessary interruptions and keep your project on track.
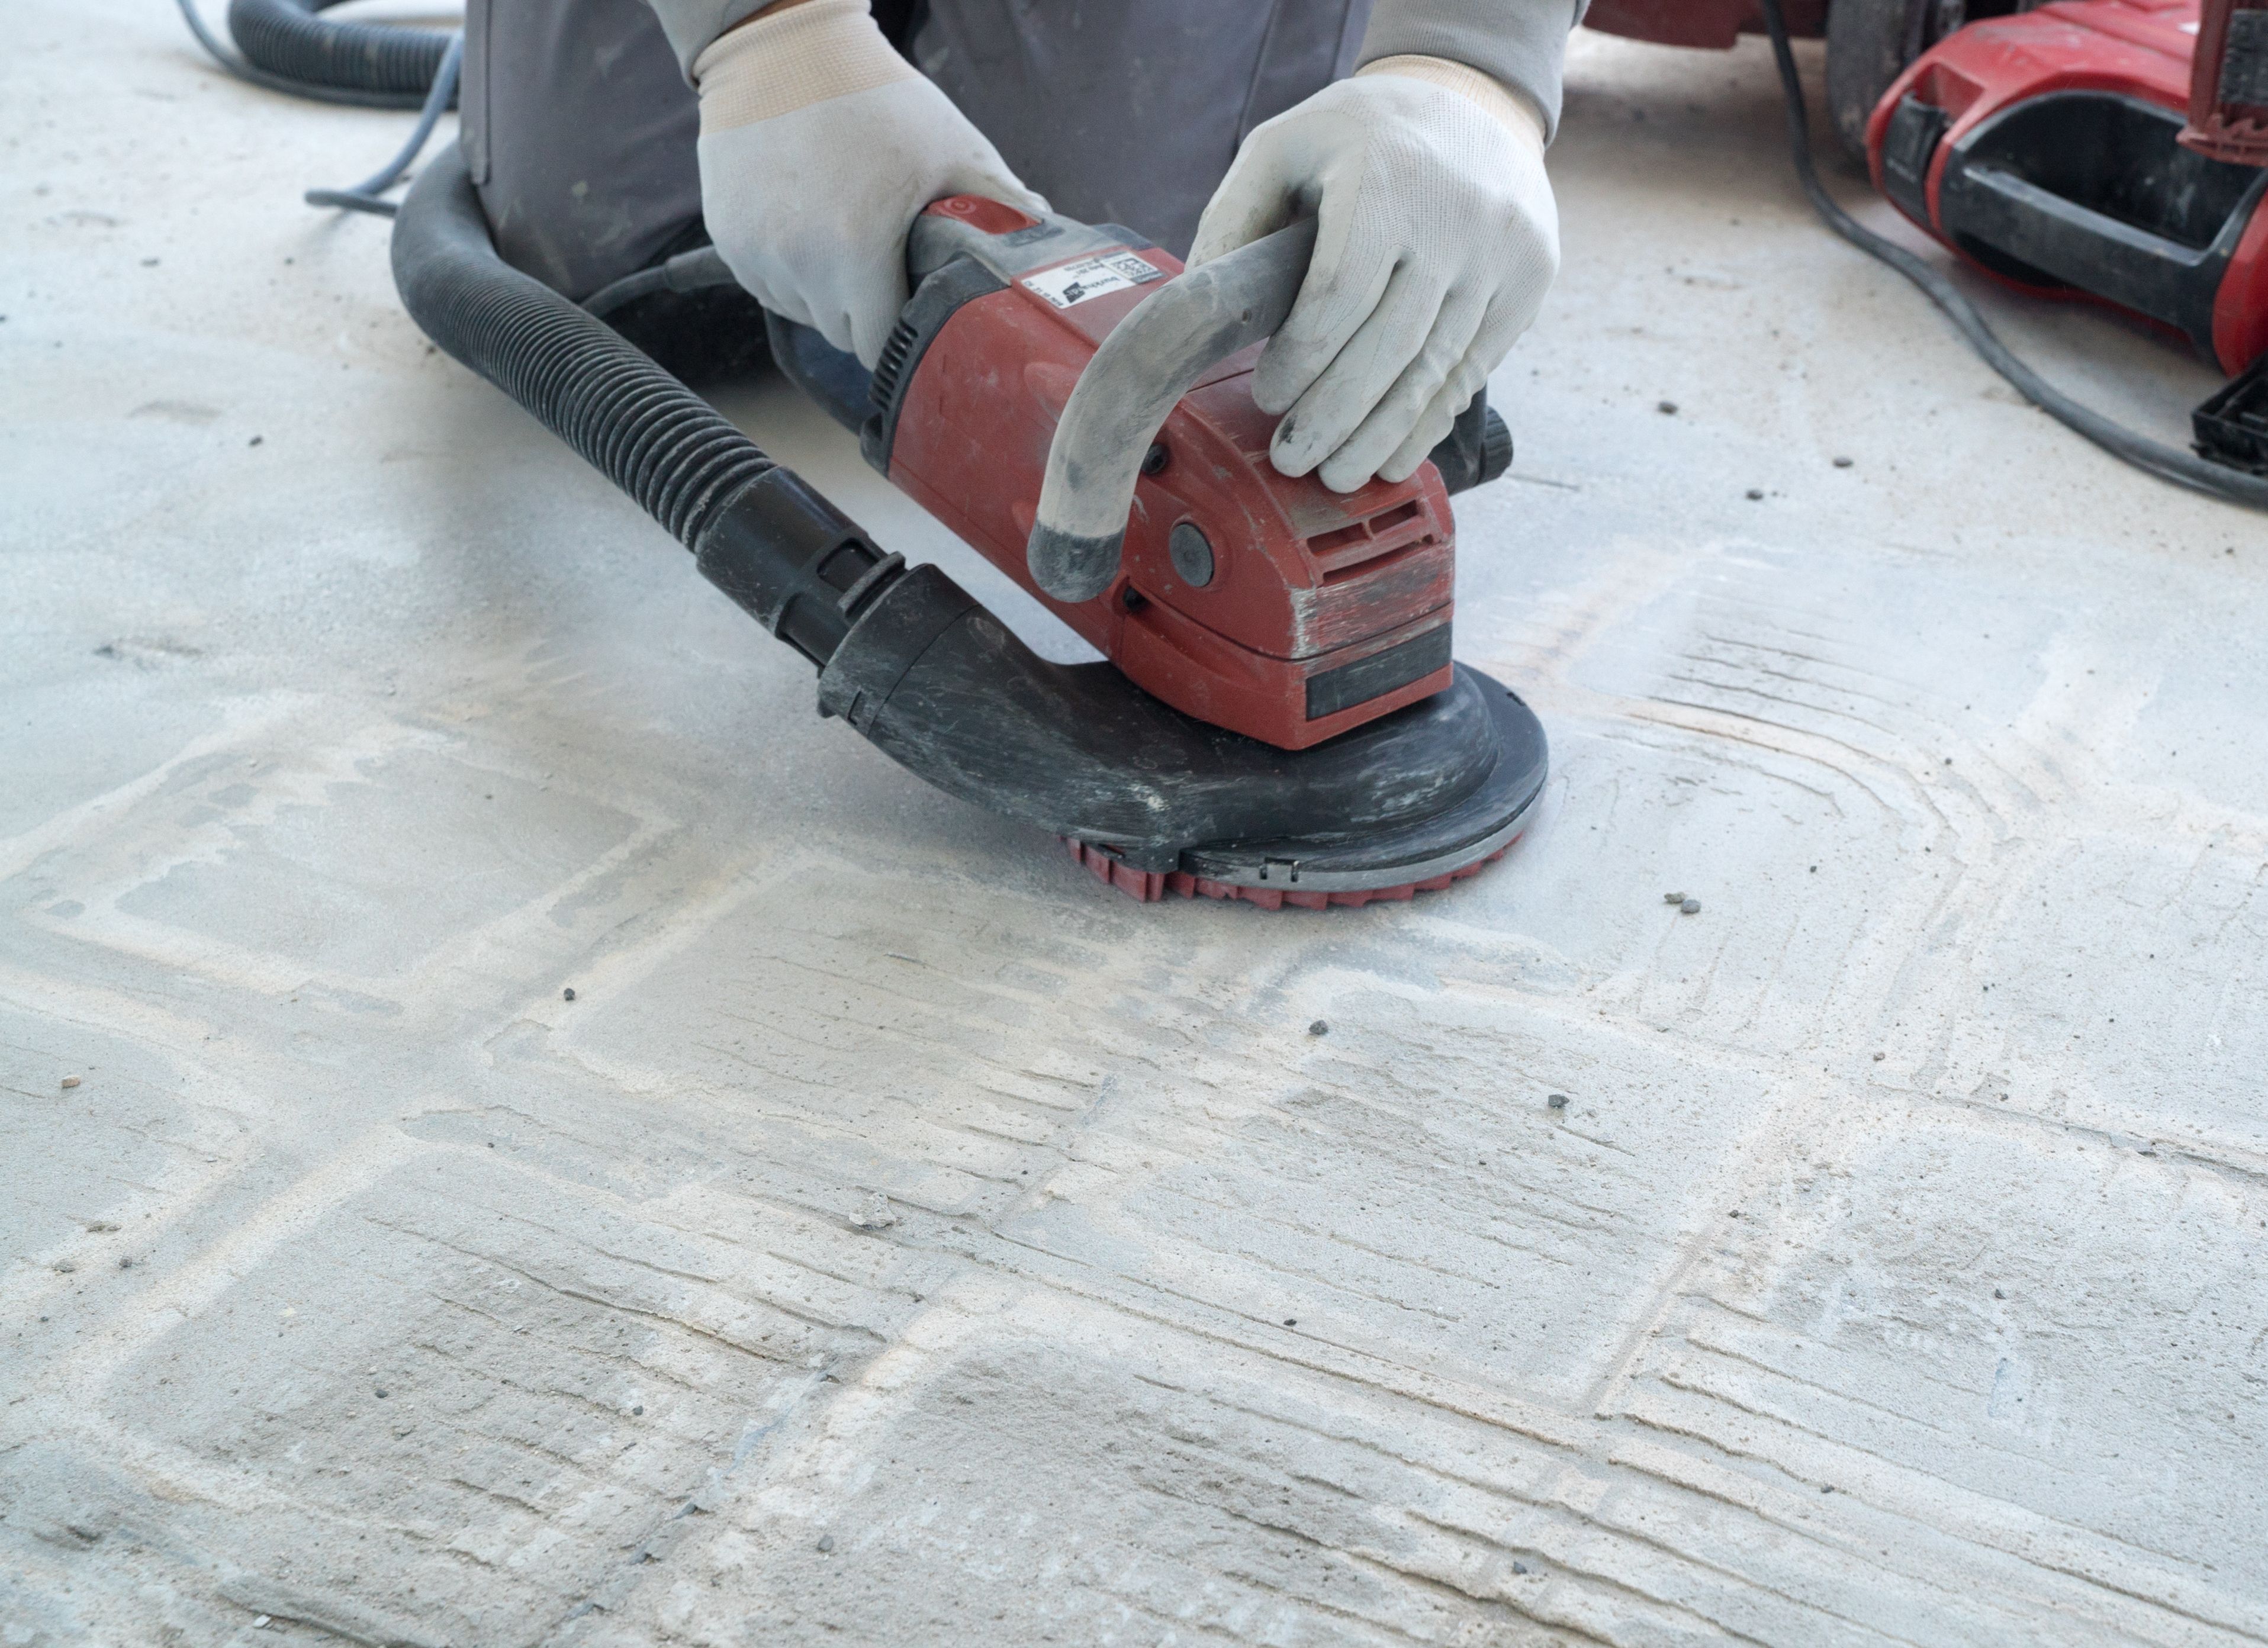
Preparing Your Space
Proper preparation is key to a successful flooring installation. Begin by removing old flooring and thoroughly cleaning the subfloor. Check for any damage, unevenness, or moisture that might affect the new flooring. Address these issues before proceeding. Additionally, allow your new flooring to acclimate by storing it in the room where it will be installed for at least 48 hours.
Measuring and Planning
Accurate measurements are essential for minimizing waste and ensuring a seamless fit. Measure the length and width of your room to calculate the amount of flooring needed. Plan the layout by considering how the planks or tiles will fit around doorways and other obstacles. It’s often helpful to lay out a few pieces in advance to visualize the final result.
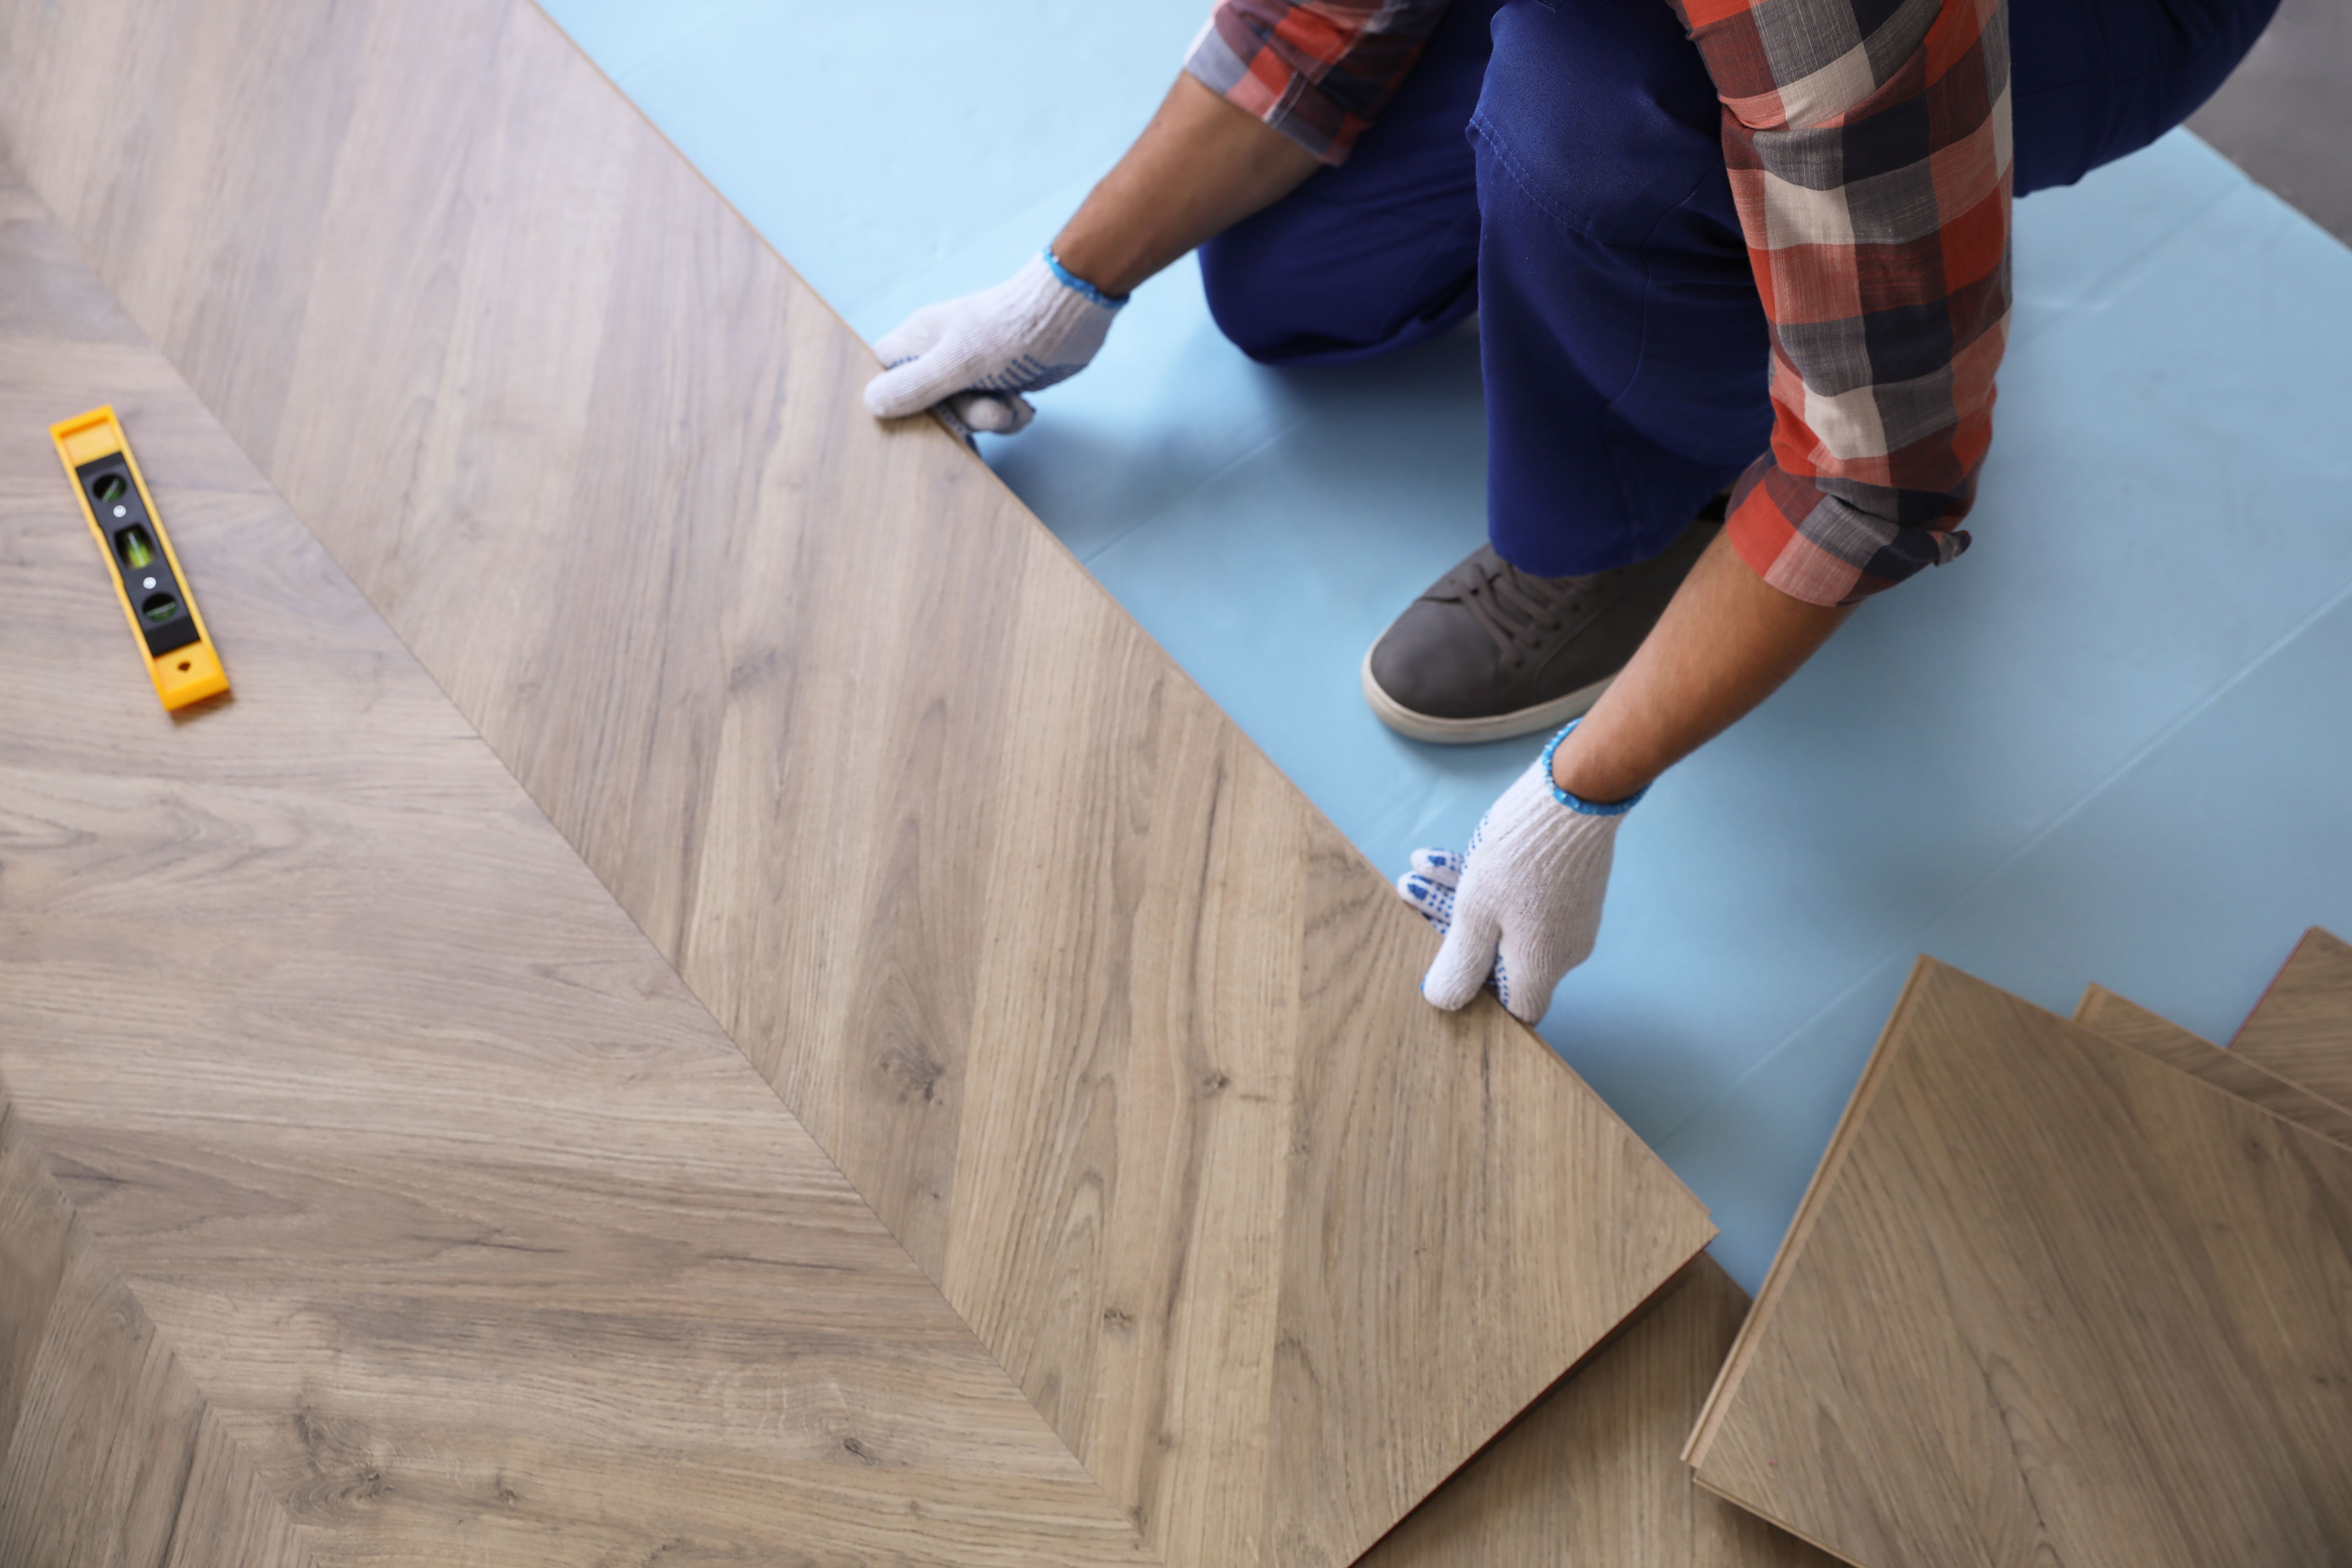
Installation Techniques
With proper preparation, you’re ready to start installing your new floor. Follow the manufacturer's instructions for best results. For floating floors like laminate or engineered hardwood, connect planks using the tongue-and-groove method. For adhesive-based floors like vinyl, carefully apply glue to ensure a secure bond. Use spacers to maintain consistent gaps around the room’s perimeter for expansion.
Cutting Flooring Pieces
Cutting flooring pieces accurately is crucial for achieving a professional finish. Use a saw appropriate for the material—such as a circular saw for hardwood or a utility knife for vinyl—to make precise cuts. Remember to account for any unique shapes or angles in your room, especially in corners or around fixtures.
Finishing Touches
Once your flooring is installed, focus on the finishing touches to complete your project. Remove spacers and install baseboards or molding to cover expansion gaps along walls. If applicable, apply sealant to protect specific types of flooring from moisture or wear. Finally, clean the entire surface to remove dust and debris accumulated during installation.
Maintenance Tips
Maintaining your new floor is essential for keeping it looking its best. Regularly sweep and mop to prevent dirt and grit from causing scratches. Use furniture pads to protect against dents and avoid excessive water exposure on non-waterproof materials. With proper care, your DIY flooring can remain beautiful and durable for years to come.
Embrace Your DIY Success
Tackling a DIY flooring installation can be an incredibly rewarding experience. Not only do you get to enjoy the aesthetic and functional benefits of new flooring, but you also gain valuable skills and confidence as a DIY enthusiast. Whether you're transforming a single room or your entire home, these tips will help ensure that your project is a success.