
Step-by-Step Guide to DIY Flooring Installation


Introduction to DIY Flooring
Installing your own flooring can be a rewarding project that not only saves you money but also gives you a sense of accomplishment. Whether you're updating a room or finishing a new space, the right flooring can transform your environment.
In this guide, we'll walk you through the step-by-step process of DIY flooring installation. From preparation to the final touches, you'll learn how to create a stunning floor that suits your style and needs.
Choosing the Right Flooring
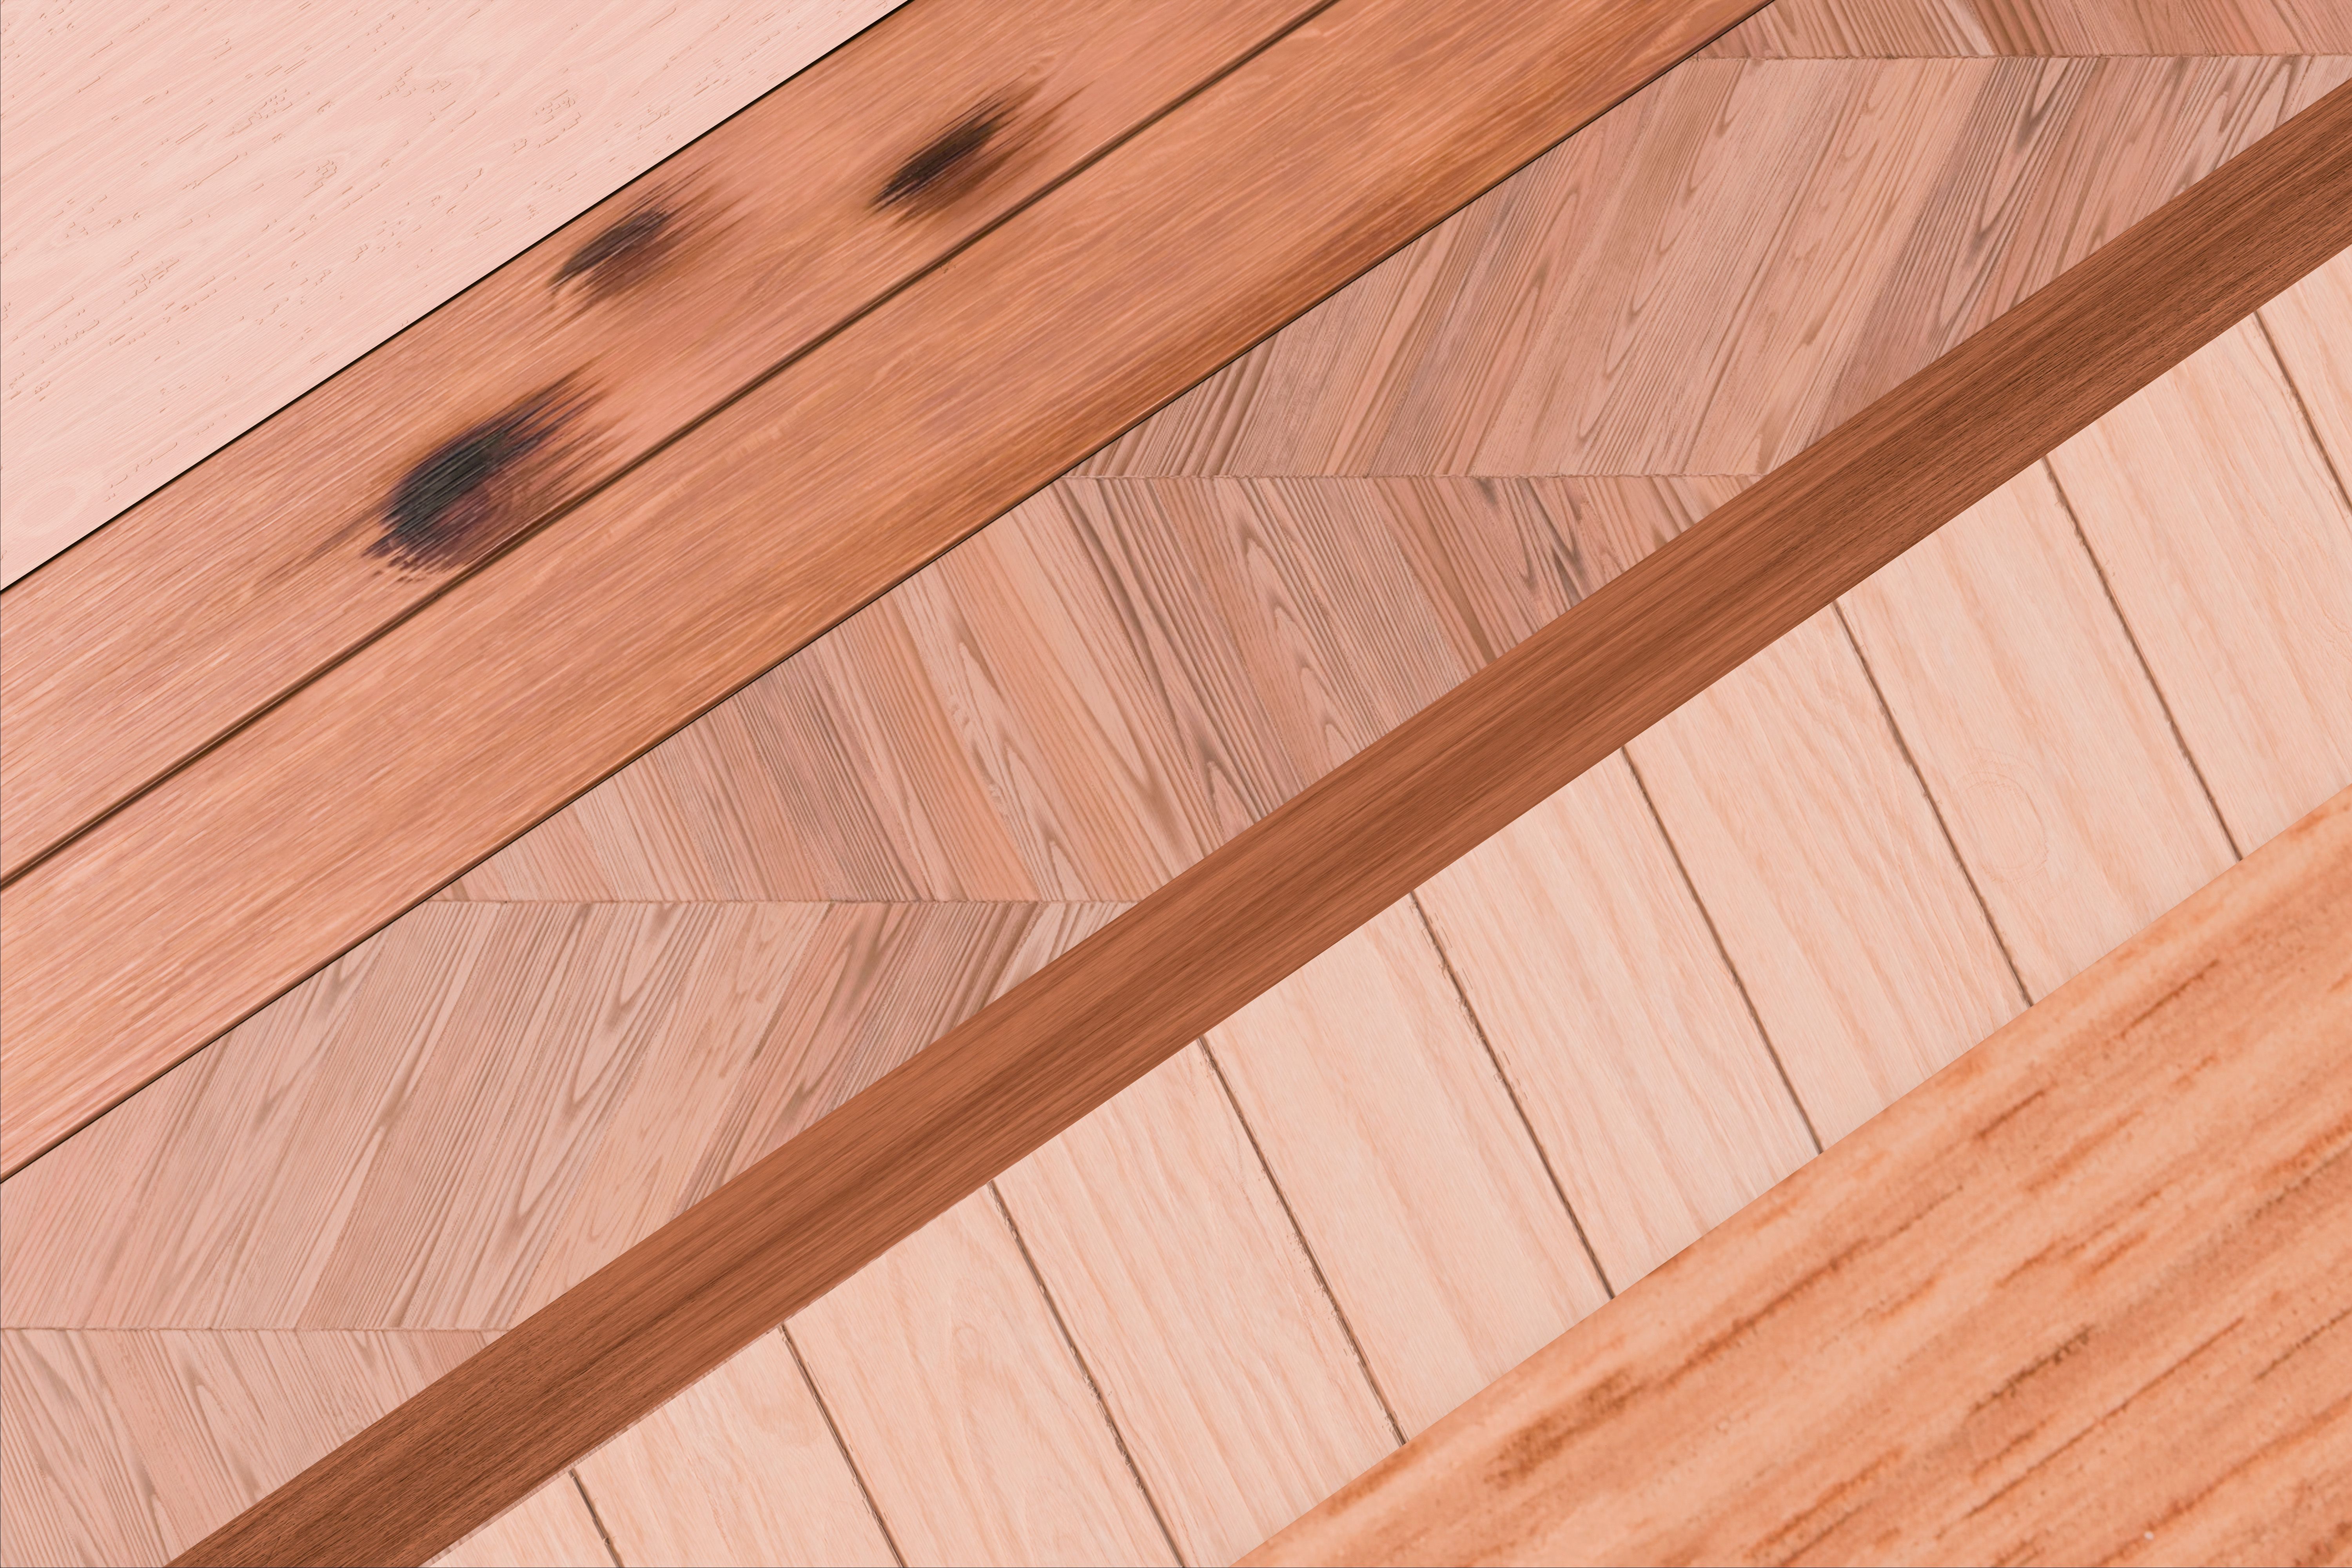
Your first step is to decide on the type of flooring that best suits your space. Options include hardwood, laminate, vinyl, and tile. Each has its own advantages, so consider factors such as durability, cost, and aesthetics.
For instance, hardwood flooring offers a classic look but may require more maintenance. Laminate and vinyl are more budget-friendly and easier to install, making them ideal for DIY enthusiasts.
Measuring Your Space
Accurate measurements are crucial for a successful installation. Begin by measuring the length and width of the room. Multiply these numbers to find the total square footage.
- Measure twice to ensure accuracy.
- Consider purchasing 10% extra material to account for mistakes and future repairs.
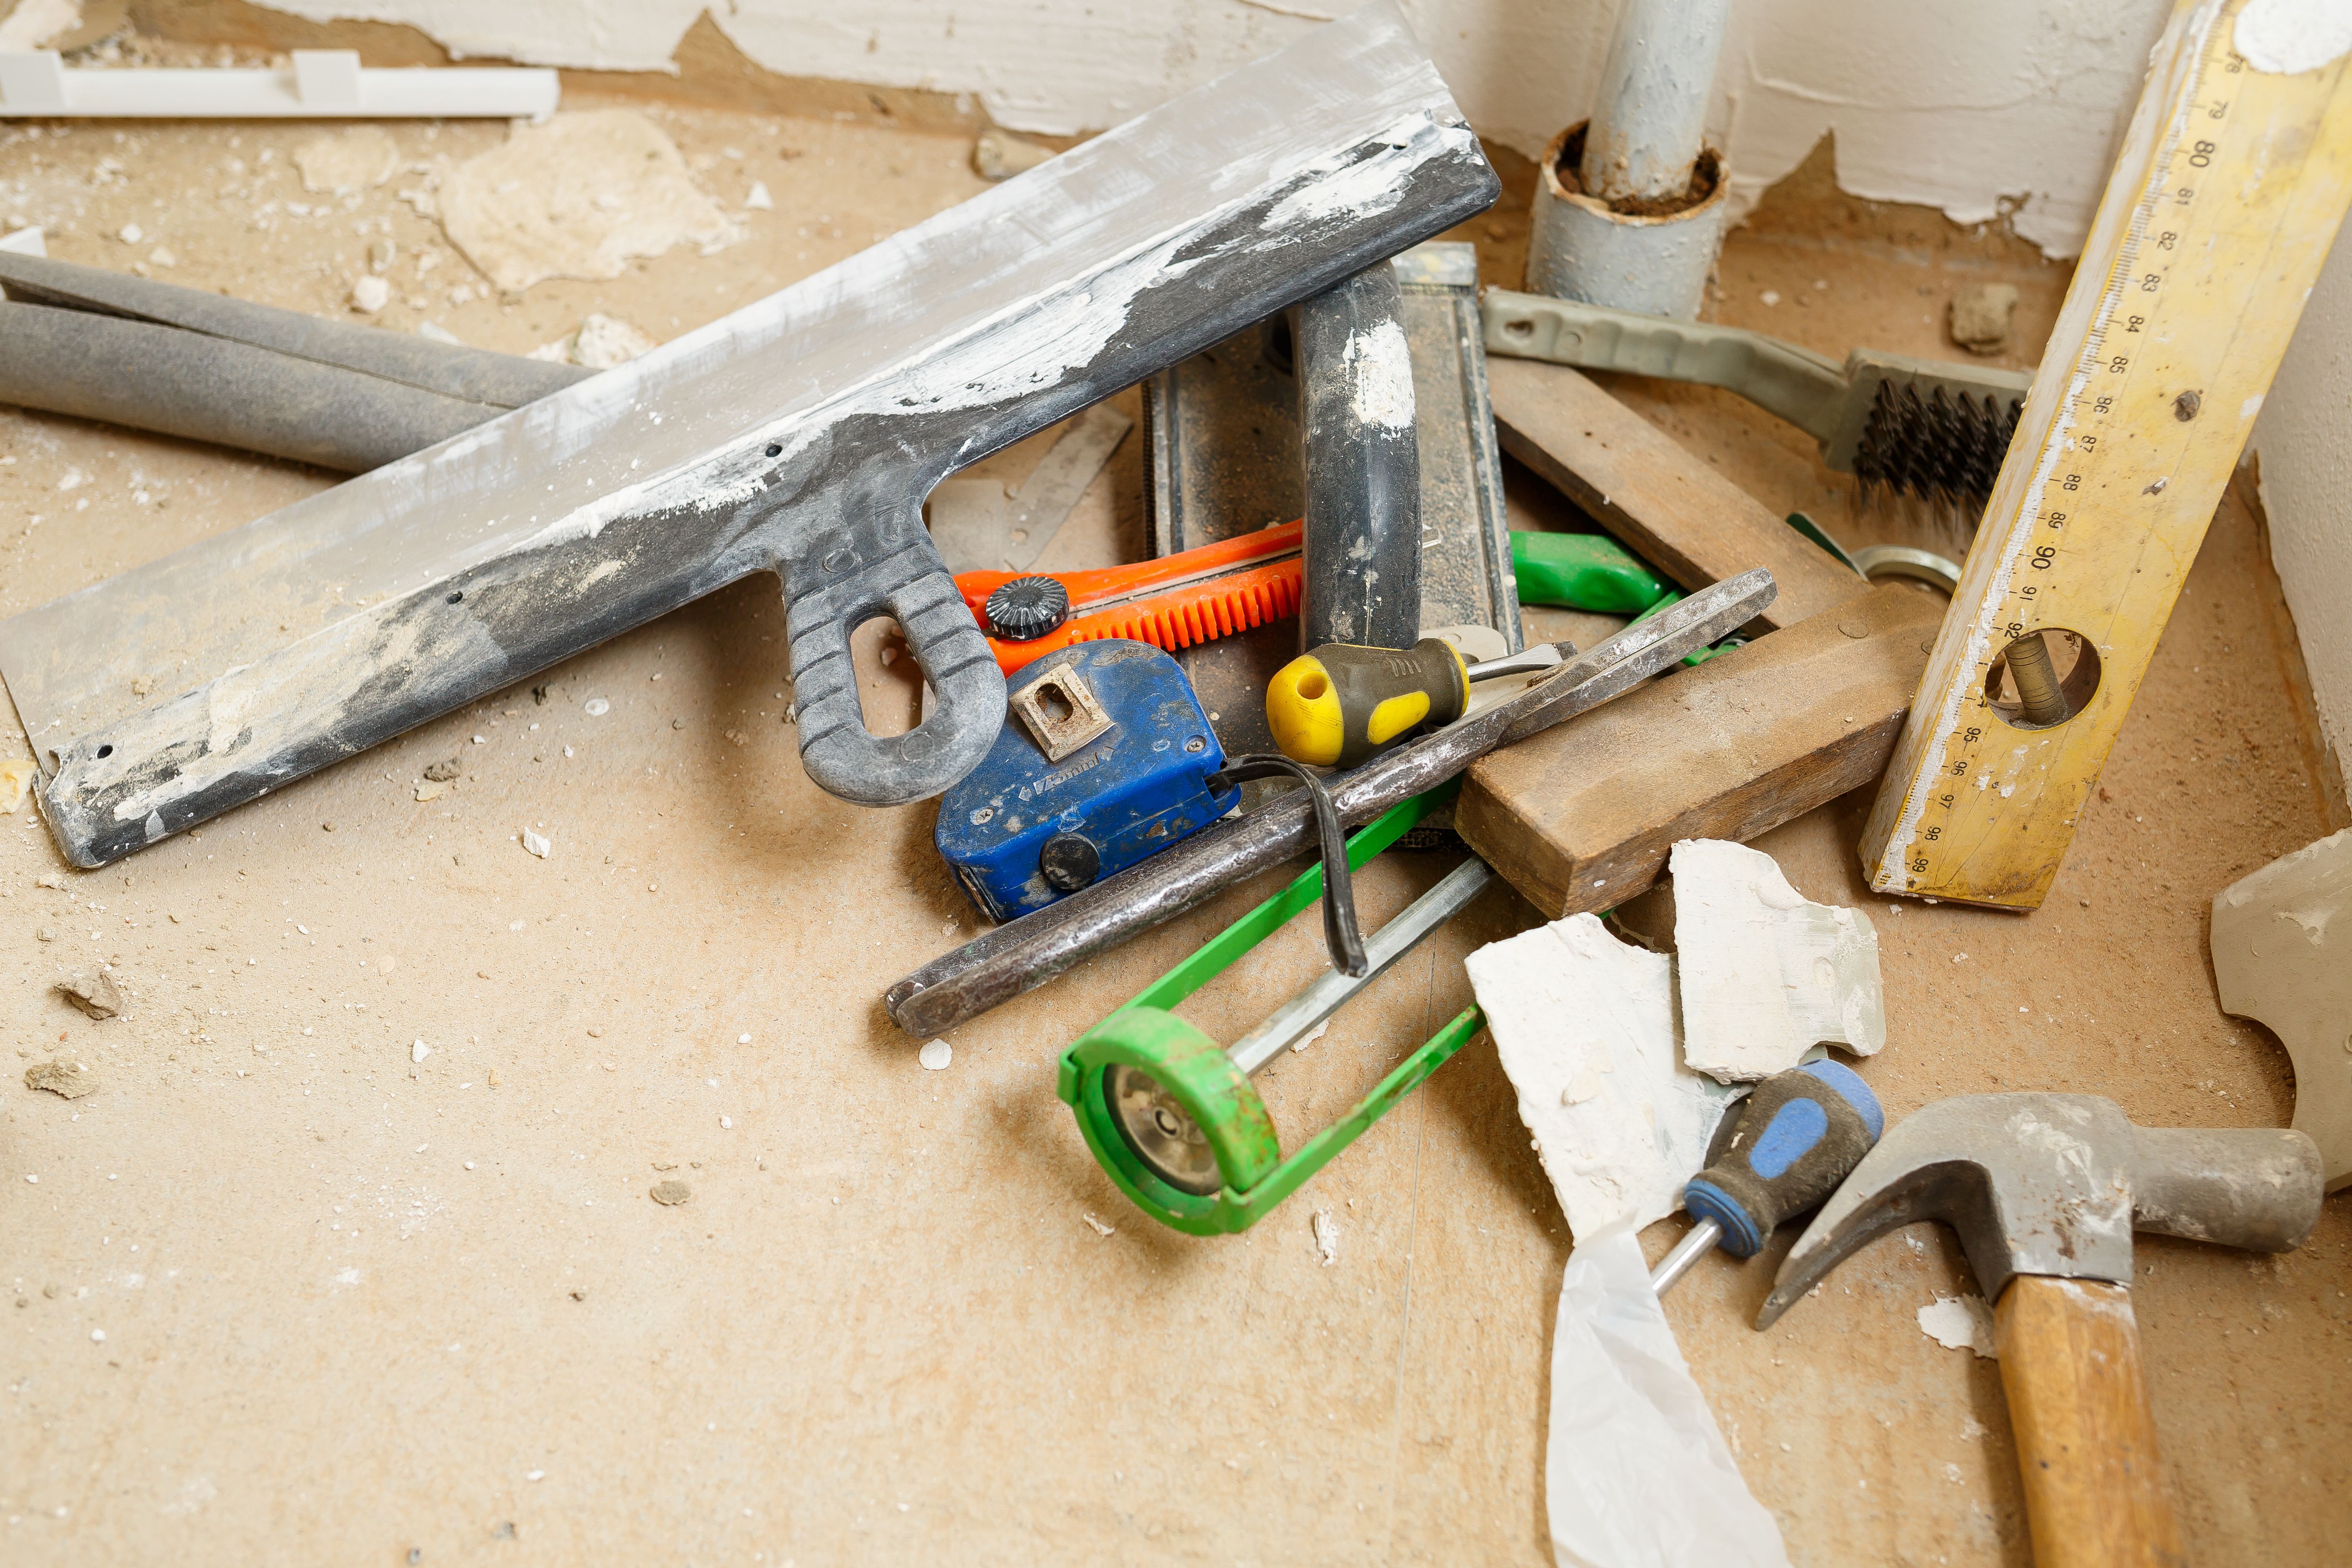
Gathering Your Tools and Materials
Having the right tools and materials on hand will make the installation process smoother. You'll need items such as a tape measure, saw, adhesive, spacers, and a rubber mallet.
Ensure you have everything ready before starting to avoid unnecessary delays.
Preparing the Subfloor
A clean and level subfloor is essential for a successful installation. Remove any old flooring, debris, and nails. Check for any areas that need leveling and sand down high spots.
Consider using an underlayment to provide a smooth surface and additional insulation.
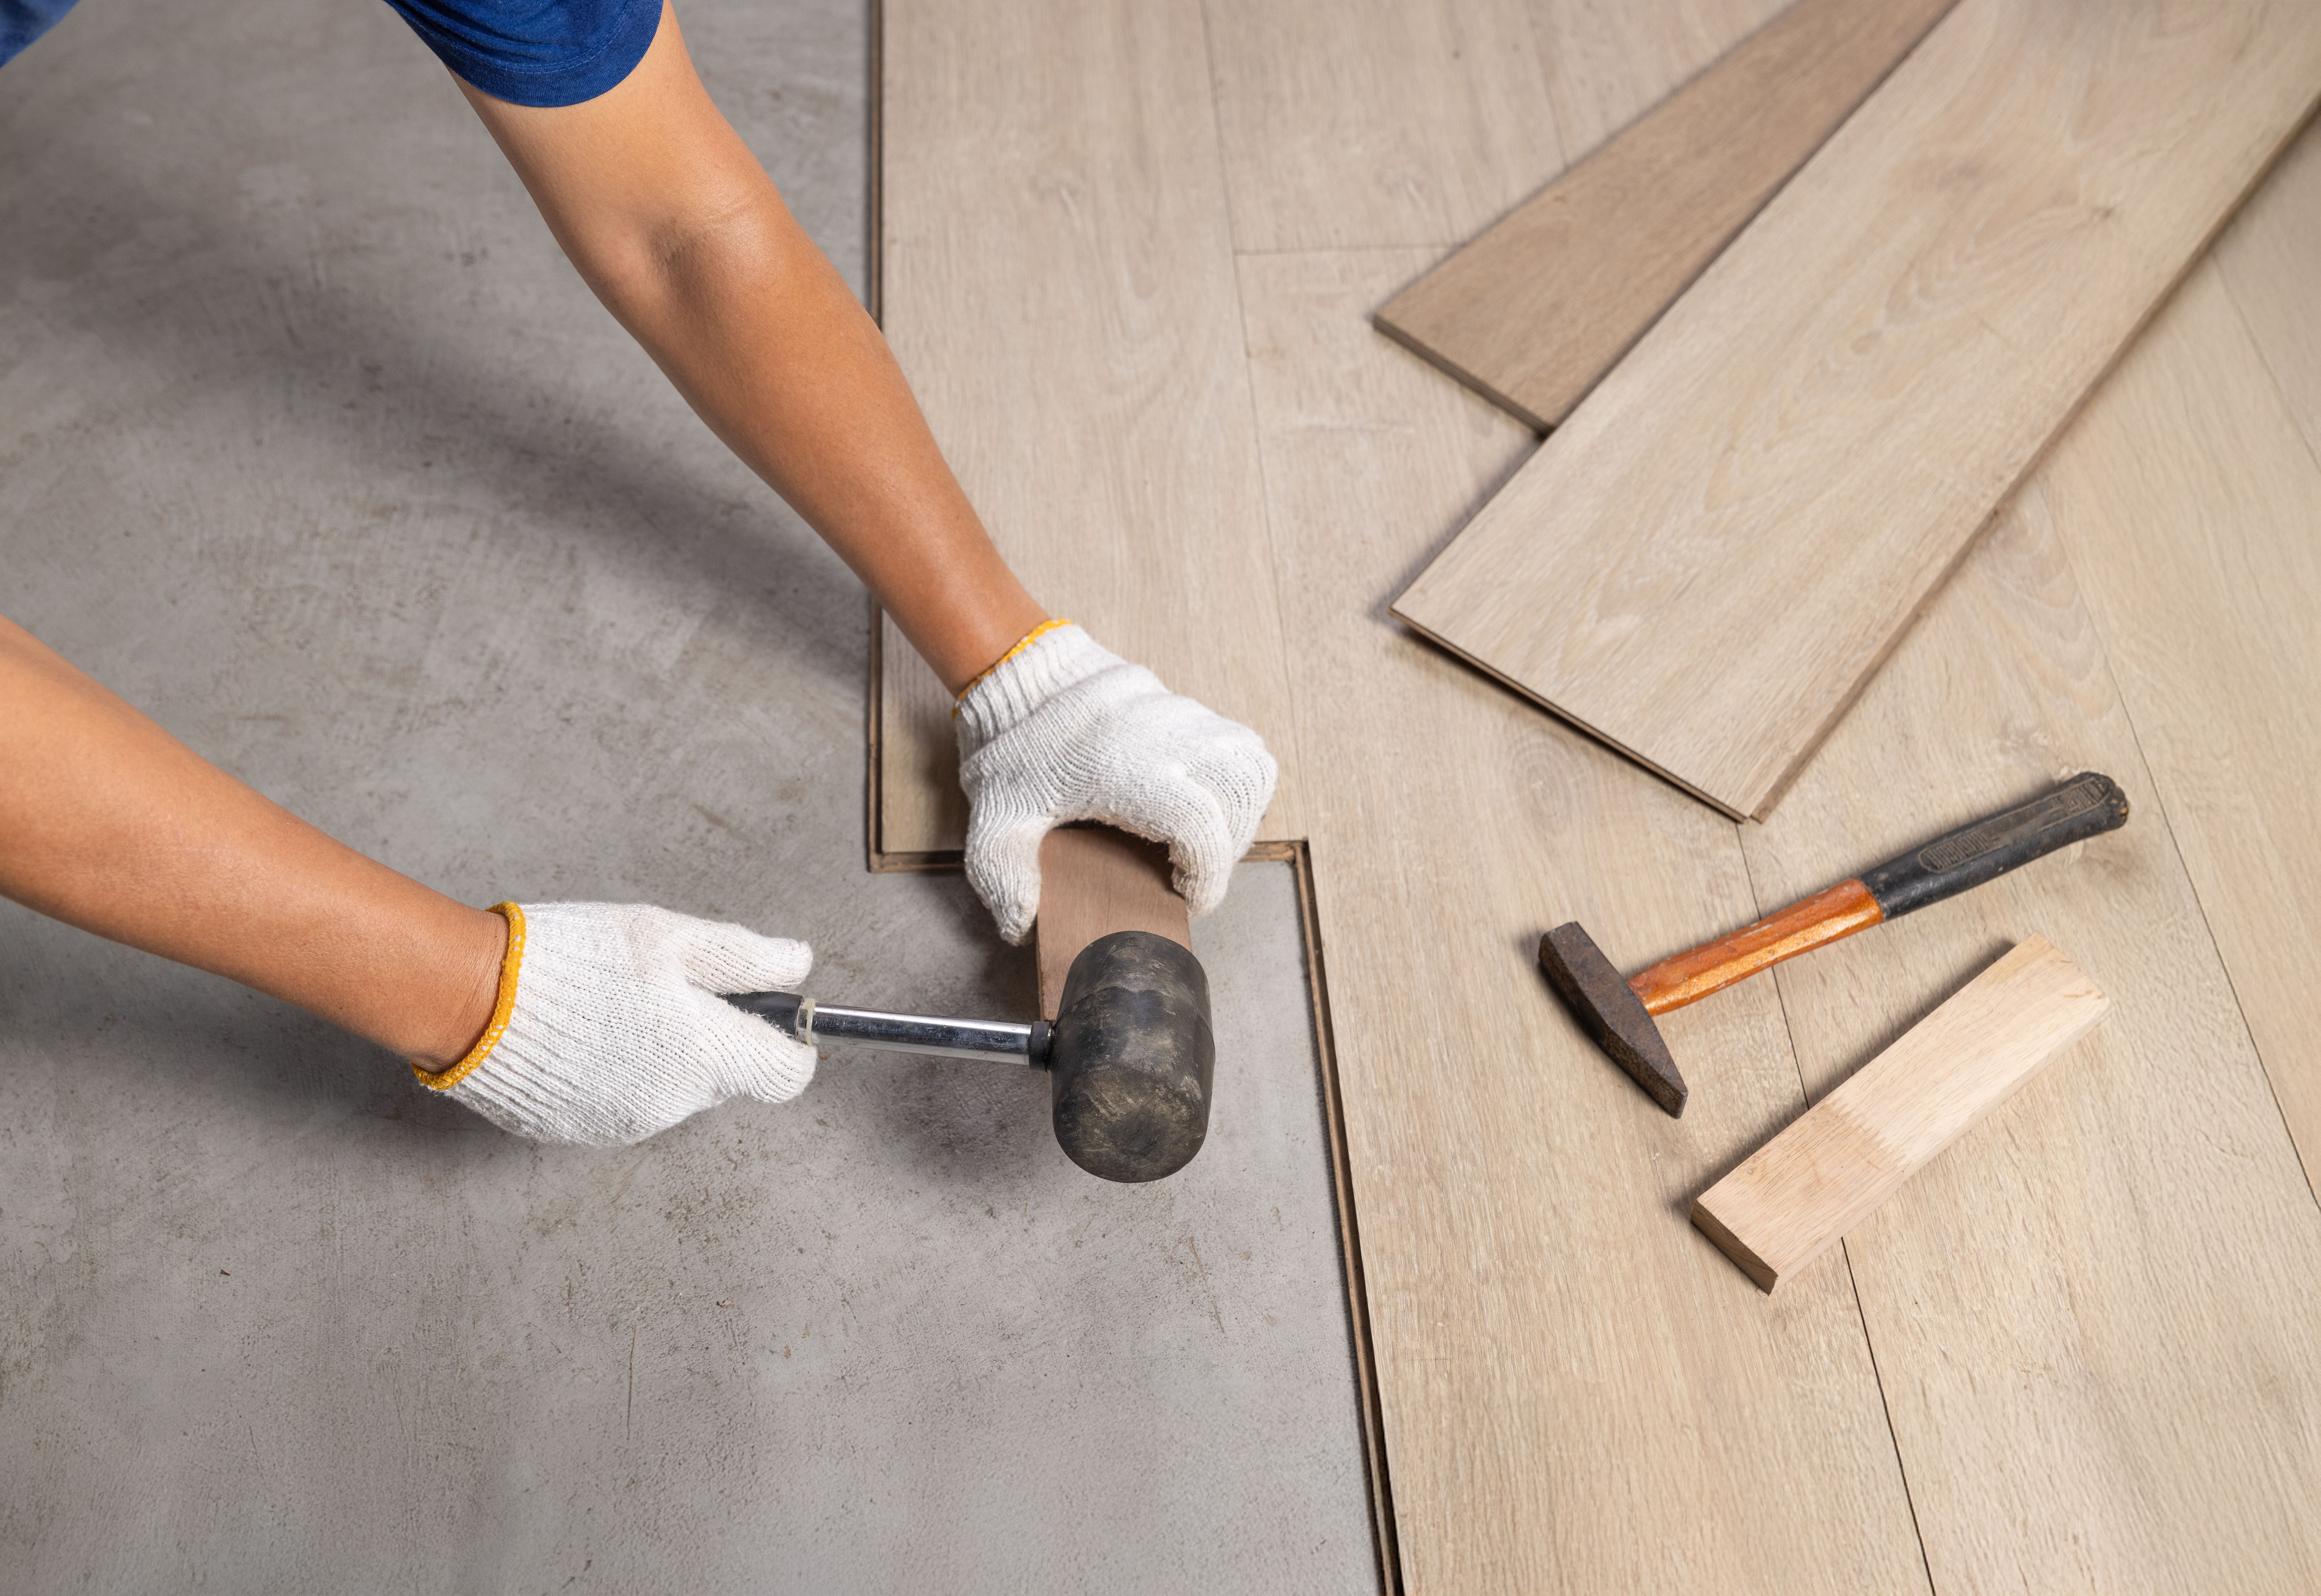
Installing the Flooring
Now comes the exciting part—laying down your new floor! Begin by placing the first row of flooring along the longest wall. Use spacers to maintain a gap between the flooring and the wall for expansion.
Stagger the seams and continue laying the planks, cutting pieces to fit as needed. Be sure to follow the manufacturer's instructions for the specific product you're using.
Finishing Touches
Once the flooring is installed, remove the spacers and install the baseboards or molding to cover the expansion gap. This will give your floor a polished and professional look.
Clean the surface and enjoy your new space. Regular maintenance will keep your floor looking great for years to come.
Conclusion
With patience and attention to detail, DIY flooring installation can be a satisfying project. By following this step-by-step guide, you'll successfully install a beautiful and functional floor that enhances your home's appeal.
Remember, practice makes perfect, and each project will improve your skills and confidence.