How to Install Vinyl Flooring: A Step-by-Step DIY Guide


Preparing for Installation
Installing vinyl flooring can transform your space with a fresh, modern look. Before you begin, gather all necessary tools and materials. You'll need a utility knife, straight edge, measuring tape, adhesive, and of course, your chosen vinyl flooring. It's also important to prepare the subfloor, ensuring it is clean, dry, and level for the best results.
Remove any existing flooring and baseboards. This step is crucial to ensure that the new vinyl lays flat and adheres properly. If you're working with concrete, check for moisture. For wooden subfloors, secure any loose boards and sand down high spots.
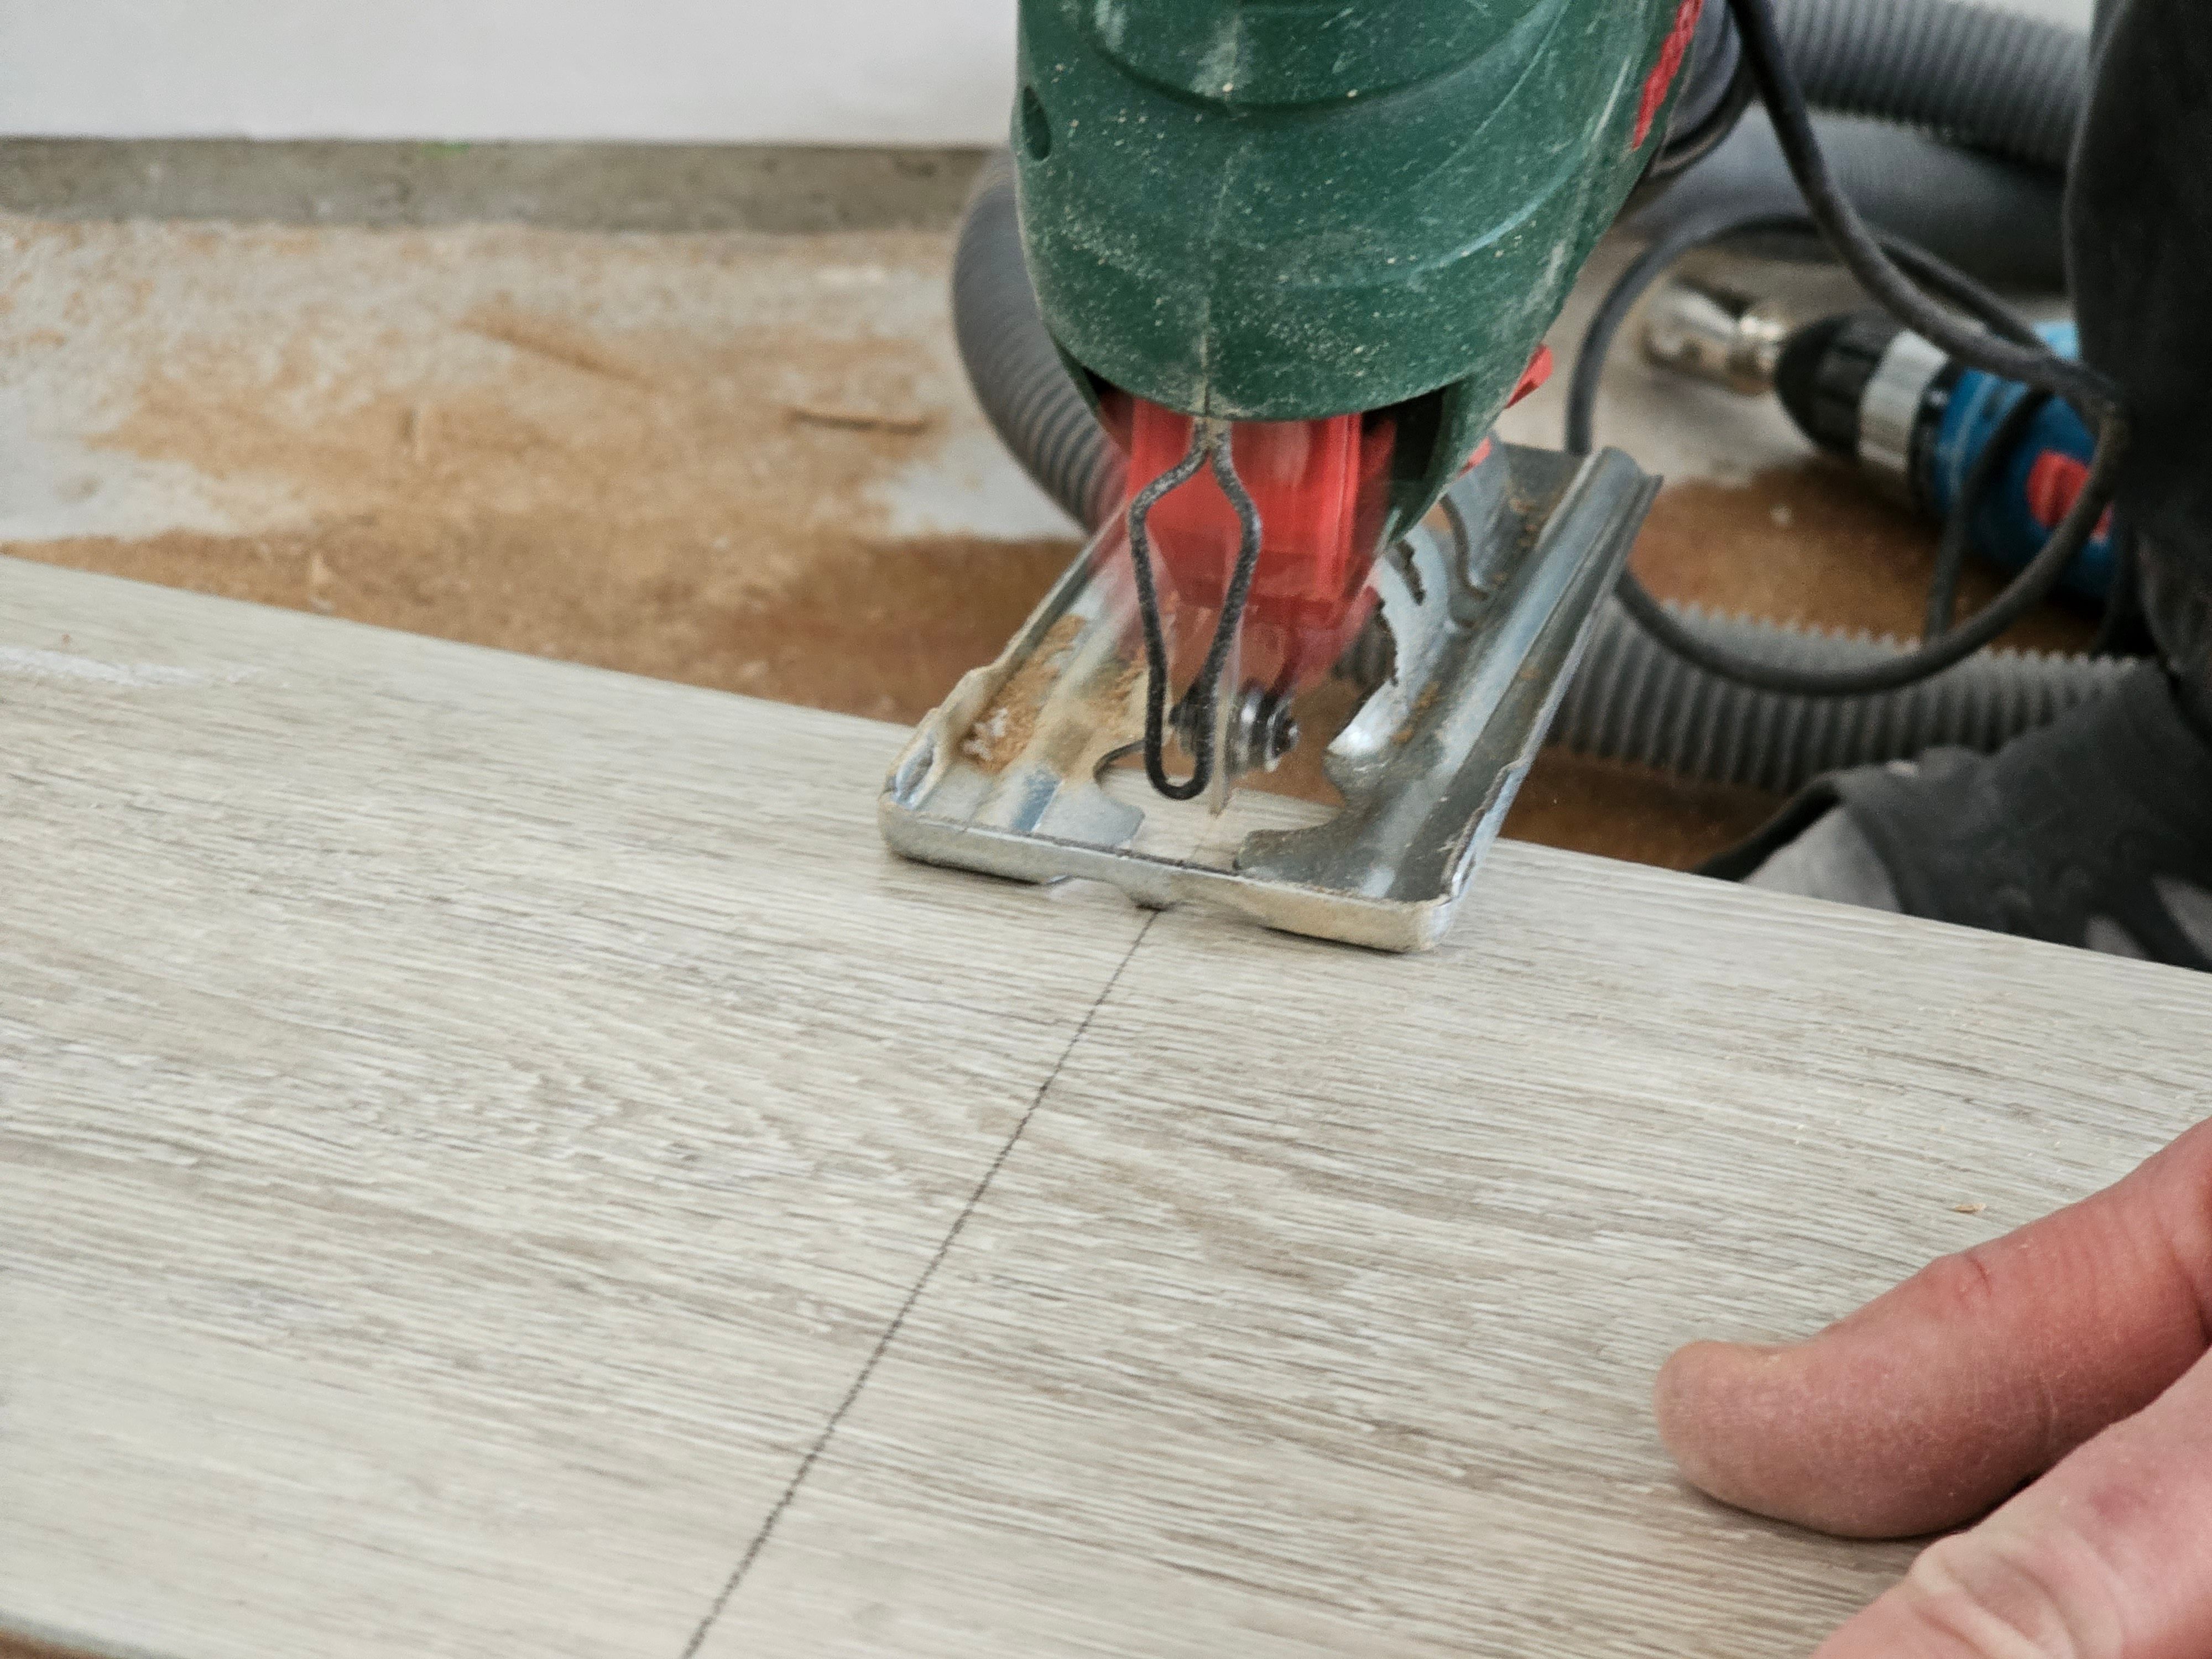
Measuring and Cutting Vinyl
Once your subfloor is ready, measure the room carefully to determine how much vinyl you'll need. It's a good idea to add an extra 10% to your measurements to account for mistakes and future repairs. Roll out the vinyl and let it acclimate to the room temperature for a few hours before cutting.
Use a straight edge and utility knife to cut the vinyl according to your measurements. Be precise, as accurate cuts will ensure a professional-looking finish. Cut the vinyl slightly larger than the floor area to allow for trimming after it's laid.
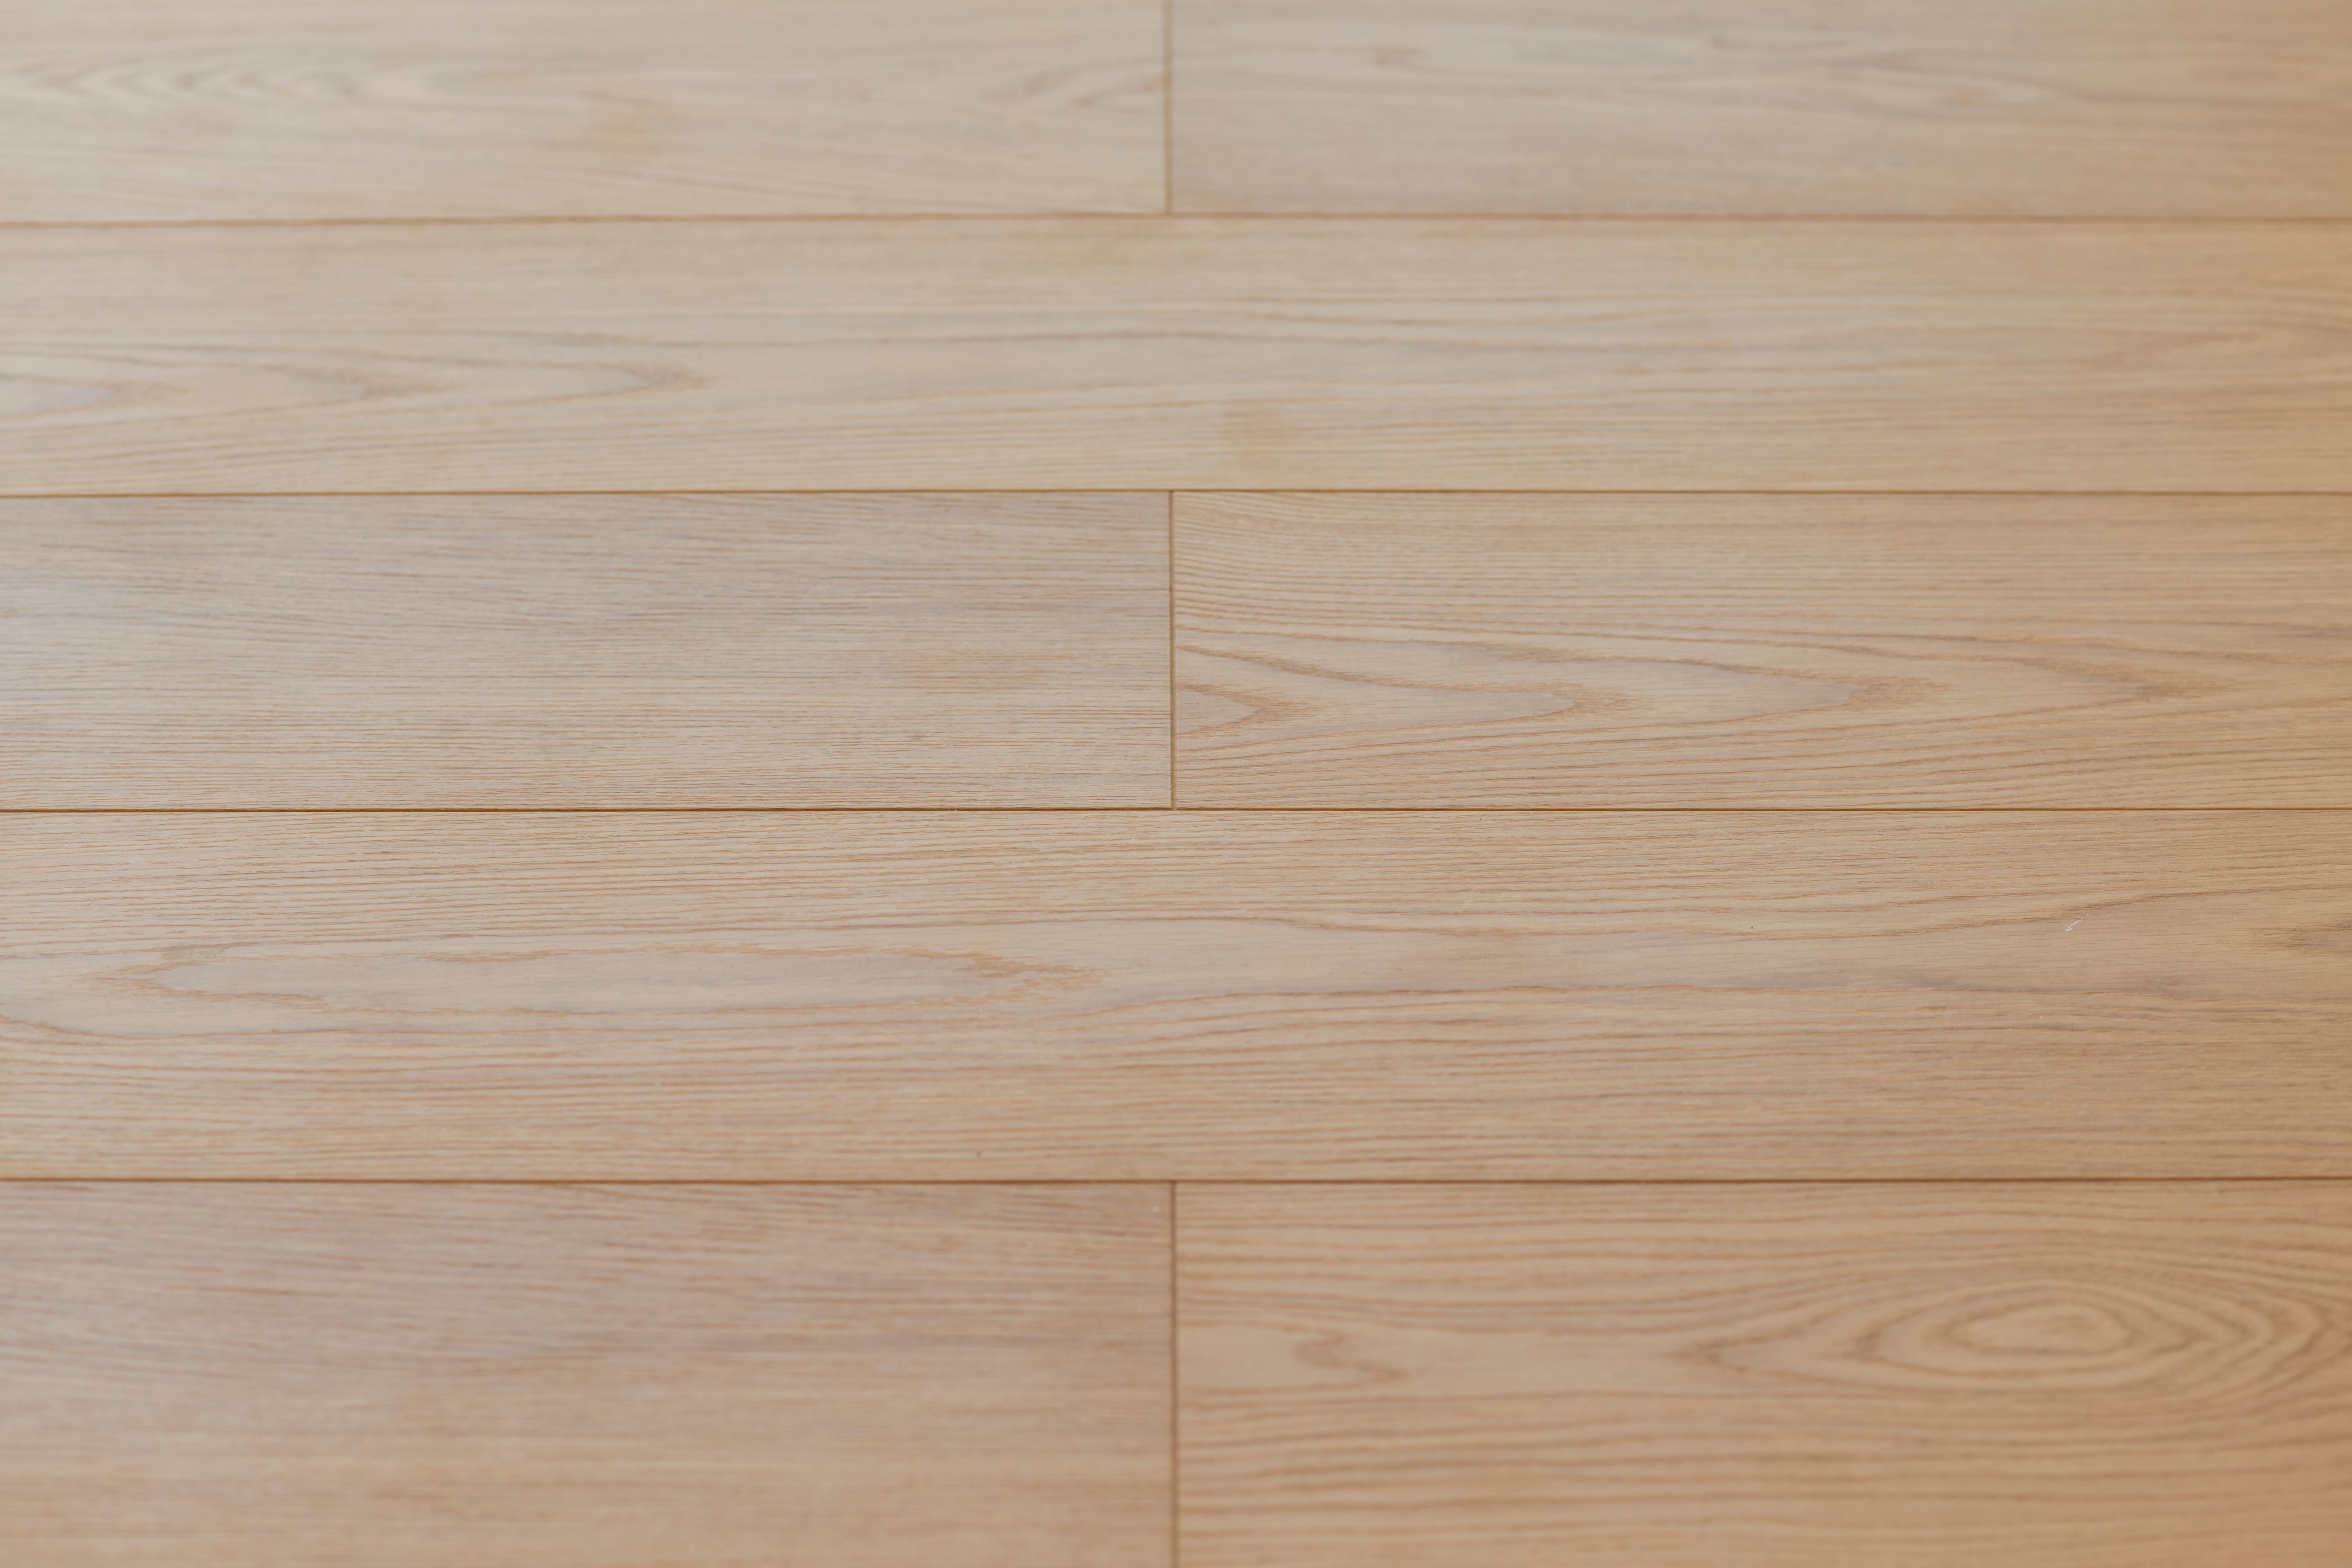
Laying the Vinyl
Begin laying the vinyl from one corner of the room. If using adhesive, apply it to the subfloor using a trowel. Follow the manufacturer's instructions for the correct adhesive and application technique. Place the vinyl onto the adhesive and press firmly to ensure proper contact.
Smooth out any air bubbles with a rolling pin or floor roller, working from the center outwards. This step is important to prevent lumps and ensure the vinyl is securely adhered to the subfloor.
Trimming and Finishing Touches
Once the vinyl is in place, trim the edges using a utility knife. Follow the contours of the room, ensuring the vinyl fits snugly against walls and fixtures. Reinstall baseboards to cover the edges and give your floor a polished look.
For areas around door frames or tight spaces, use a contour gauge to capture the shape and transfer it onto the vinyl for precise cutting. This attention to detail will result in a seamless finish.
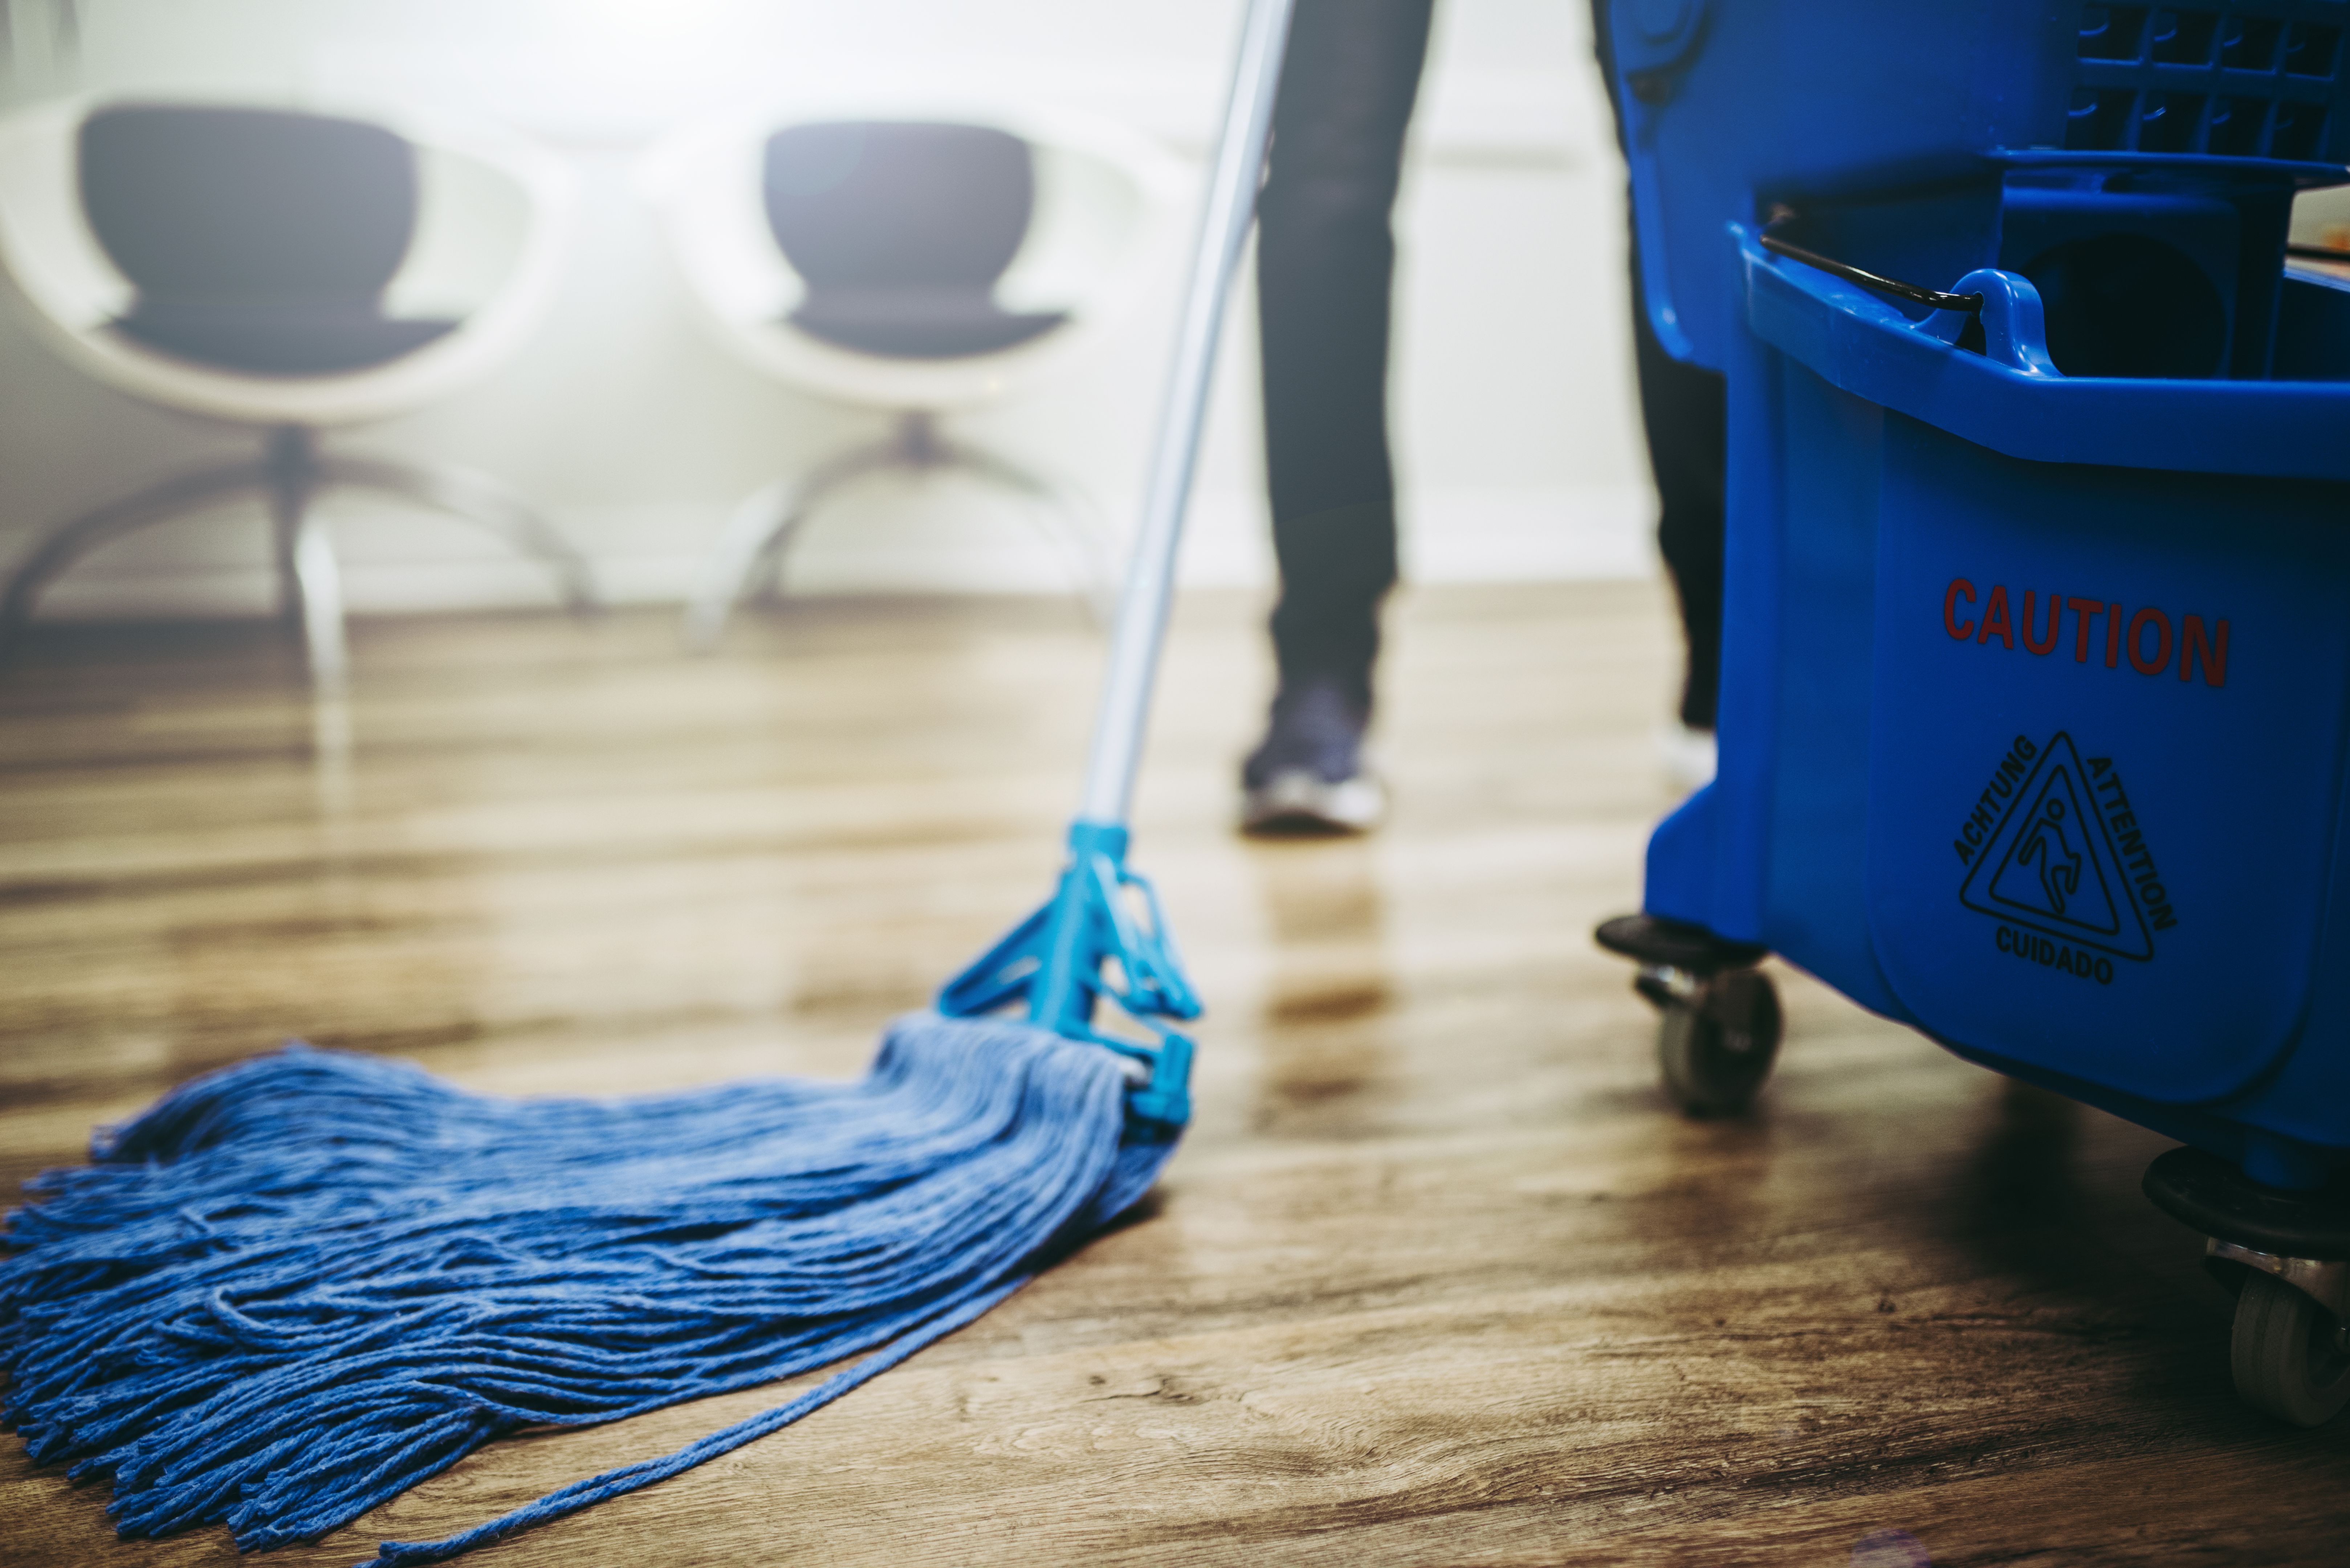
Maintaining Your New Floor
With your vinyl flooring installed, regular maintenance will keep it looking its best. Sweep or vacuum regularly to remove dirt and debris. Use a damp mop and a cleaner specifically designed for vinyl to maintain its shine without causing damage.
Avoid using abrasive cleaners or tools that might scratch the surface. With proper care, your new vinyl flooring will remain beautiful and durable for years to come.