
DIY Flooring Installation: Tips and Tricks from the Pros


Getting Started with DIY Flooring Installation
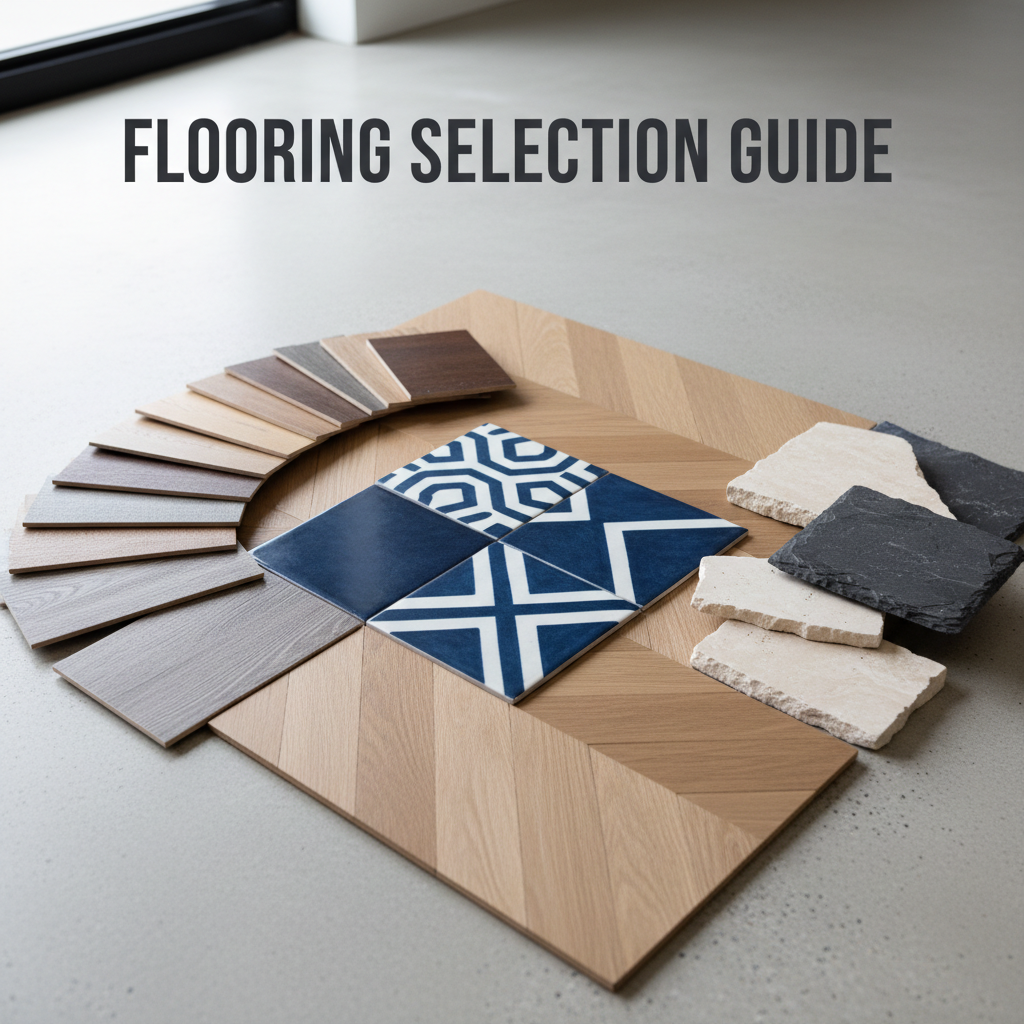
Installing your own flooring can be a rewarding project that transforms your space and saves money. Whether you're updating your living room or refreshing a bedroom, understanding the basics is crucial. The first step is to choose the right type of flooring for your needs, whether it's hardwood, laminate, vinyl, or tile. Each type has its own set of installation requirements and challenges.
Gathering Your Tools and Materials
Before you begin, gather all the necessary tools and materials. A typical flooring installation requires tools like a tape measure, utility knife, saw, spacers, and a rubber mallet. Additionally, you'll need underlayment, adhesive (if applicable), and the flooring itself. Having everything ready will make the process smoother and more efficient.
Remember, the quality of your tools can significantly impact the outcome of your project. Investing in good tools can save you time and frustration.
Preparing the Surface
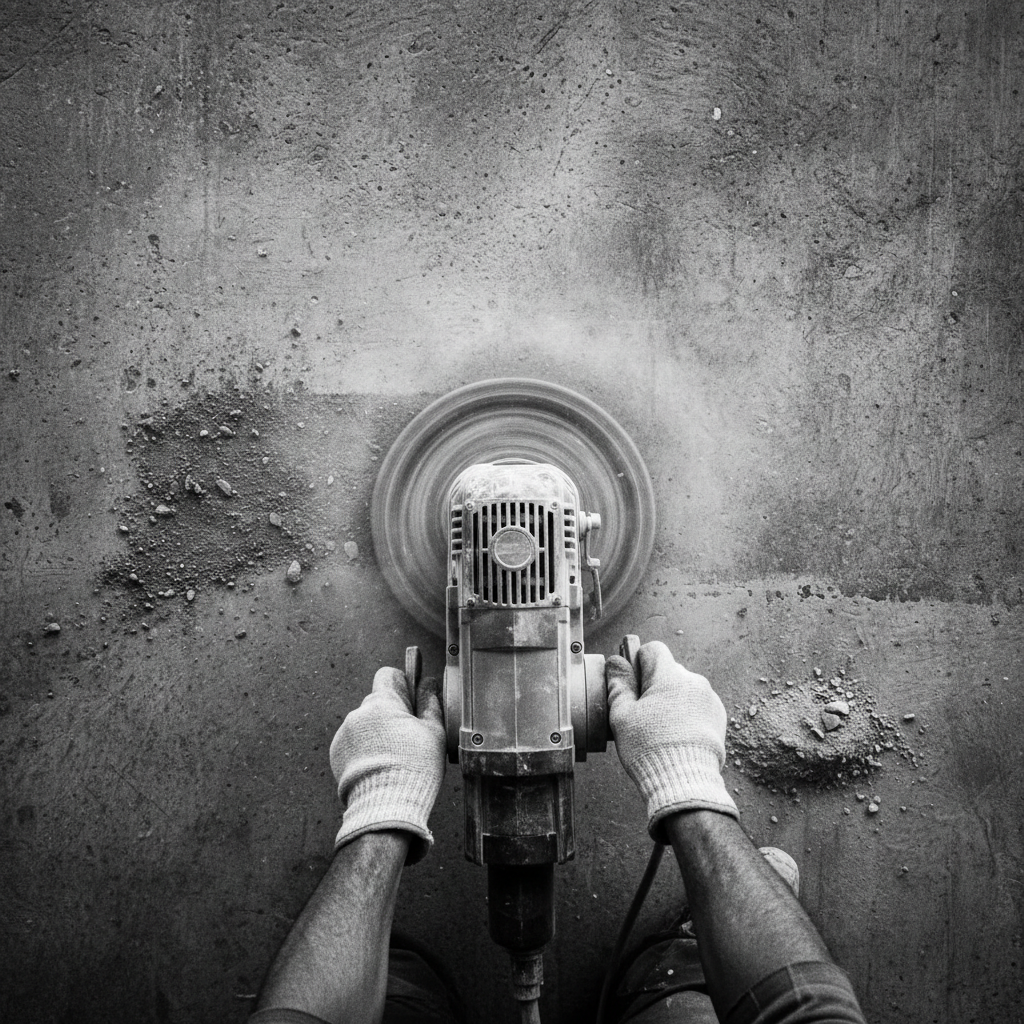
Proper preparation of the subfloor is essential for a successful installation. Ensure that the surface is clean, dry, and level. Any imperfections can lead to problems down the line. Use a leveling compound if necessary, and make sure to remove any debris or old adhesive. This step can greatly affect the longevity and appearance of your new flooring.
Acclimating Your Flooring
Before installation, it's important to acclimate your flooring materials to the room's temperature and humidity. This usually involves letting the flooring sit in the installation area for 48 to 72 hours. This process helps prevent expansion or contraction after installation, which can cause gaps or buckling.
Installation Techniques
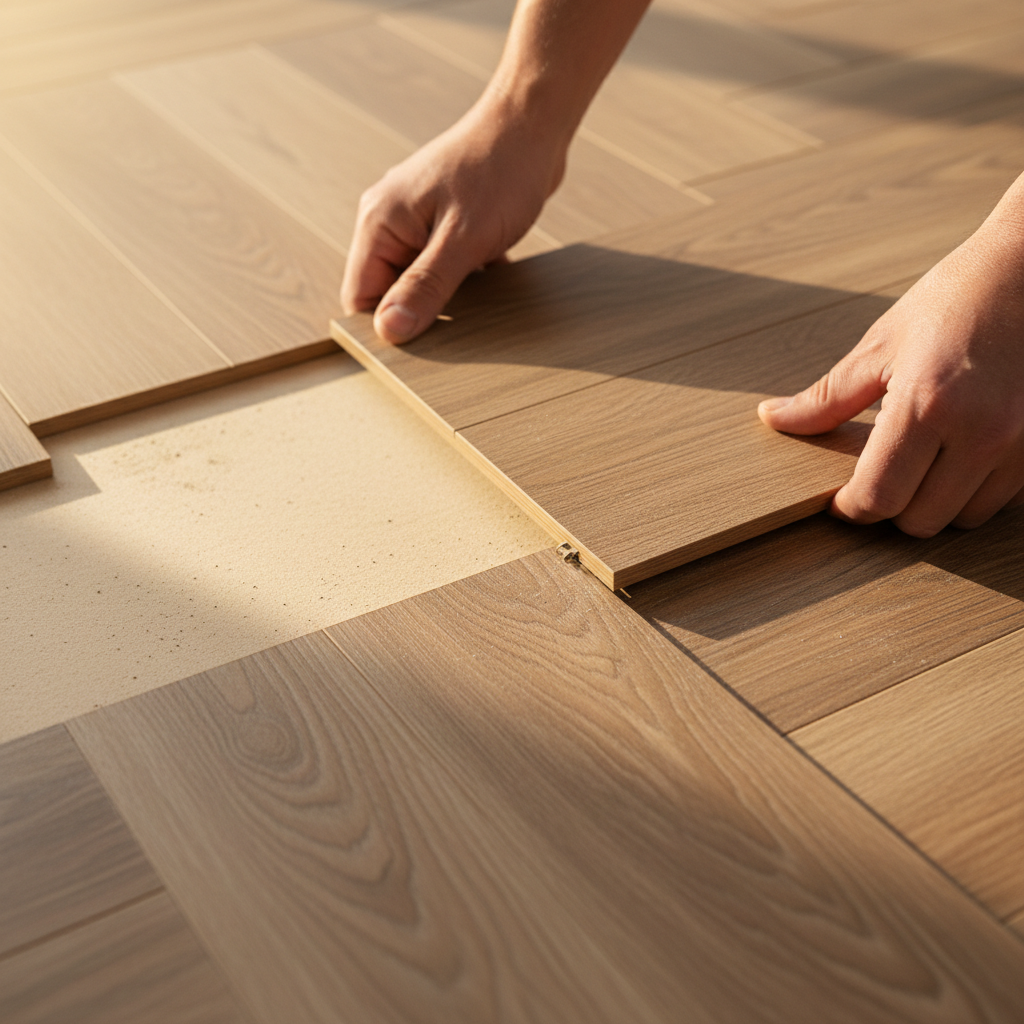
For most DIYers, floating floors, like laminate or click-lock vinyl, are the easiest to install. These floors snap together, requiring no glue or nails. If you're installing hardwood or tile, however, you'll need to be more precise with measurements and adhesive application. Follow the manufacturer's instructions closely for the best results.
Working Around Obstacles
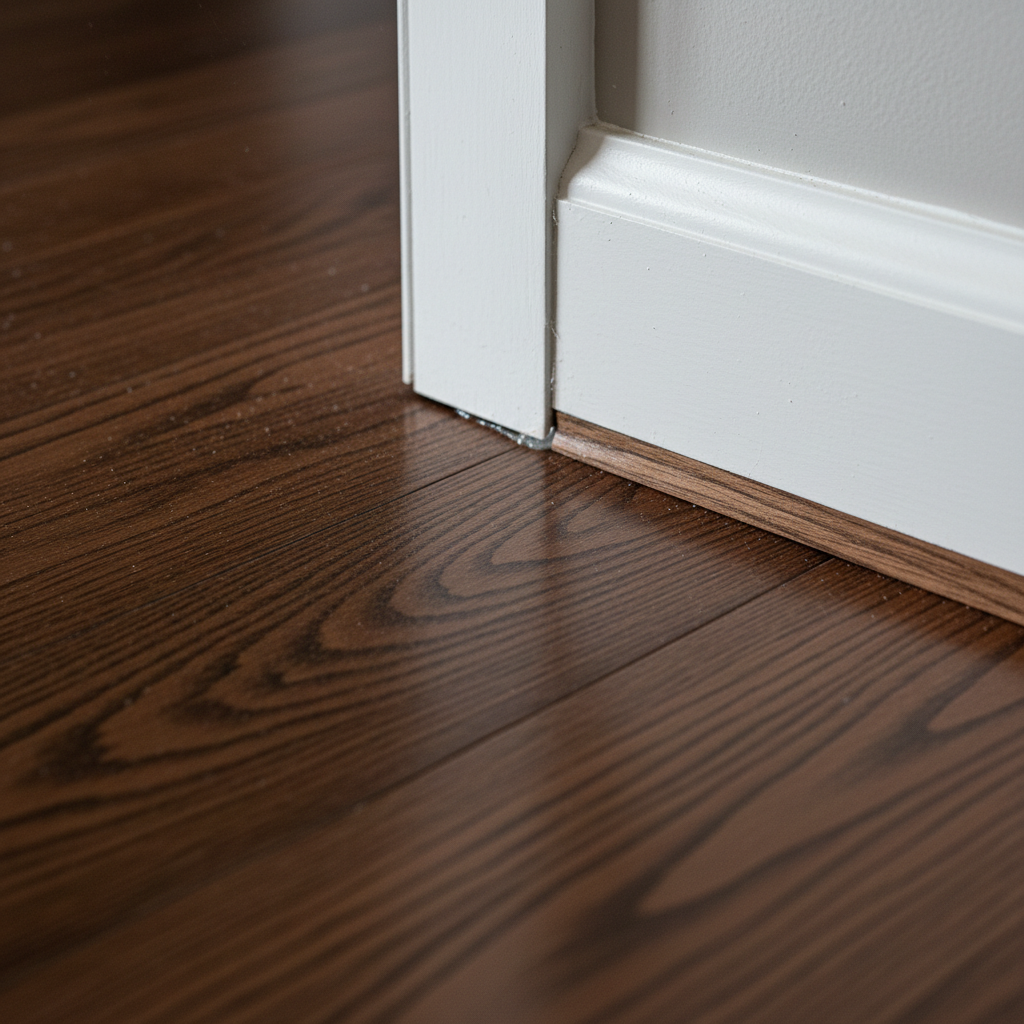
Rooms often have obstacles like door frames, vents, or irregular corners. Carefully measure and cut your flooring to fit these areas. A jigsaw or coping saw can be useful tools for these intricate cuts. Take your time with this step to ensure a clean, professional look.
Finishing Touches
Once your flooring is installed, add the finishing touches like baseboards or trim. These elements not only enhance the appearance but also cover any expansion gaps around the edges. Secure them with nails or adhesive, depending on your preference and the material.
Finally, clean your new floor according to the manufacturer's recommendations to remove any dust or debris from the installation process.
Maintenance and Care
Maintaining your new flooring is crucial for its longevity. Regular sweeping and occasional mopping with approved cleaners will keep it looking new. Be mindful of high heels, pet claws, and furniture that can scratch or damage the surface. Consider using area rugs in high-traffic areas for added protection.
With these tips and tricks, you're well on your way to a successful DIY flooring installation. Enjoy the satisfaction of a job well done and the beauty of your newly updated space!