
DIY Flooring Installation: Step-by-Step Tips from the Experts


Installing your own flooring can be a rewarding project that adds value and personal touch to your home. Whether you're upgrading to hardwood, laminate, or tile, doing it yourself can save money and give you control over the finish. Here are step-by-step tips from the experts to make your DIY flooring installation a success.
Preparation is Key
Before you start, proper preparation is crucial. Begin by measuring the area accurately. This ensures you purchase the right amount of materials, avoiding waste and additional trips to the store. Clear the room of all furniture and debris for a clean workspace.
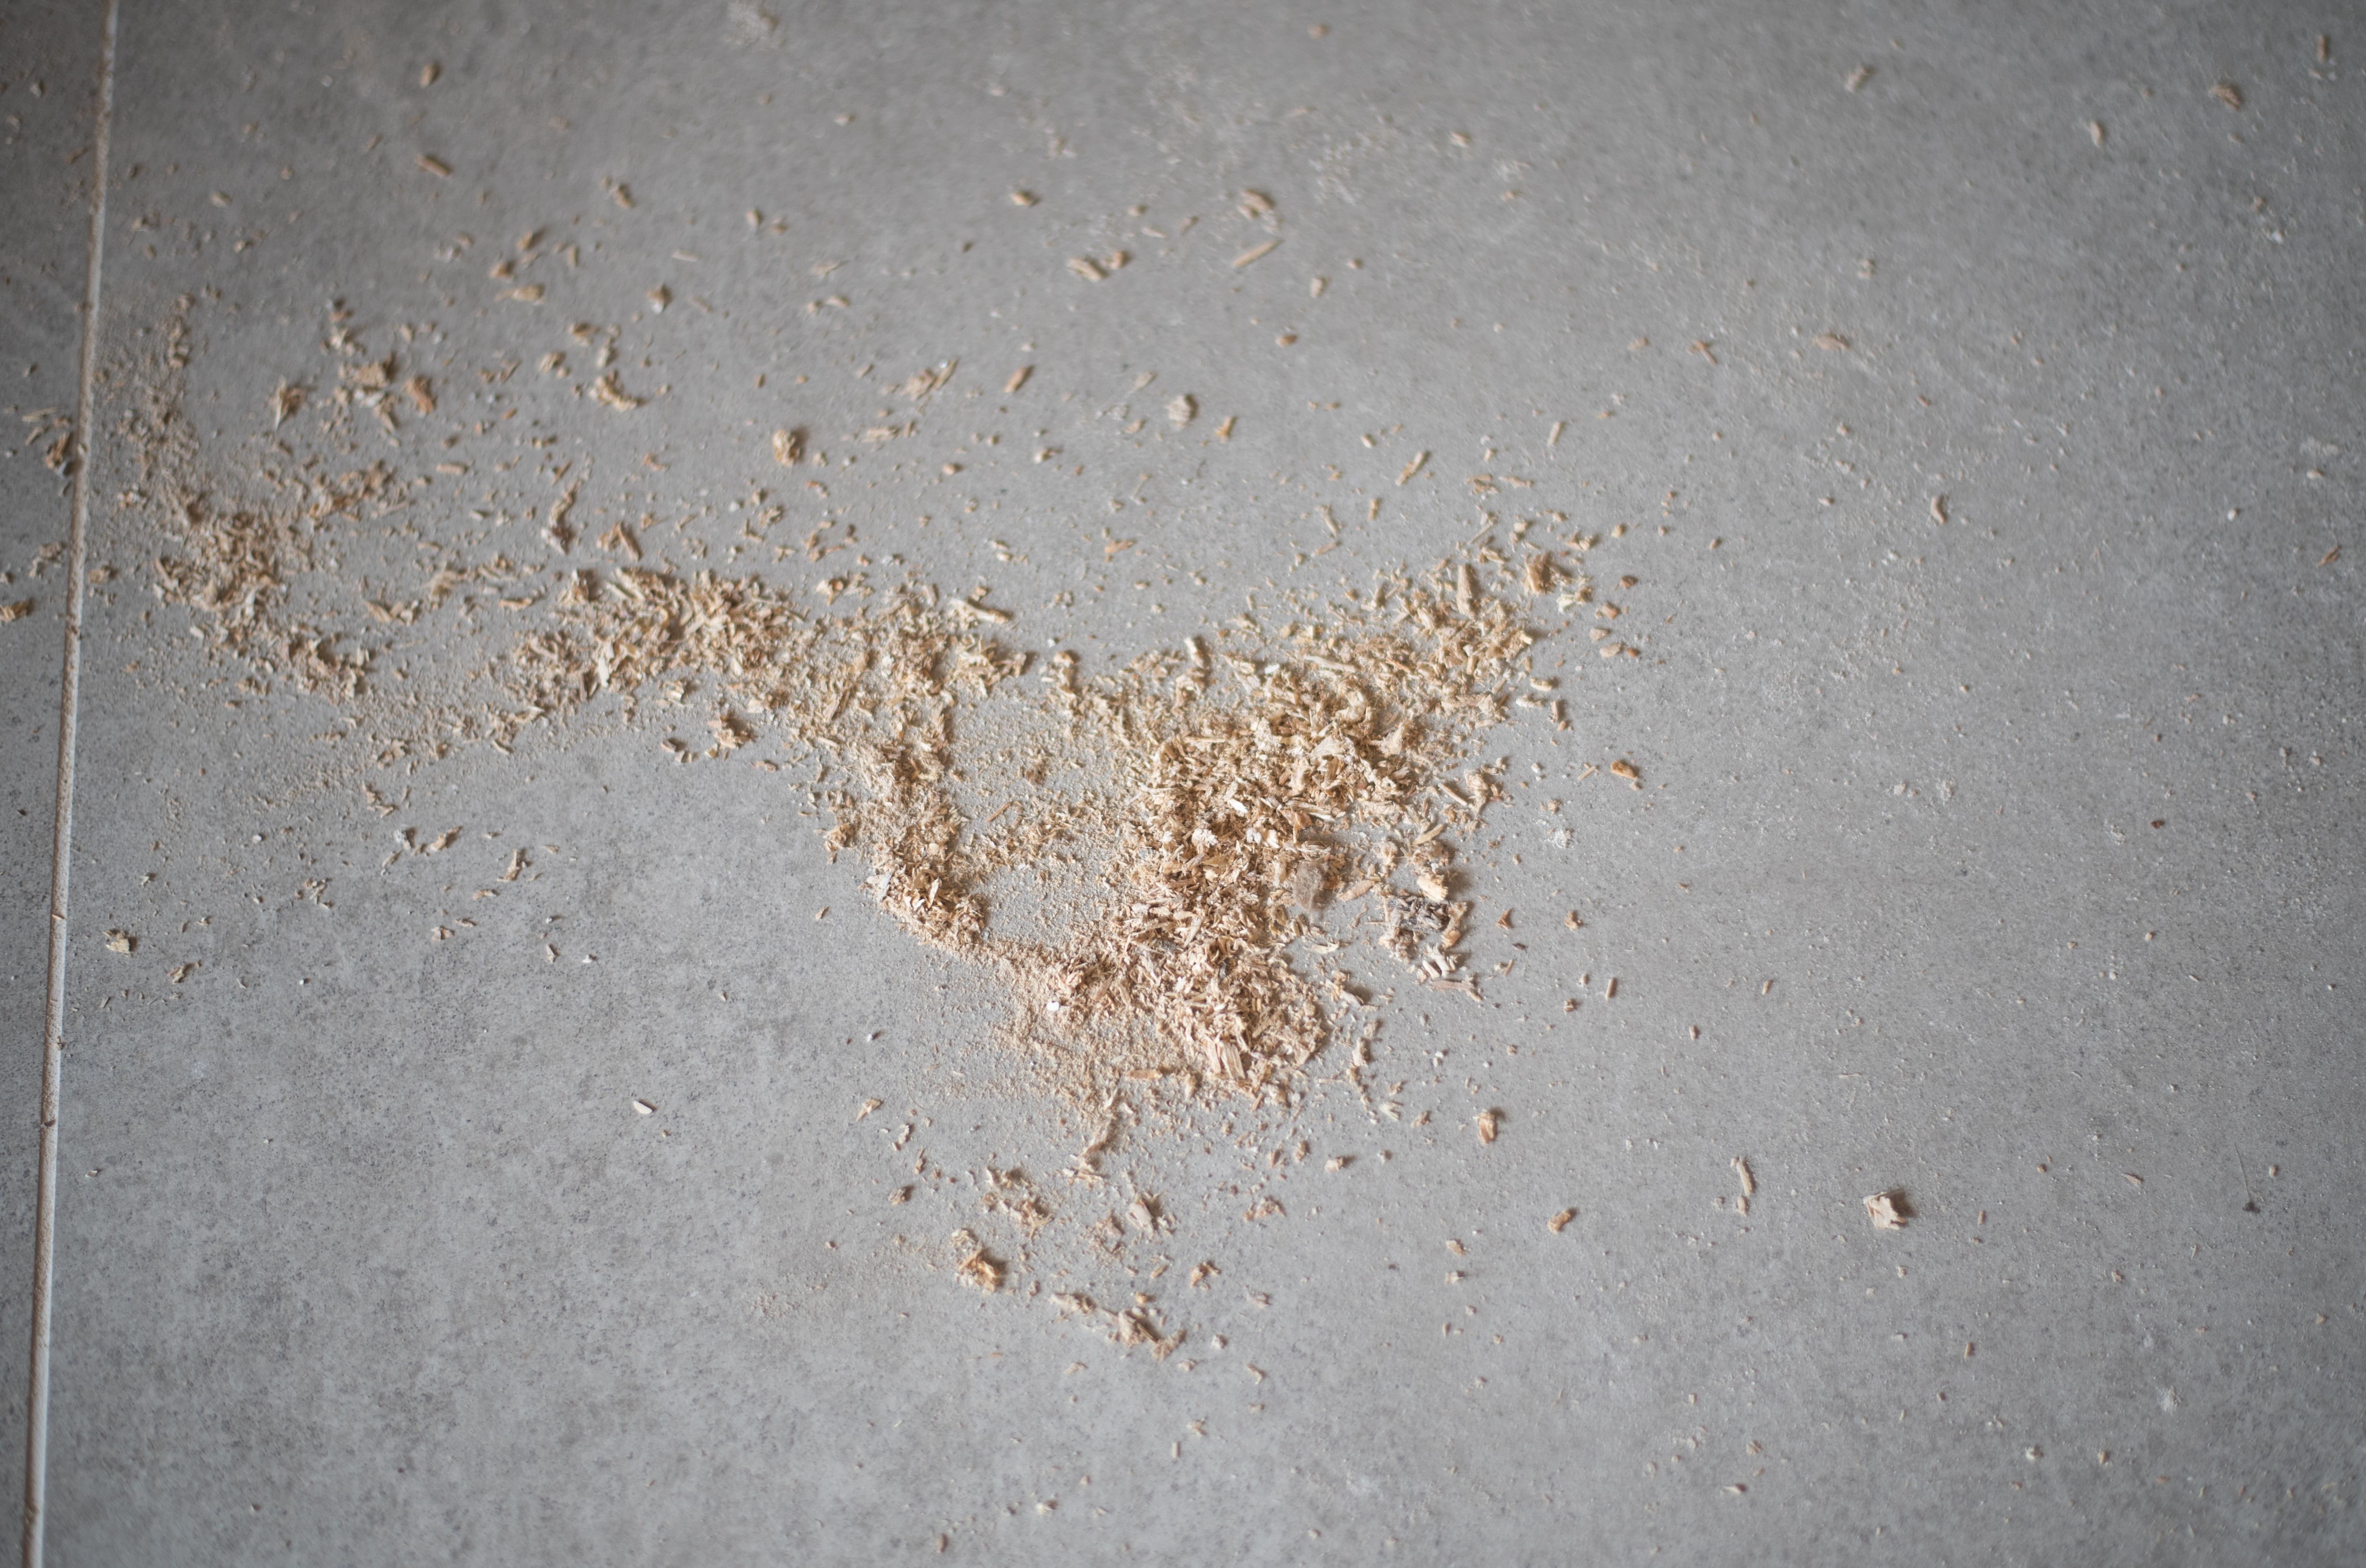
Next, inspect the subfloor. It should be dry, clean, and level, as any irregularities could affect the final result. Repair any damage and remove old nails or staples. In some cases, an underlayment may be necessary to provide a smooth base, especially for laminate and vinyl installations.
Gather Your Tools and Materials
Having the right tools on hand will make the installation process smoother. Essential tools include a tape measure, utility knife, saw (circular or miter), spacers, and a rubber mallet. Depending on the flooring type, you might also need adhesive, nails, or a staple gun.
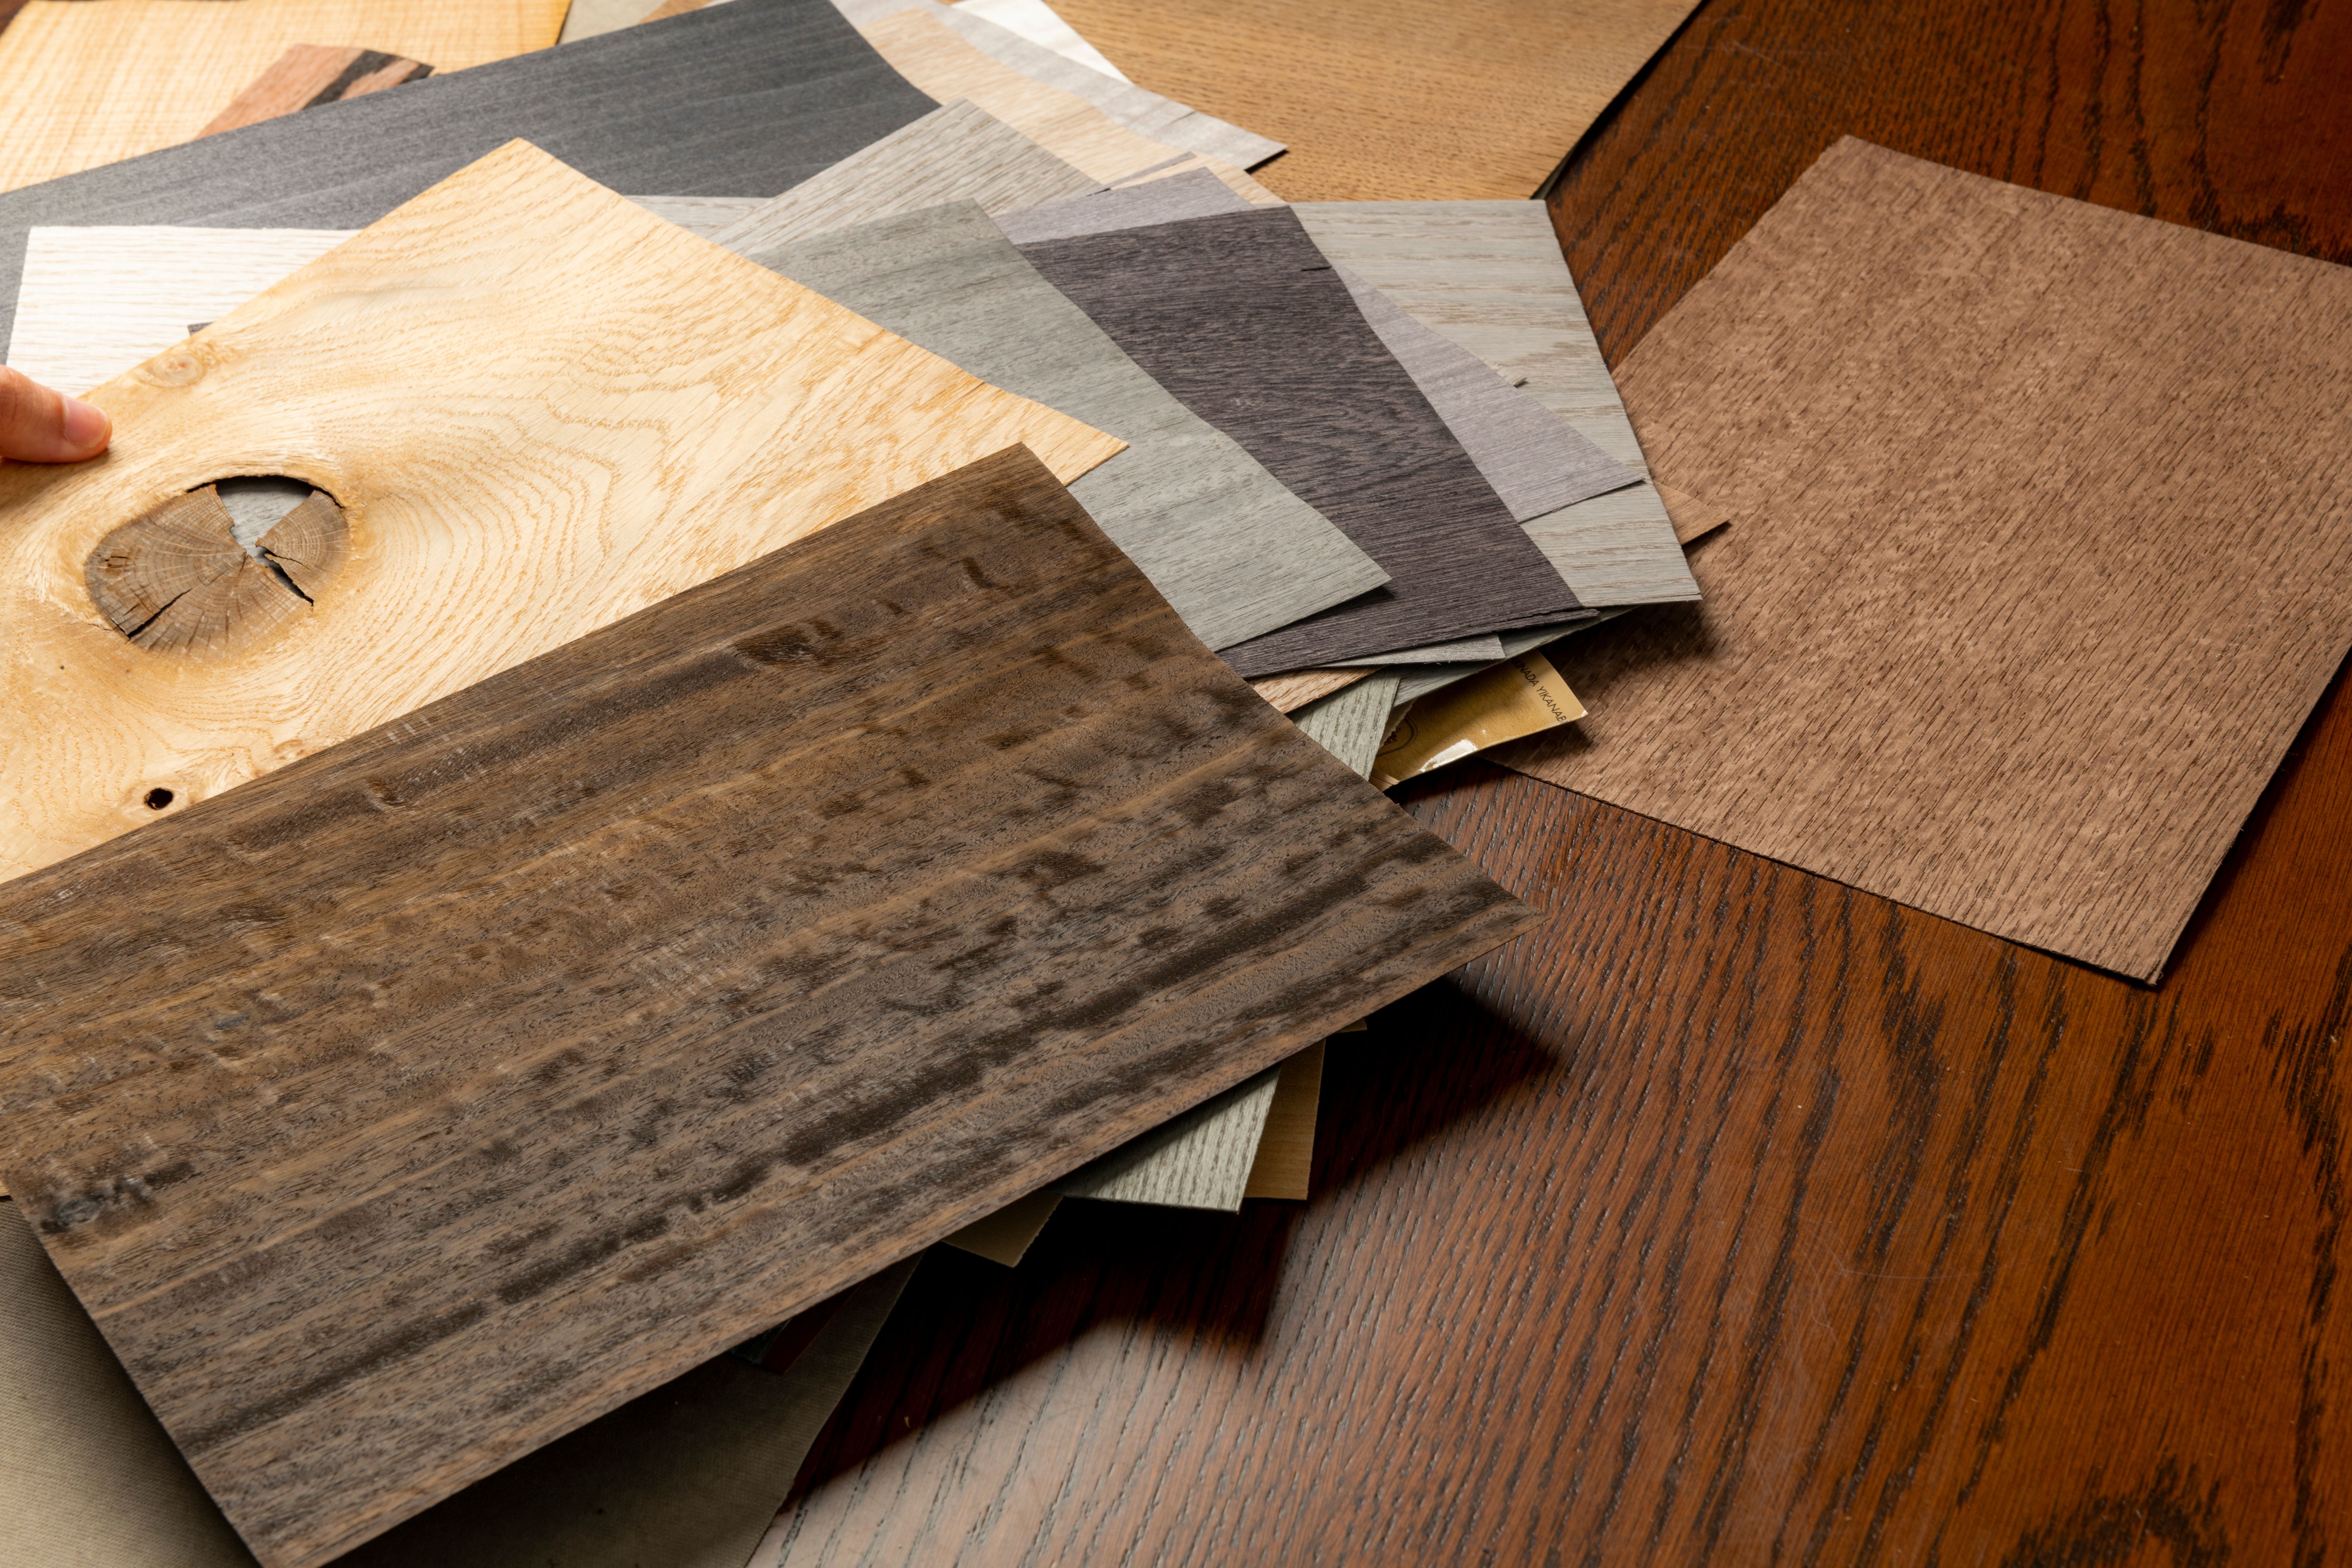
Materials will vary based on your flooring choice. For example, if you're installing hardwood, you'll need planks, a flooring nailer, and possibly a moisture barrier. For tile, you'll need grout and a trowel. Make sure to choose high-quality materials for a durable finish.
Step-by-Step Installation
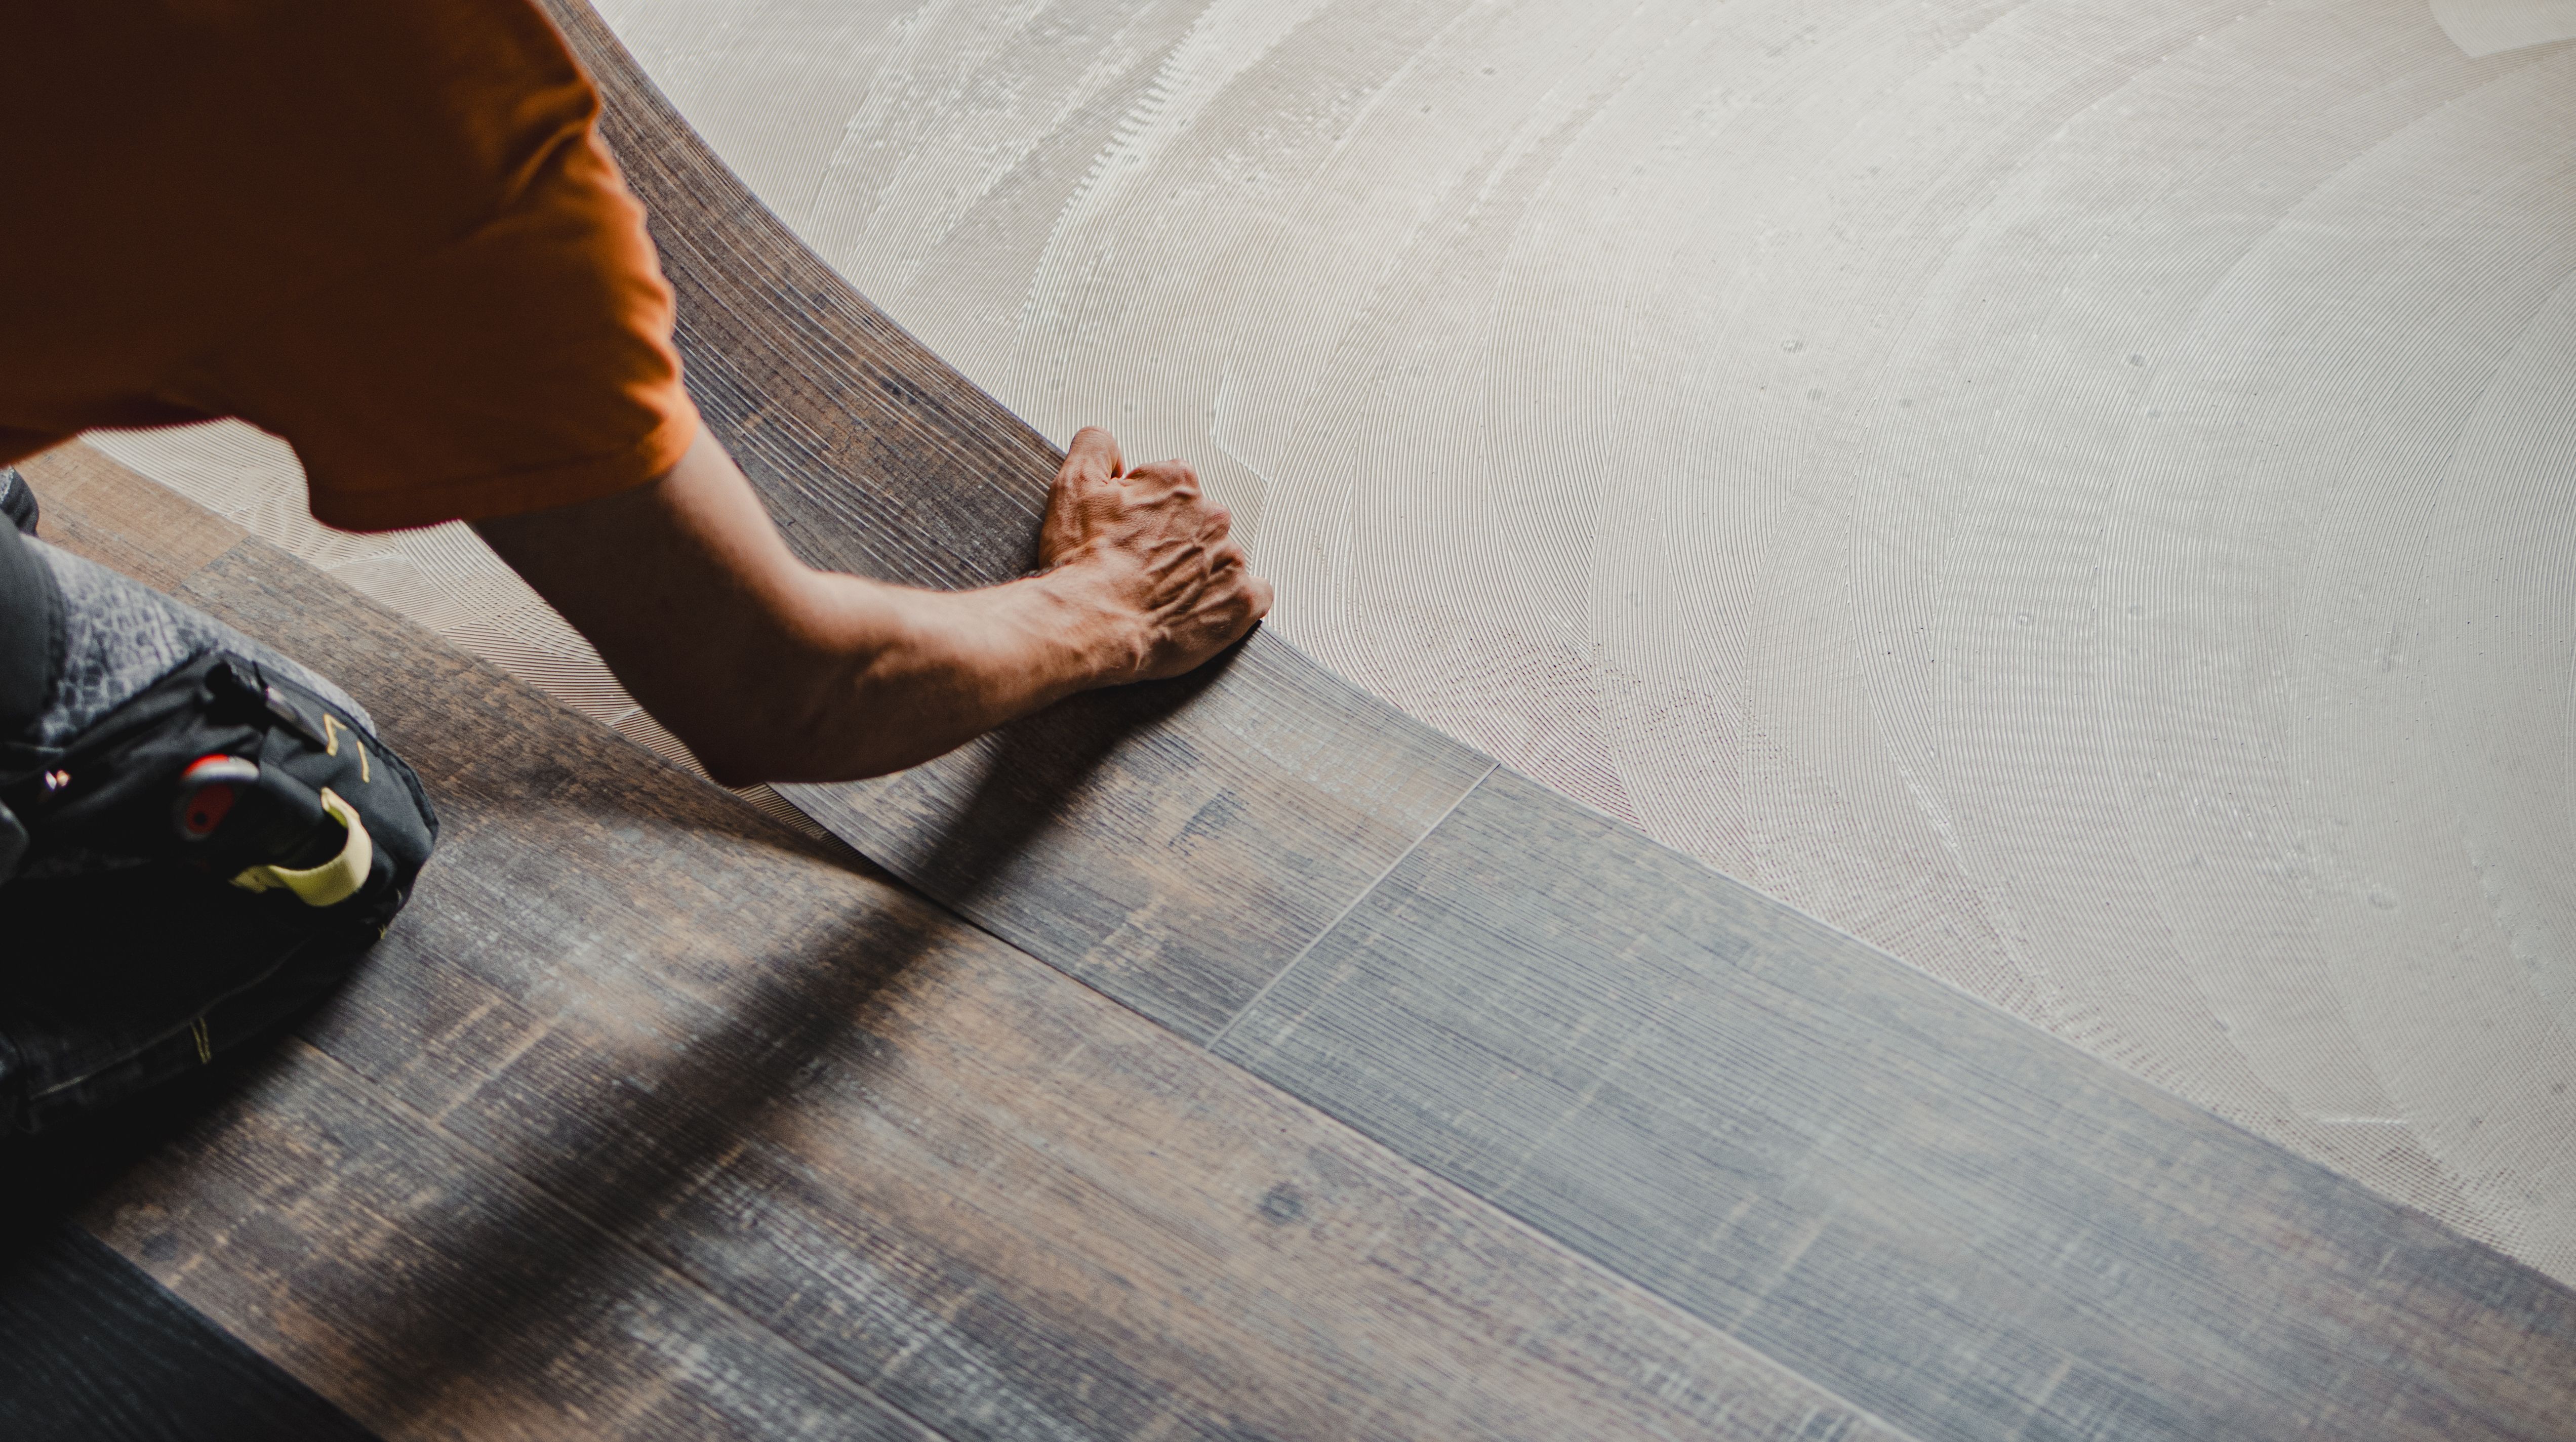
Once prepared, begin the installation. Start from one corner of the room, working your way out. For most flooring types, stagger the joints for a more natural look and added stability.
- Hardwood and Laminate: Use spacers to maintain expansion gaps along the walls. Click or nail the planks into place.
- Tile: Apply adhesive with a trowel, laying tiles in a straight line. Use spacers for even grout lines.
- Vinyl: Peel and stick tiles are straightforward, but ensure alignment for a seamless appearance.
Finishing Touches
After the flooring is installed, the final touches make all the difference. Remove spacers, then install baseboards or molding to cover the expansion gaps. For tile floors, apply grout between the tiles, wiping away excess with a damp sponge.
Allow adequate time for any adhesives or grout to cure before placing furniture back in the room. This prevents damage and ensures the flooring remains intact during its initial settling period.
Maintenance Tips
Proper maintenance will keep your floor looking new for years. Regularly clean the floor using a method appropriate for the material. For example, damp mop hardwood and laminate, while tile can handle a more thorough cleaning.
Protect your investment by placing mats at entrances to catch dirt and moisture. Additionally, use felt pads under furniture legs to prevent scratches and dents.
By following these expert tips, you can achieve professional results with your DIY flooring installation. Enjoy the satisfaction of a job well done and the beauty of your new floor!