
DIY Flooring Installation: Step-by-Step Guide for Beginners


Choosing the Right Flooring Material
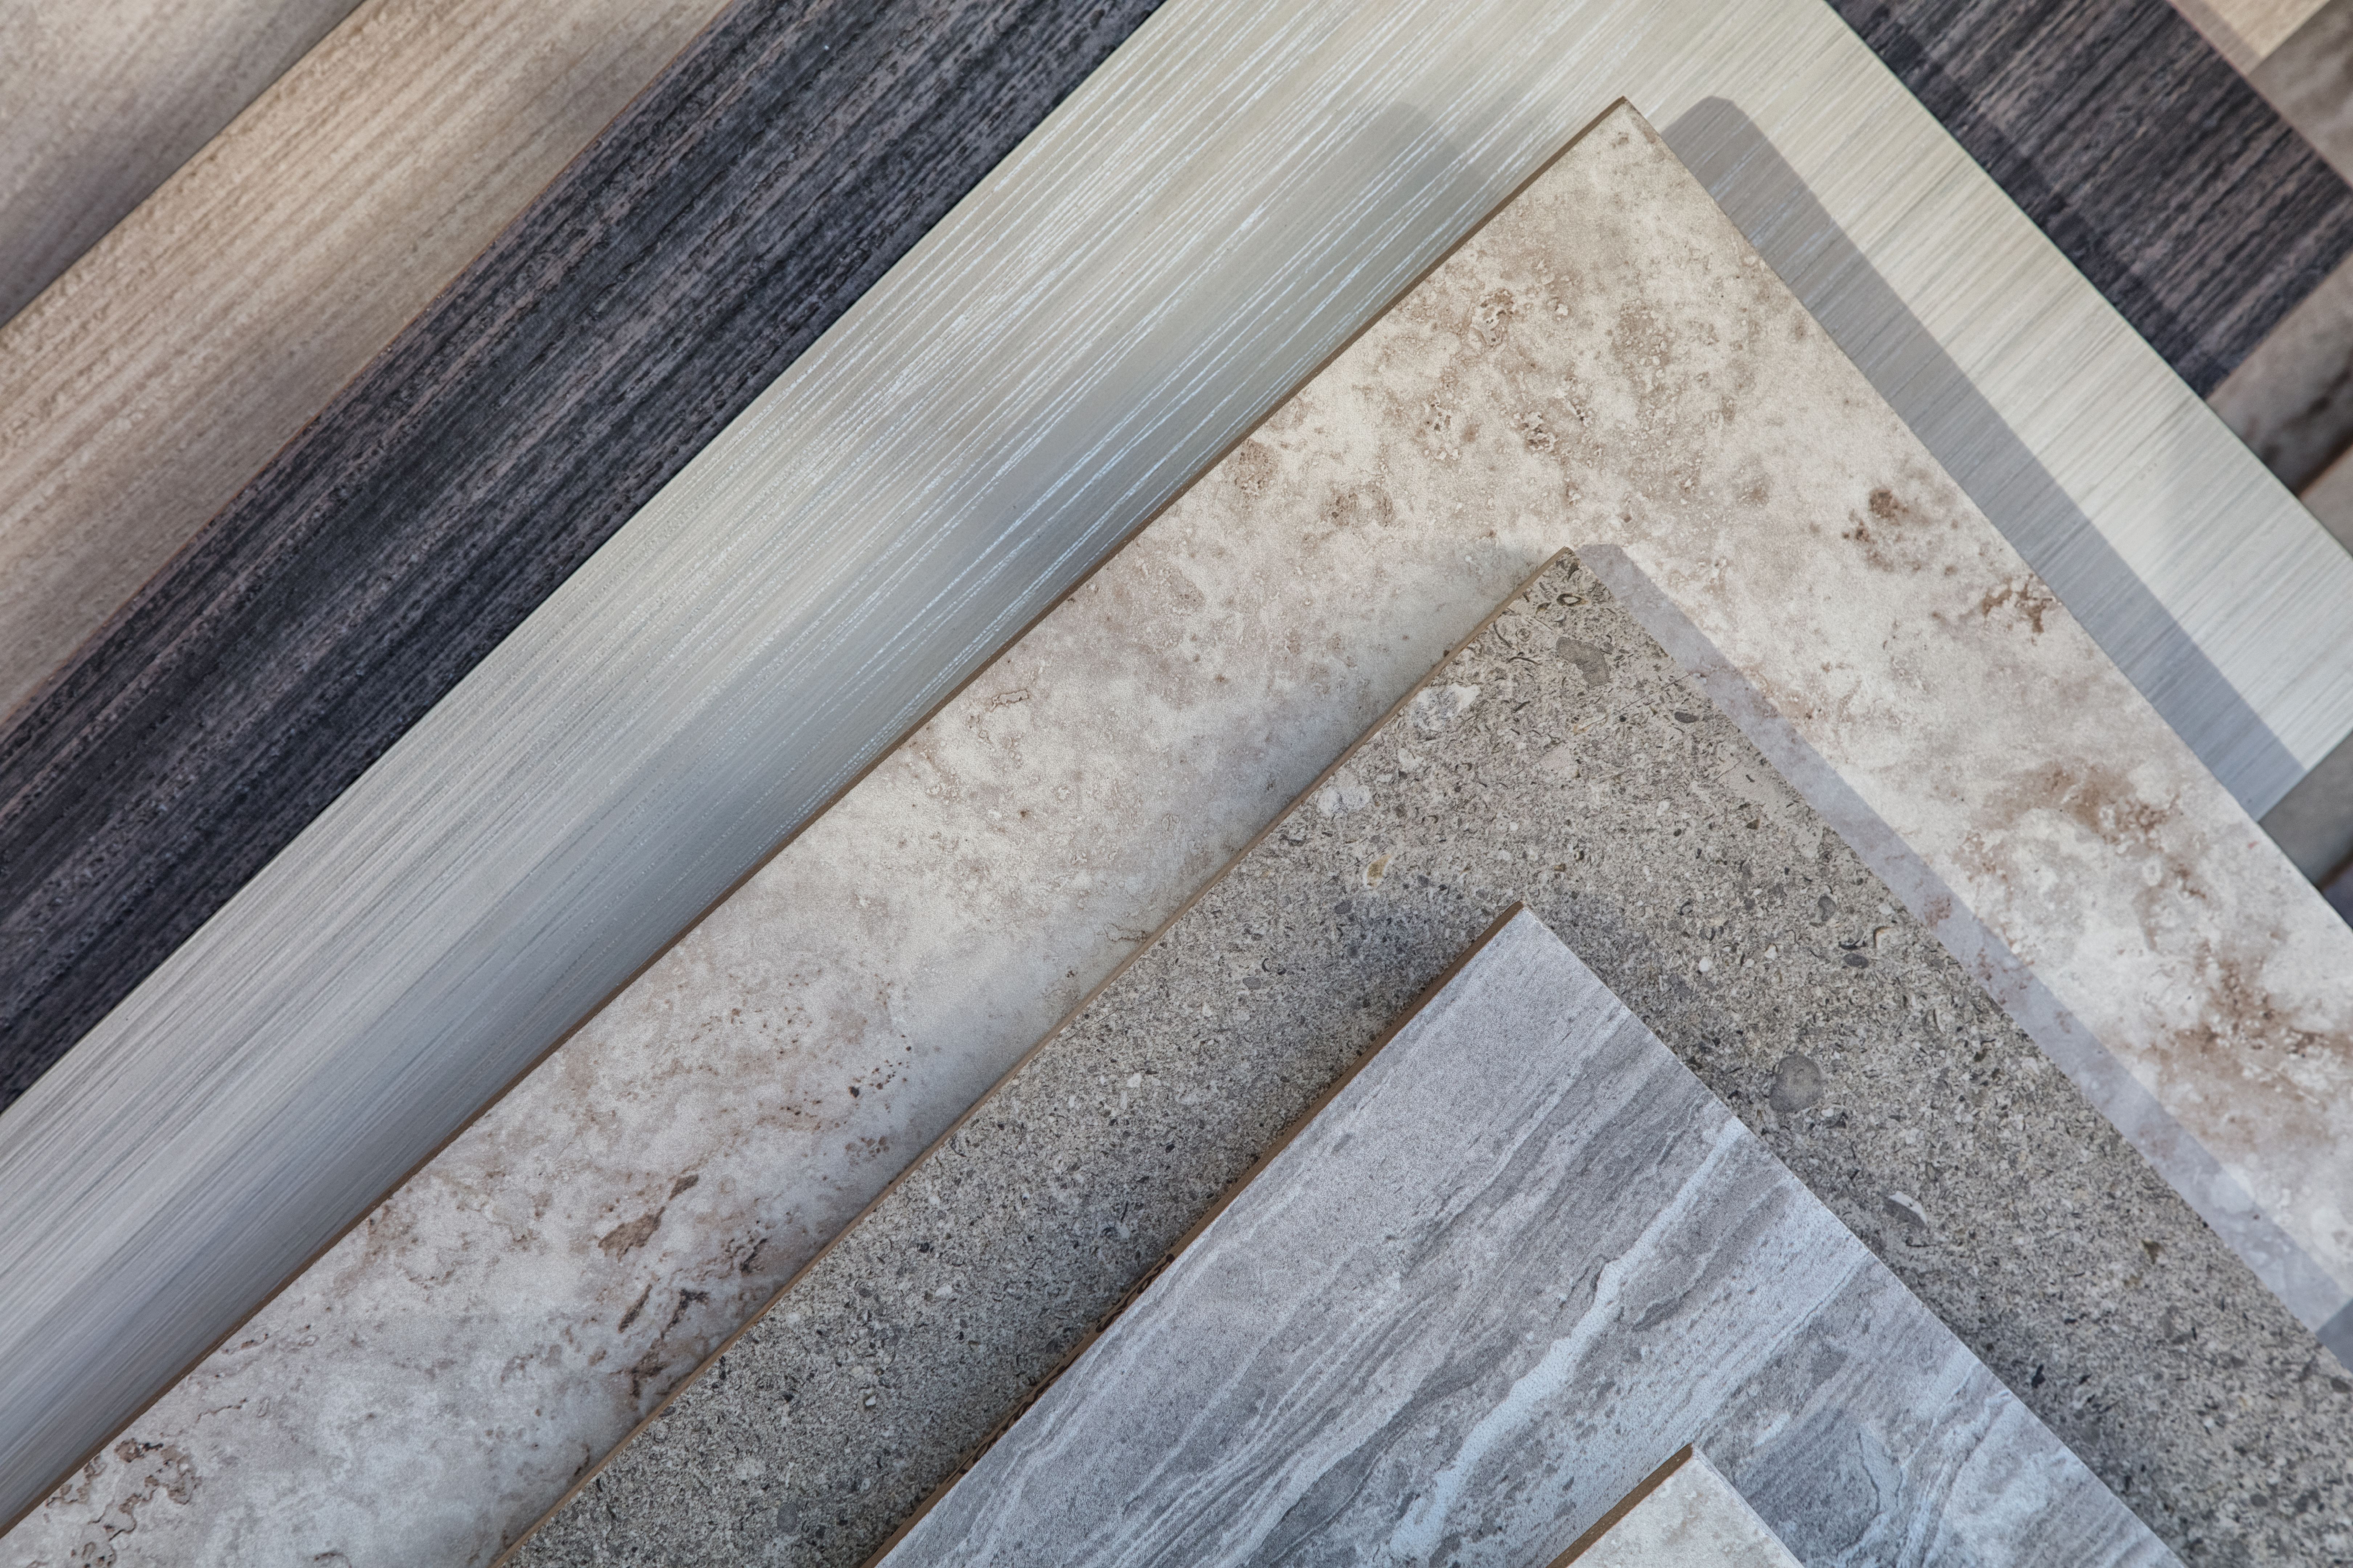
When embarking on a DIY flooring installation, the first step is selecting the right material. Consider factors such as room usage, durability, and style. Popular choices include hardwood, laminate, vinyl, and tile. Each material comes with its own set of benefits and challenges, so it's essential to match the flooring type to your specific needs.
For beginners, laminate and vinyl are often recommended due to their ease of installation and maintenance. Both options mimic the look of natural materials at a fraction of the cost. Furthermore, they are resistant to moisture, making them ideal for areas like kitchens and bathrooms.
Gathering Your Tools and Materials
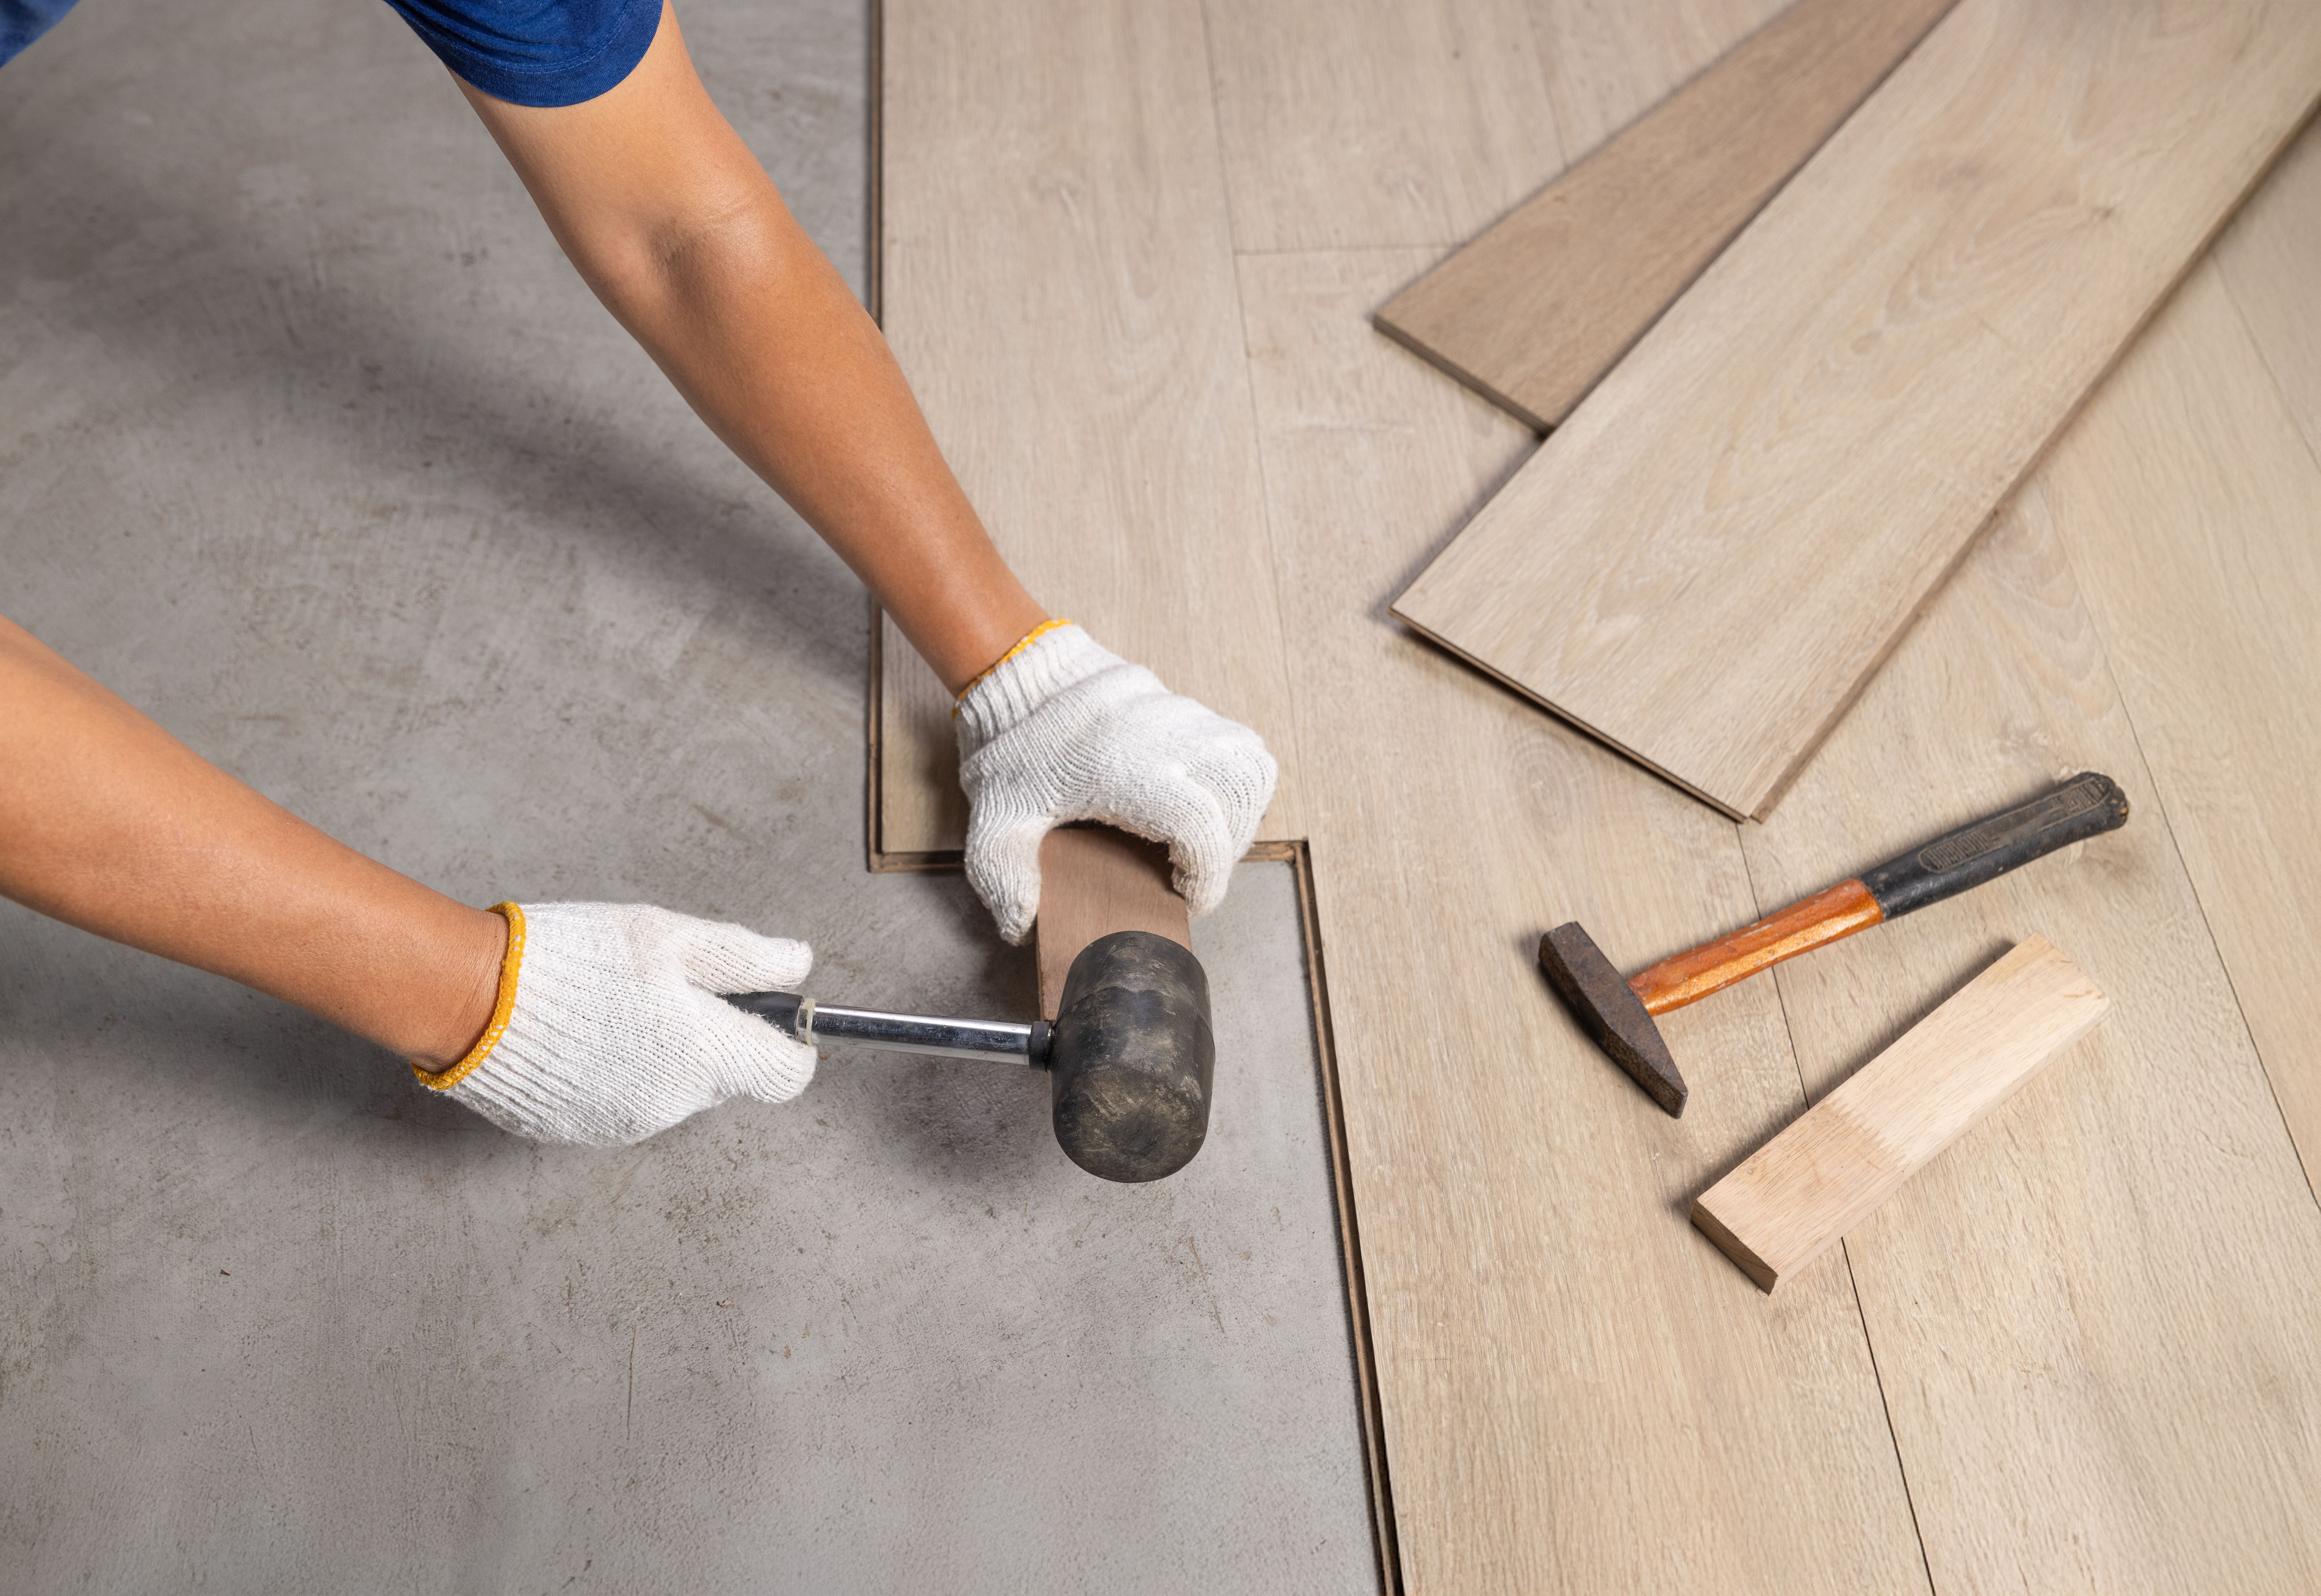
Before starting your project, gather all necessary tools and materials. Essential tools include a tape measure, utility knife, spacers, and a rubber mallet. Depending on the flooring type, you may also need a saw for cutting planks to fit.
Make a checklist of materials such as underlayment, adhesive (if required), and transition strips. Having everything prepared in advance will ensure a smoother installation process and help avoid unnecessary interruptions.
Preparing the Subfloor
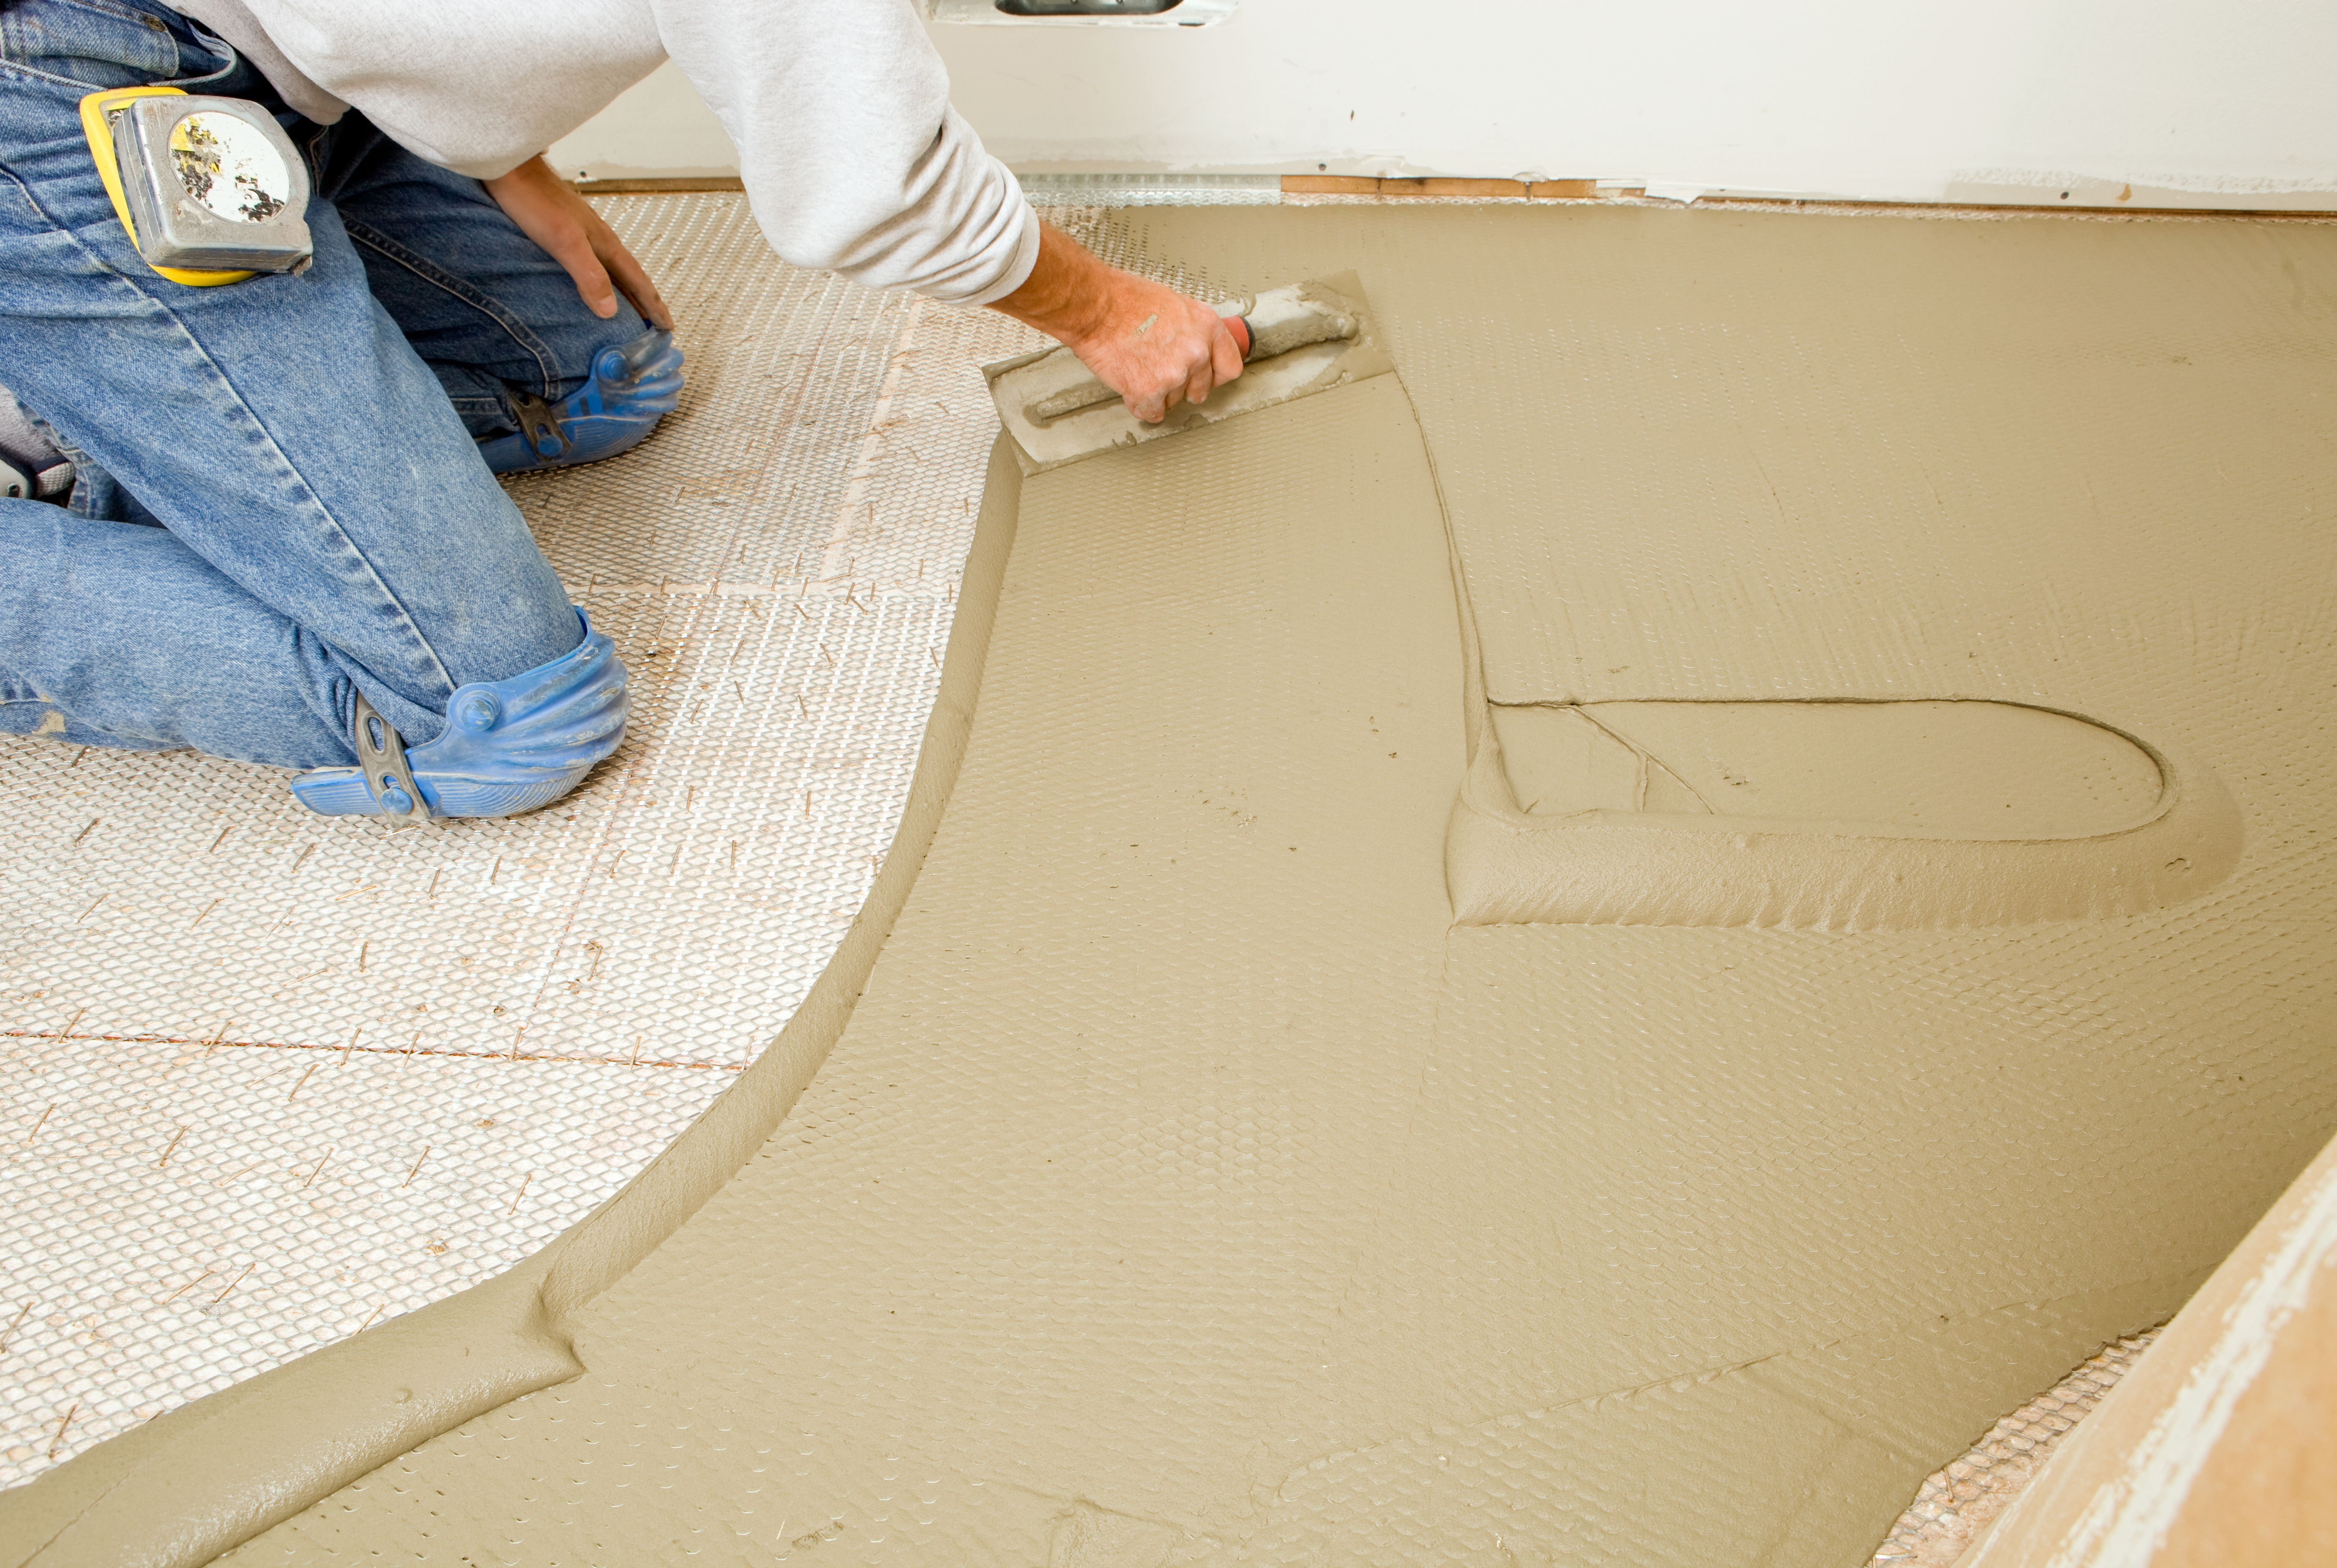
A successful installation begins with a well-prepared subfloor. Ensure it is clean, dry, and level. Remove any existing flooring, nails, or debris. For uneven surfaces, use a leveling compound to create a smooth base. This step is crucial as it prevents future issues like warping or gaps.
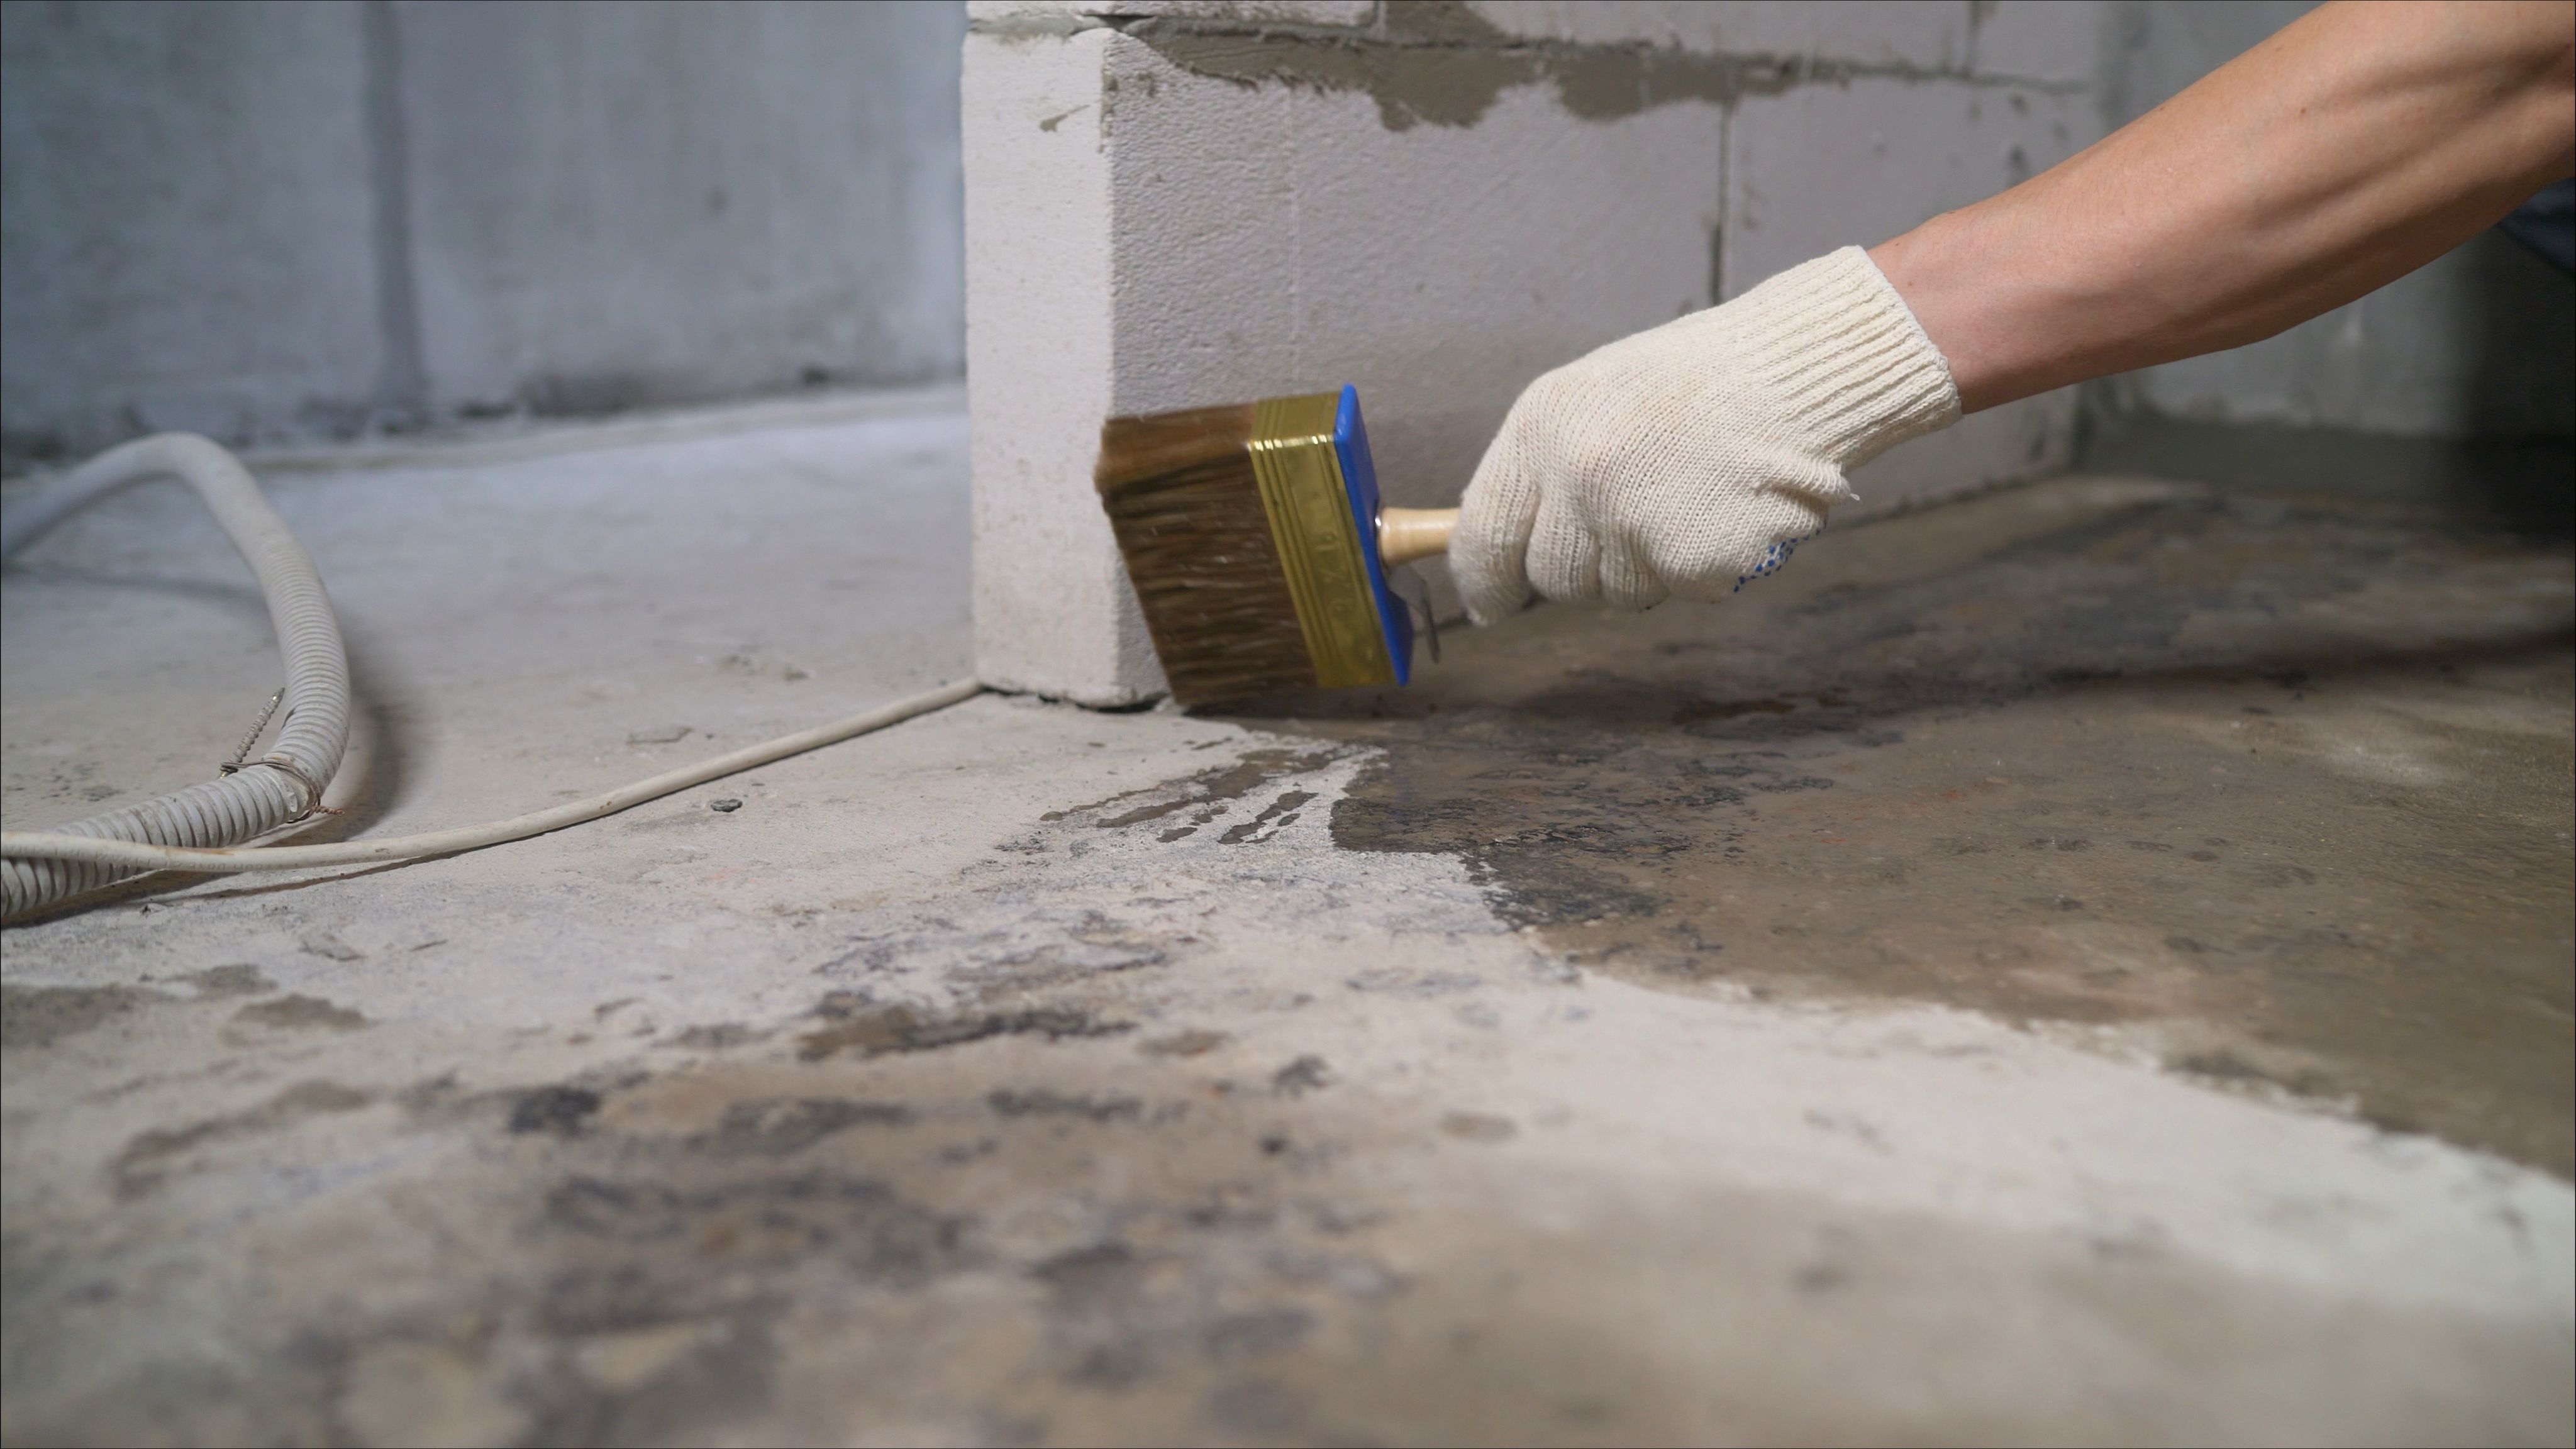
Check the subfloor for moisture, especially in areas prone to dampness. Mold and mildew can cause significant damage over time, so addressing moisture issues beforehand is vital.
Installing the Flooring
Start by laying the underlayment, if required. This provides a cushion effect and sound barrier. Follow the manufacturer's instructions for the specific type of flooring you've chosen.
For most flooring types, begin installation from the longest wall and work your way across the room. Use spacers to maintain a consistent gap between the flooring and walls, allowing for natural expansion. Fit each piece snugly to the next, ensuring no gaps or misalignment.
Finishing Touches
Once the flooring is laid, remove the spacers and install the baseboards or molding. These not only add a finished look but also help secure the edges of the flooring.
Finally, add transition strips between different flooring types or rooms to create a seamless flow. Inspect the finished floor for any loose areas and make adjustments as needed.
Maintenance Tips
To keep your new flooring looking pristine, regular maintenance is key. Sweep or vacuum frequently to remove dirt and debris. For hard surfaces like laminate or vinyl, use a damp mop with a gentle cleaner.
Avoid dragging heavy furniture across the floor to prevent scratches. Use felt pads on furniture legs and consider area rugs for high-traffic areas to minimize wear.
By following these steps, even beginners can achieve professional-looking results with their DIY flooring installation. Enjoy the satisfaction of transforming your space with your own hands!