
DIY Flooring Installation: Step-by-Step Guide for Beginners


Embarking on a DIY flooring installation can be an exciting project. Not only does it allow you to add a personal touch to your home, but it can also be a cost-effective way to refresh your space. Whether you're considering hardwood, laminate, or vinyl, this step-by-step guide will help you through the process.
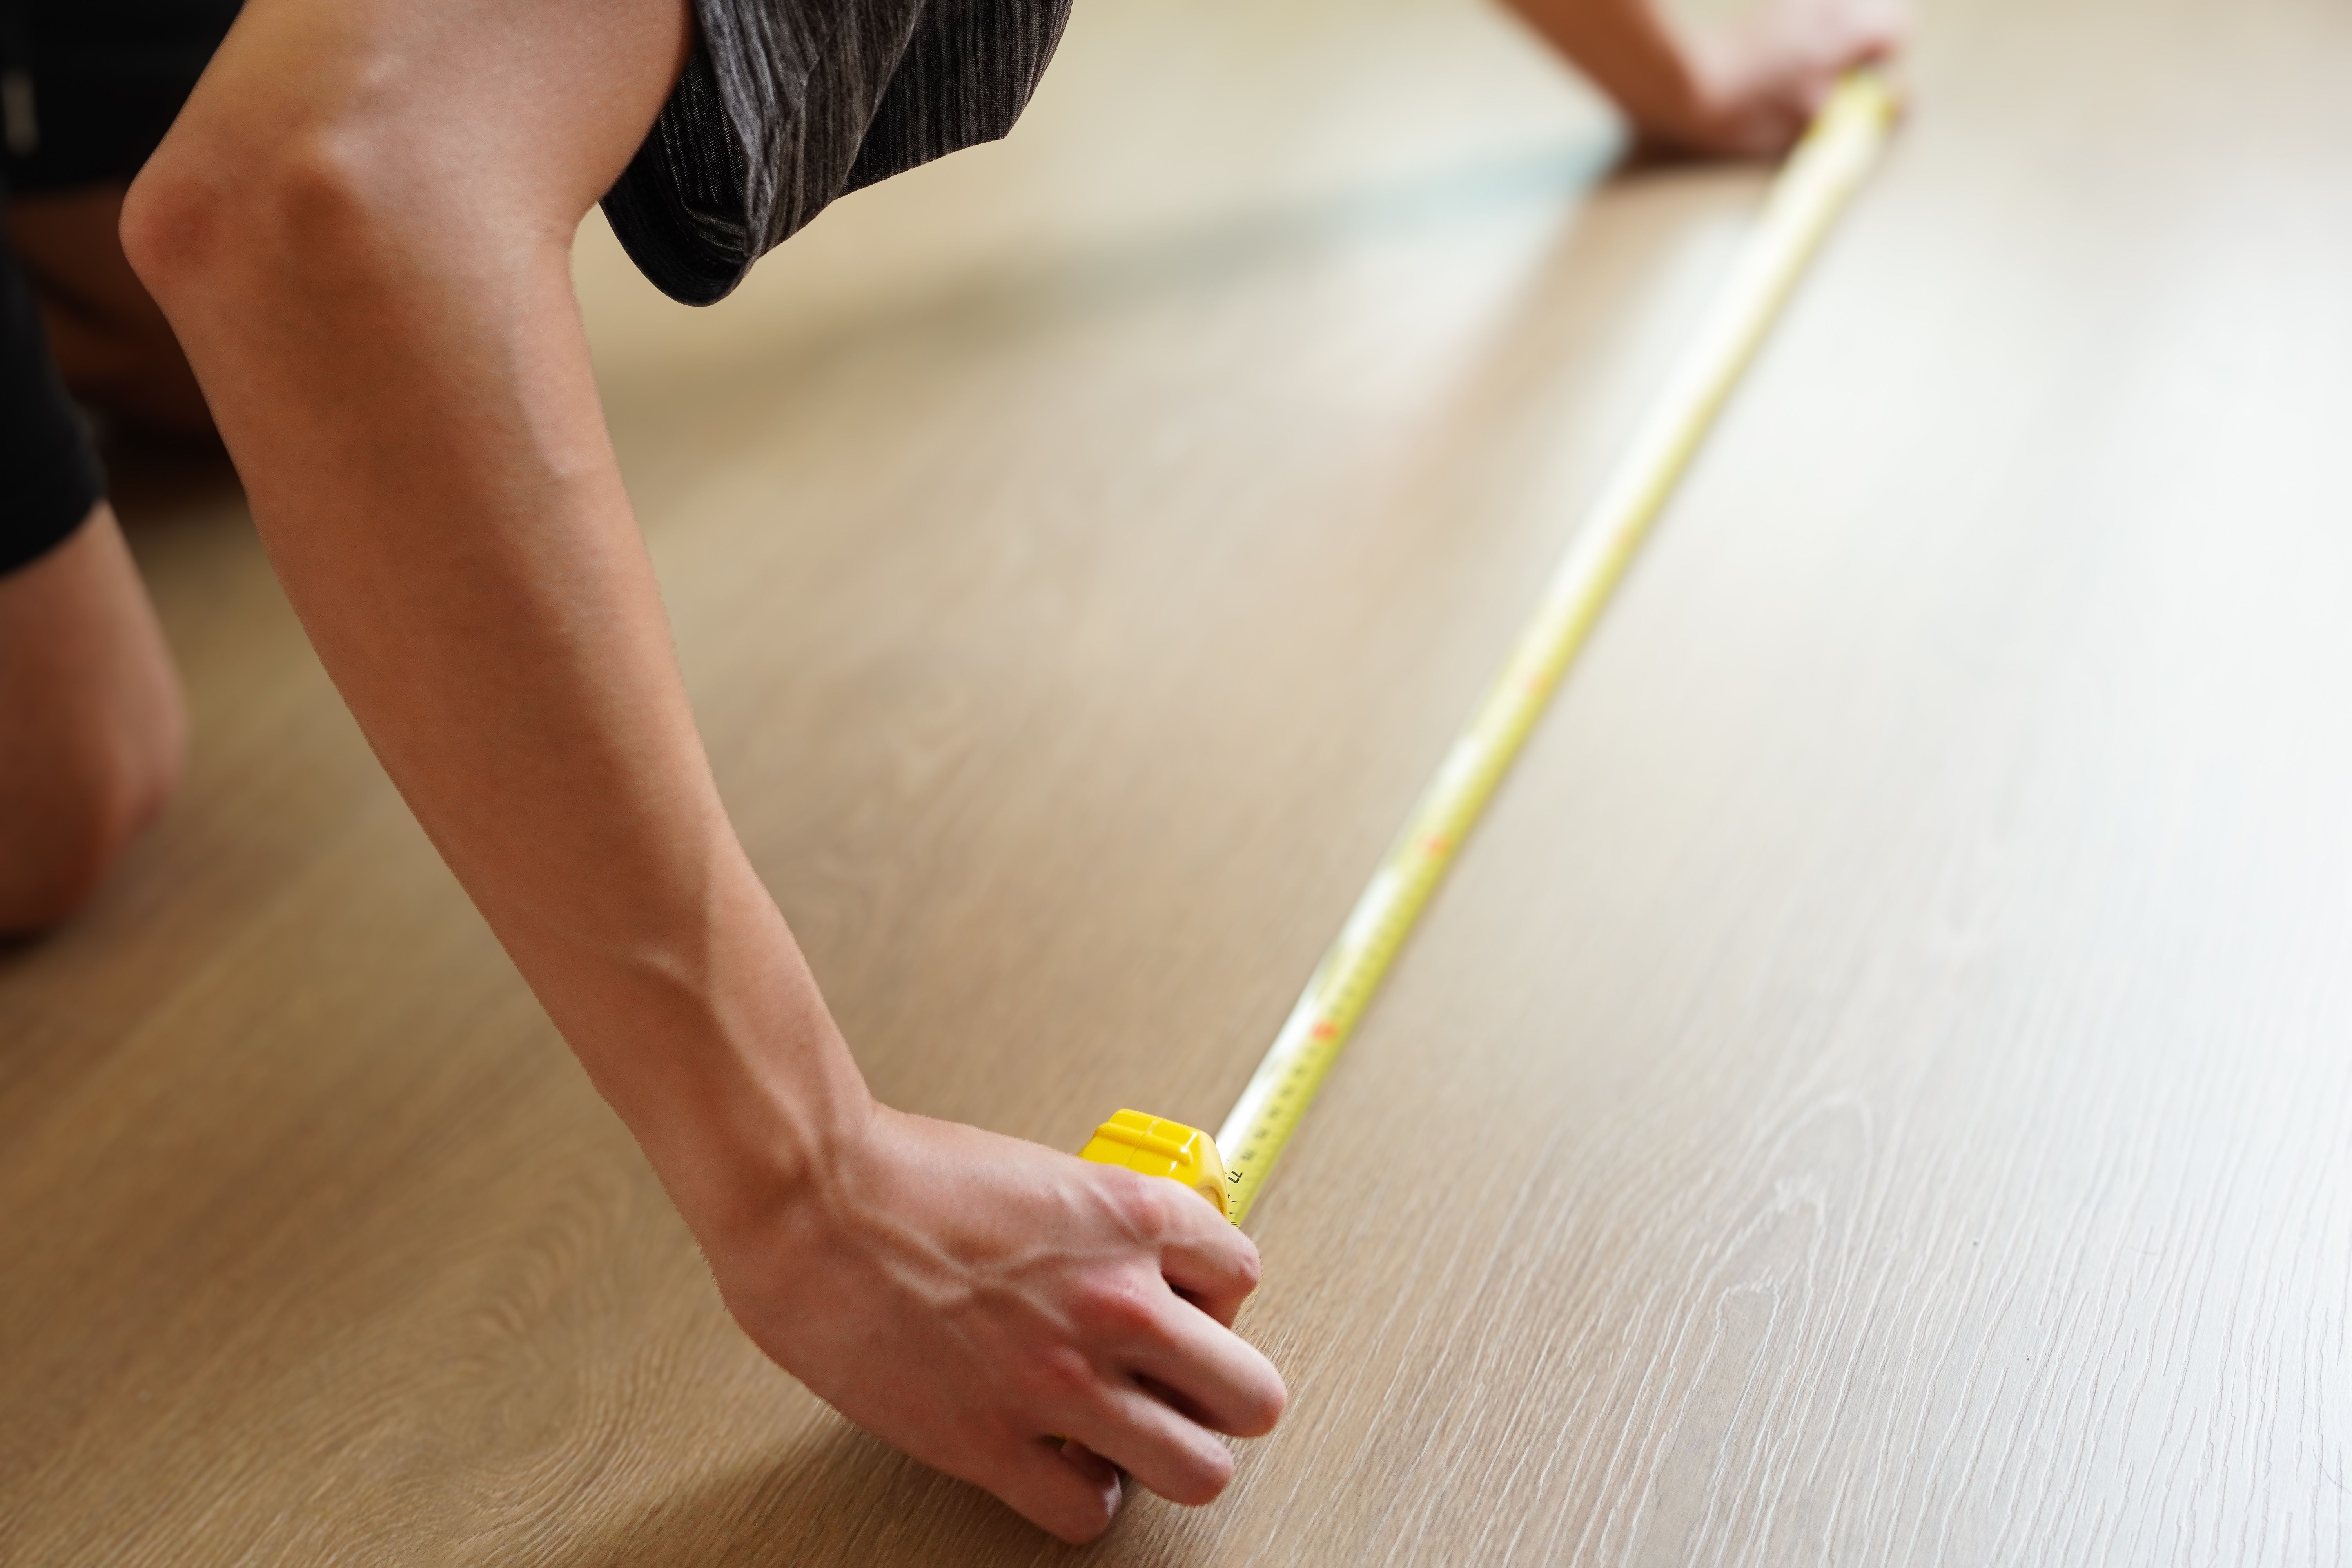
Gathering Your Tools and Materials
Before diving in, make sure you have all the necessary tools and materials. Essential tools include a tape measure, utility knife, saw, spacers, and a rubber mallet. Depending on the type of flooring, you may also need adhesive or a nail gun. Don’t forget your safety gear, like gloves and goggles.
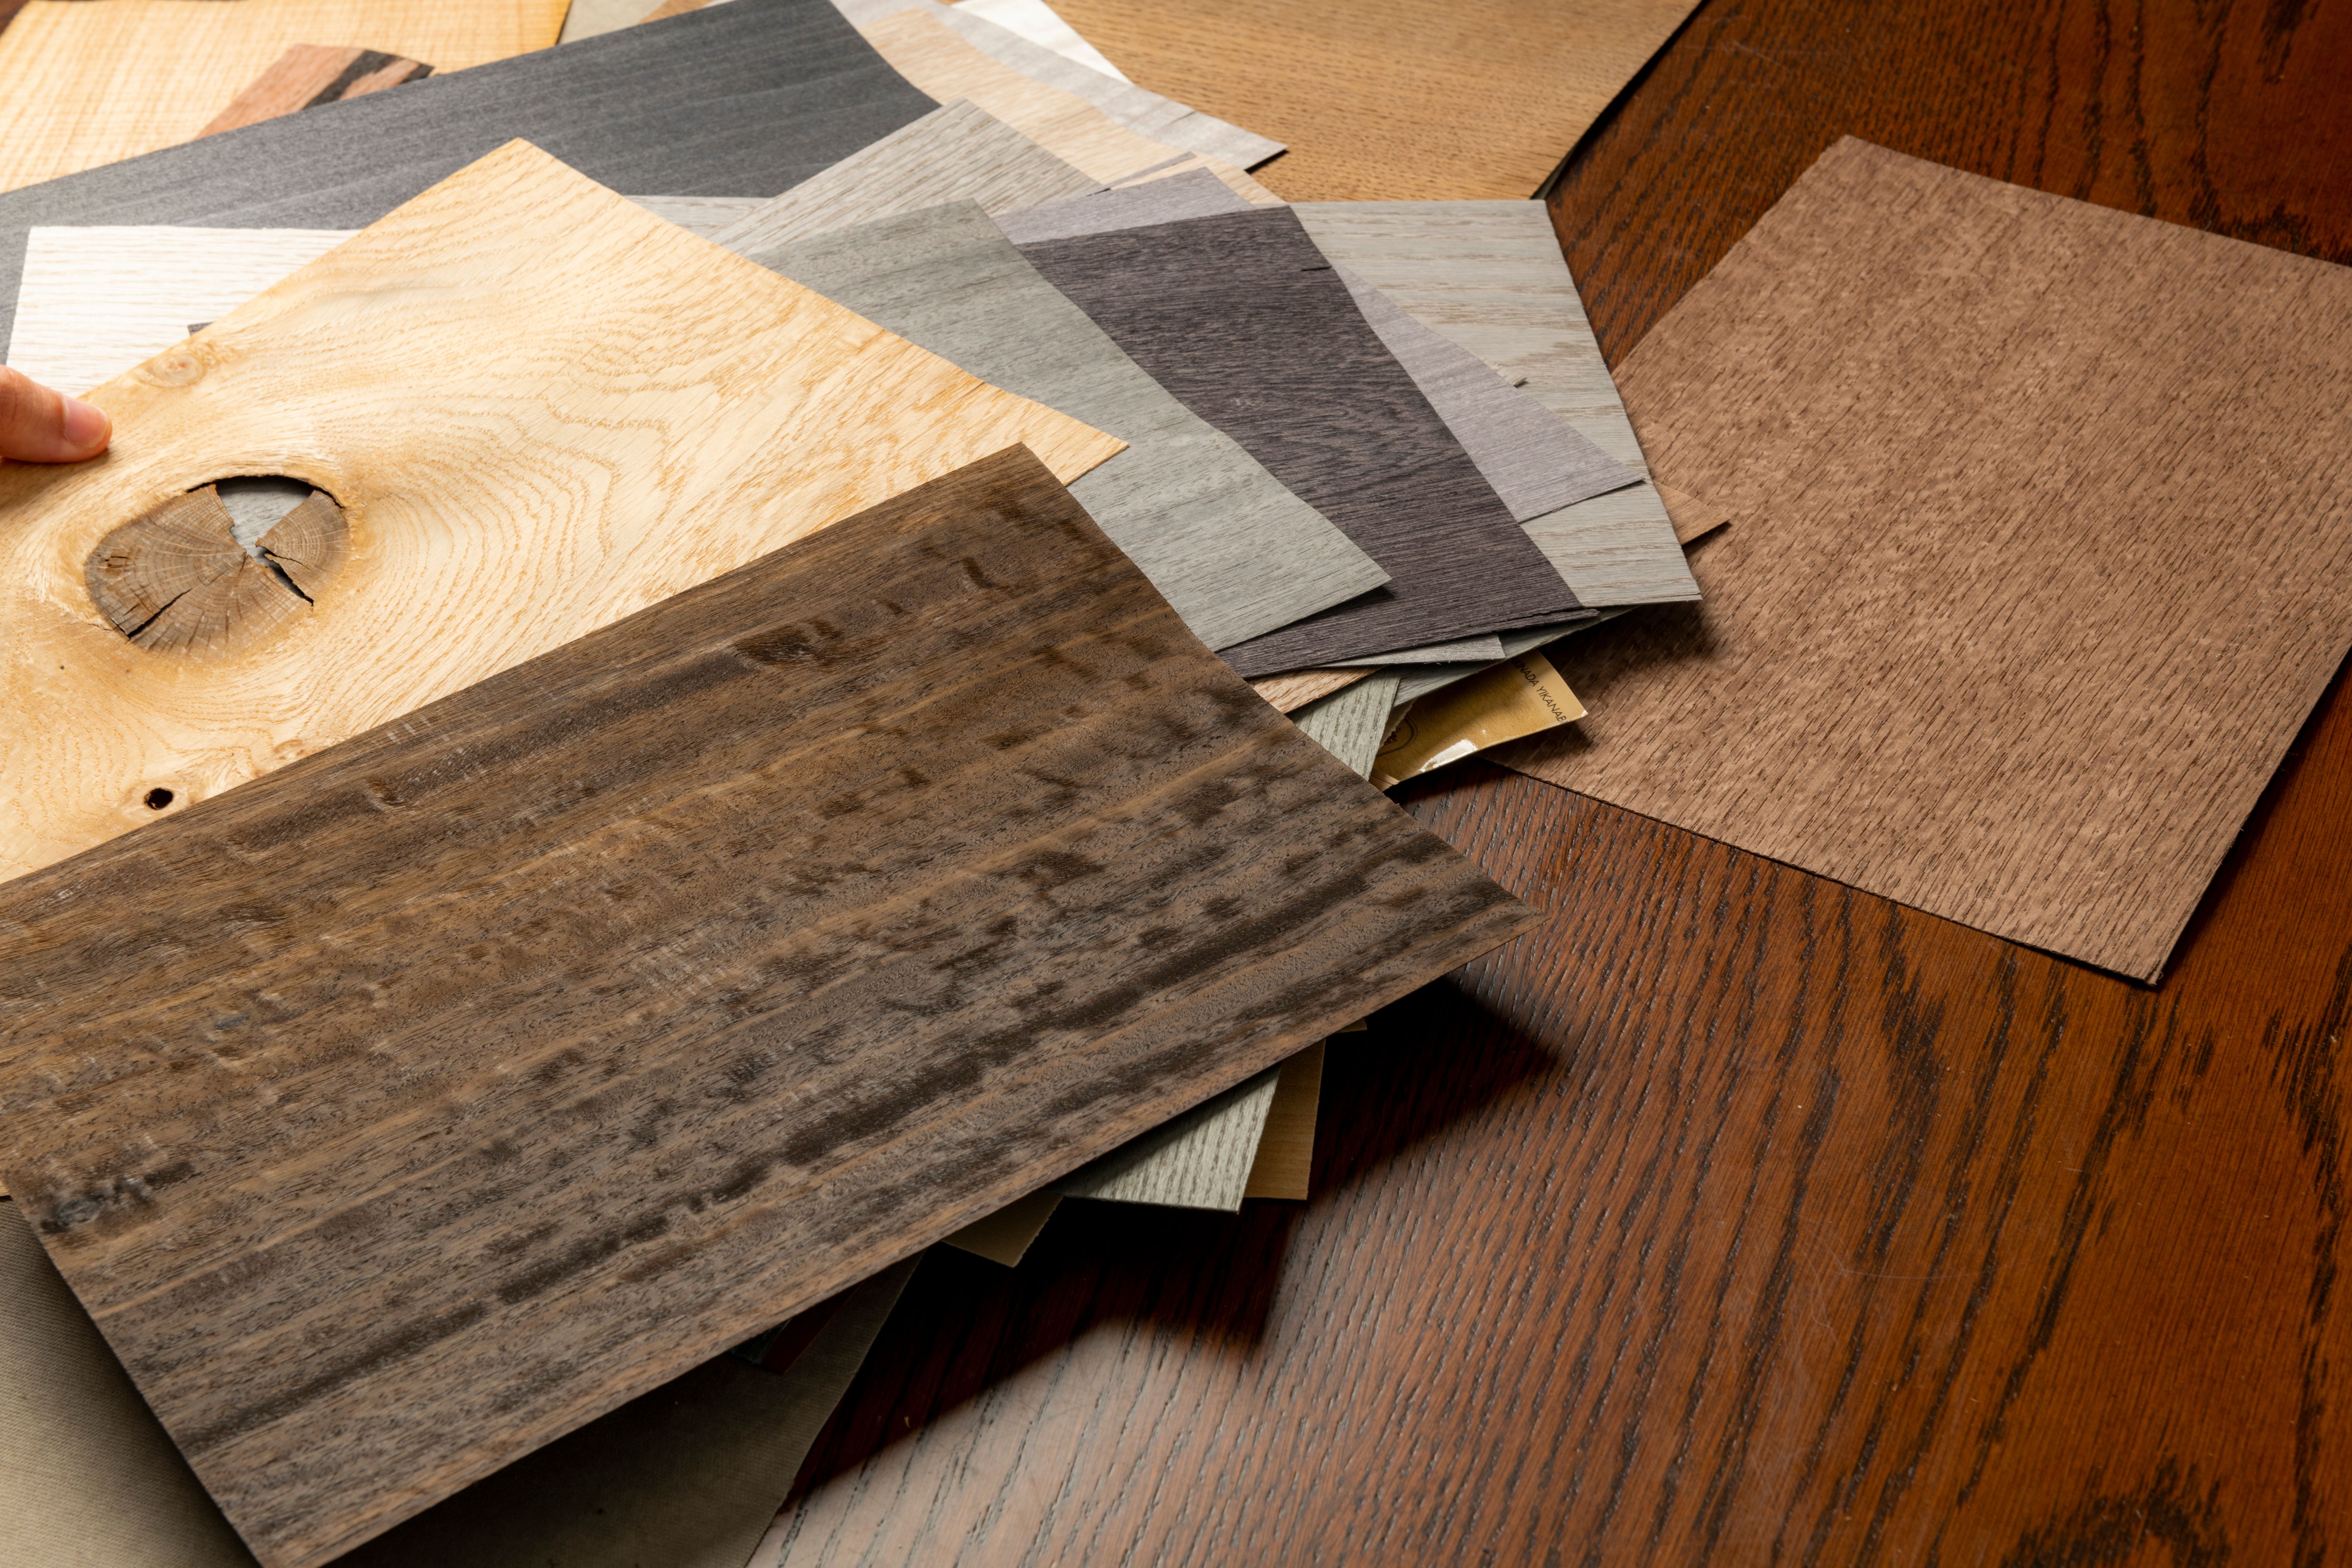
Choose the right flooring material based on your room’s needs. Consider factors like moisture resistance for bathrooms or kitchens and durability for high-traffic areas. Once you’ve selected your flooring, purchase extra material to cover any mistakes or future repairs.
Preparing the Subfloor
Preparation is key to a successful flooring installation. Begin by removing old flooring and thoroughly cleaning the subfloor. It should be smooth, dry, and level. Address any issues, such as uneven surfaces or moisture, before proceeding.
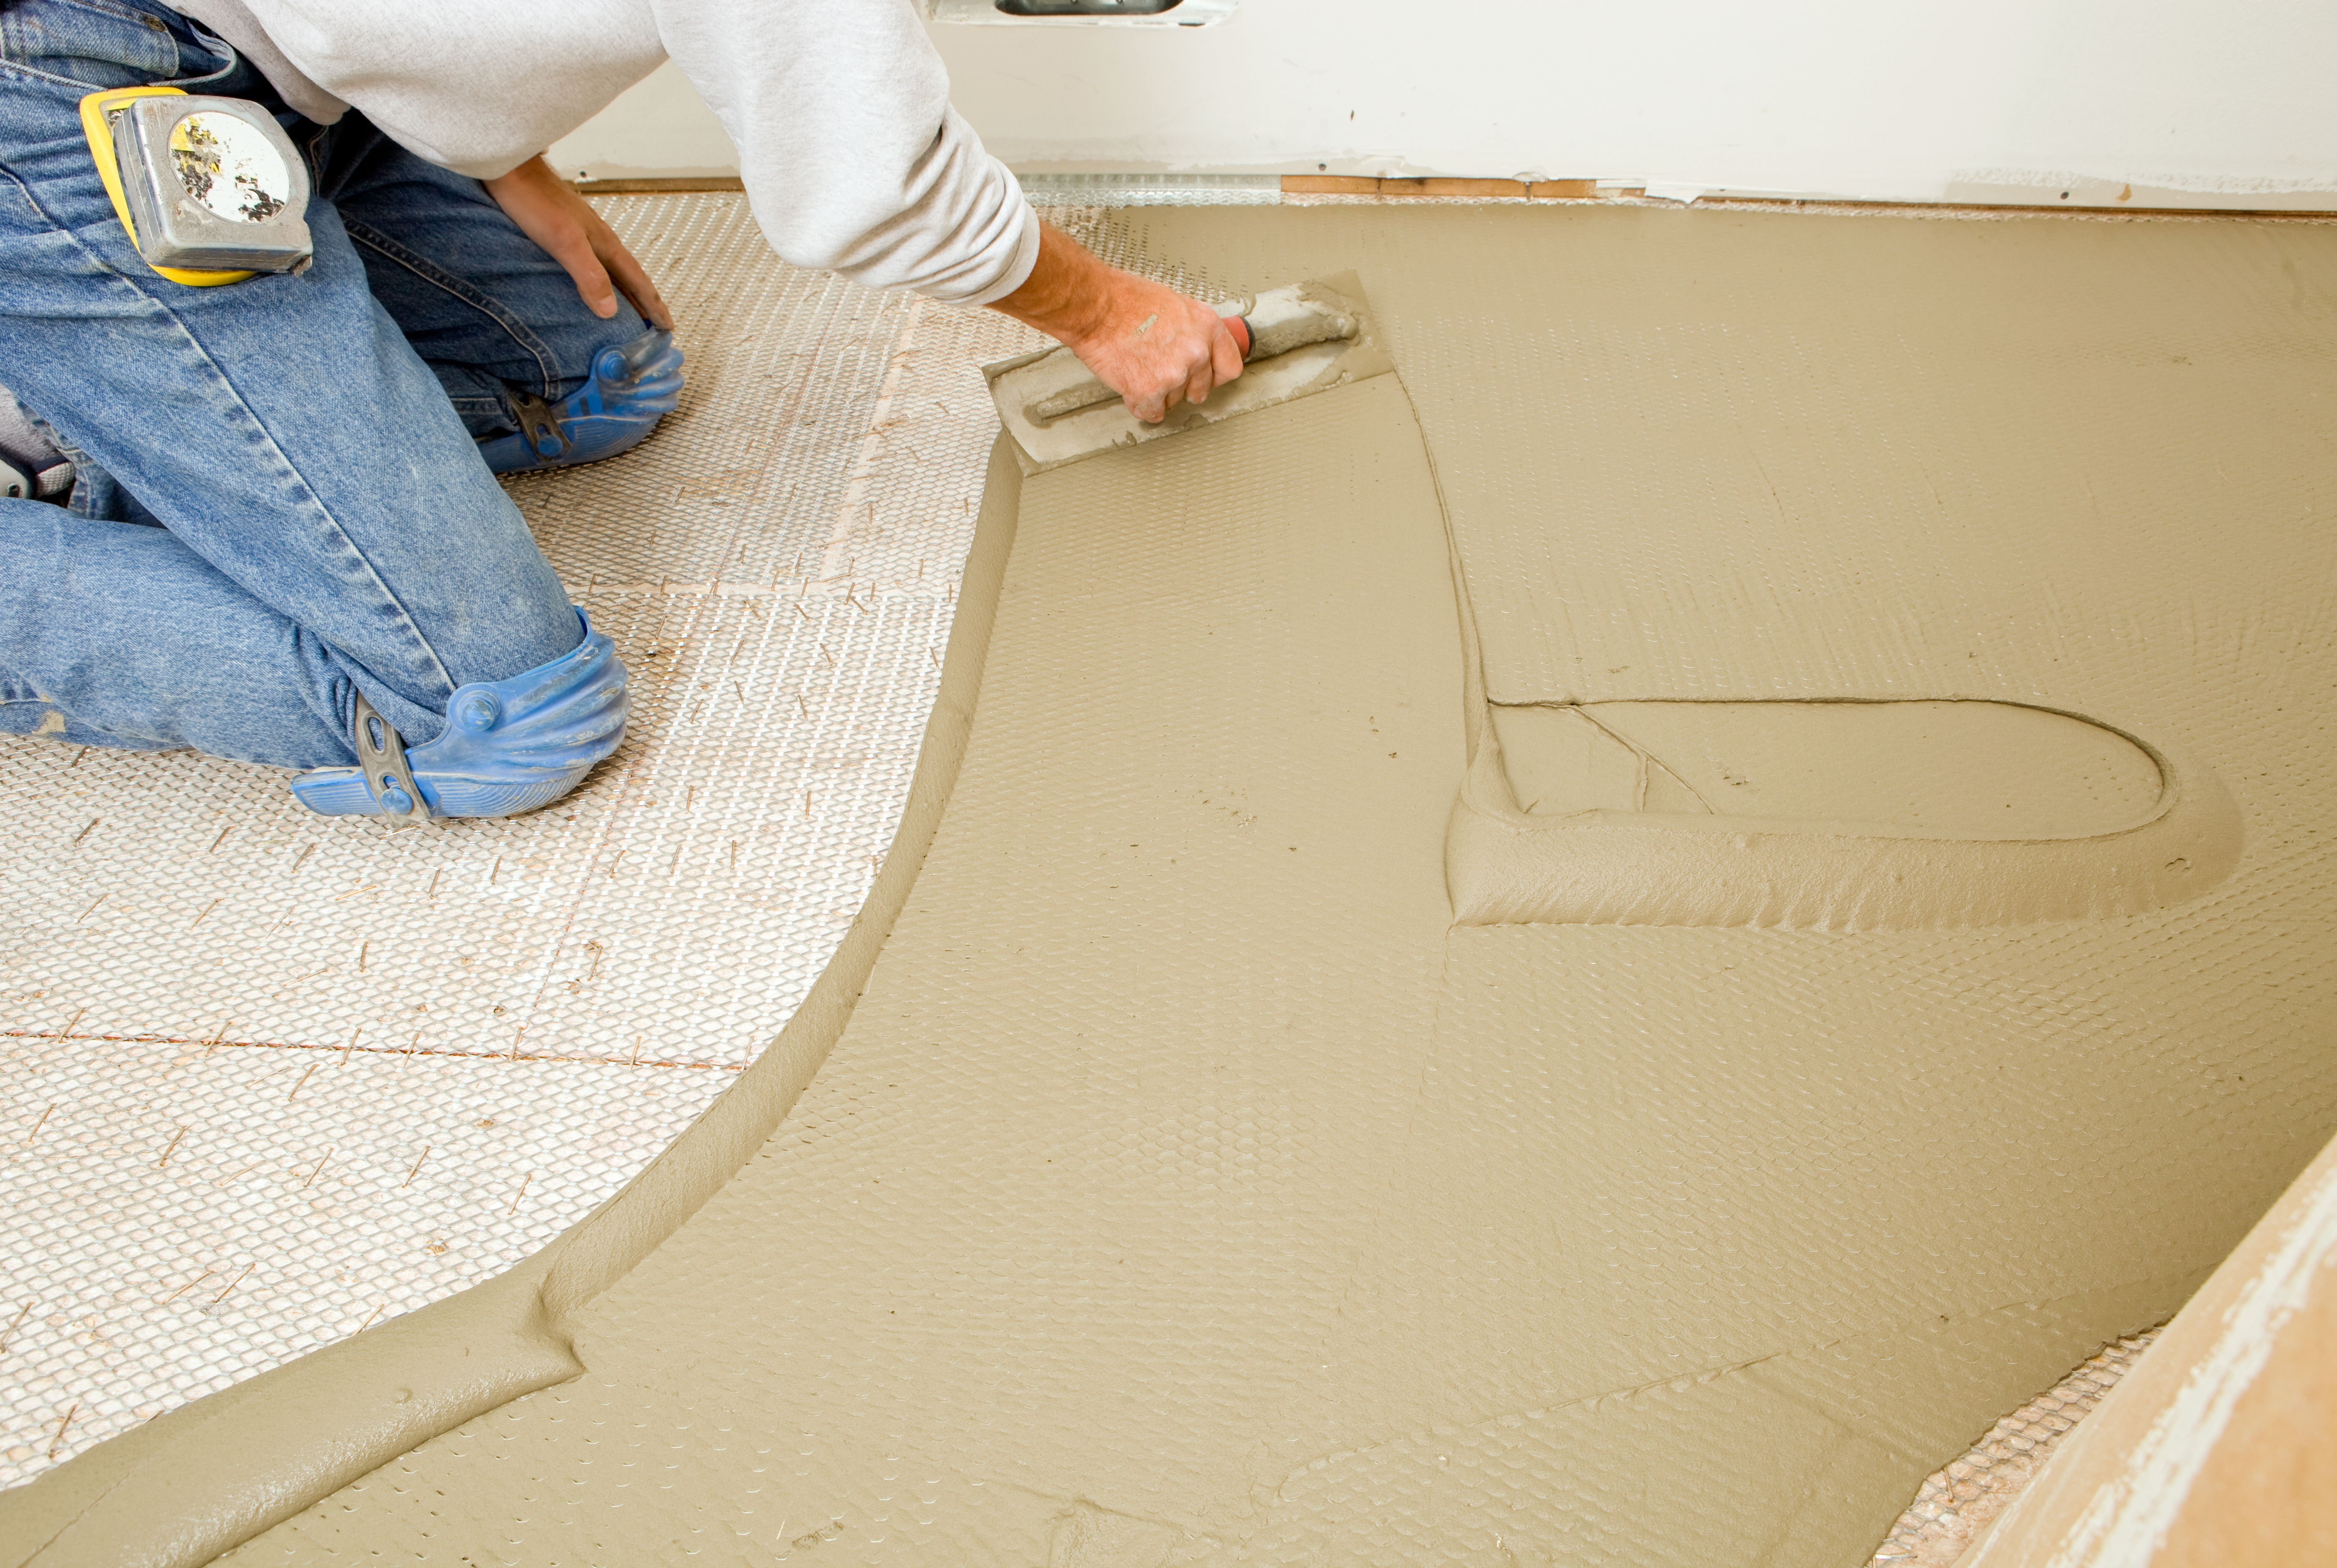
Lay down a moisture barrier if required, particularly in areas prone to dampness. This will protect your new floor from potential damage and prolong its lifespan.
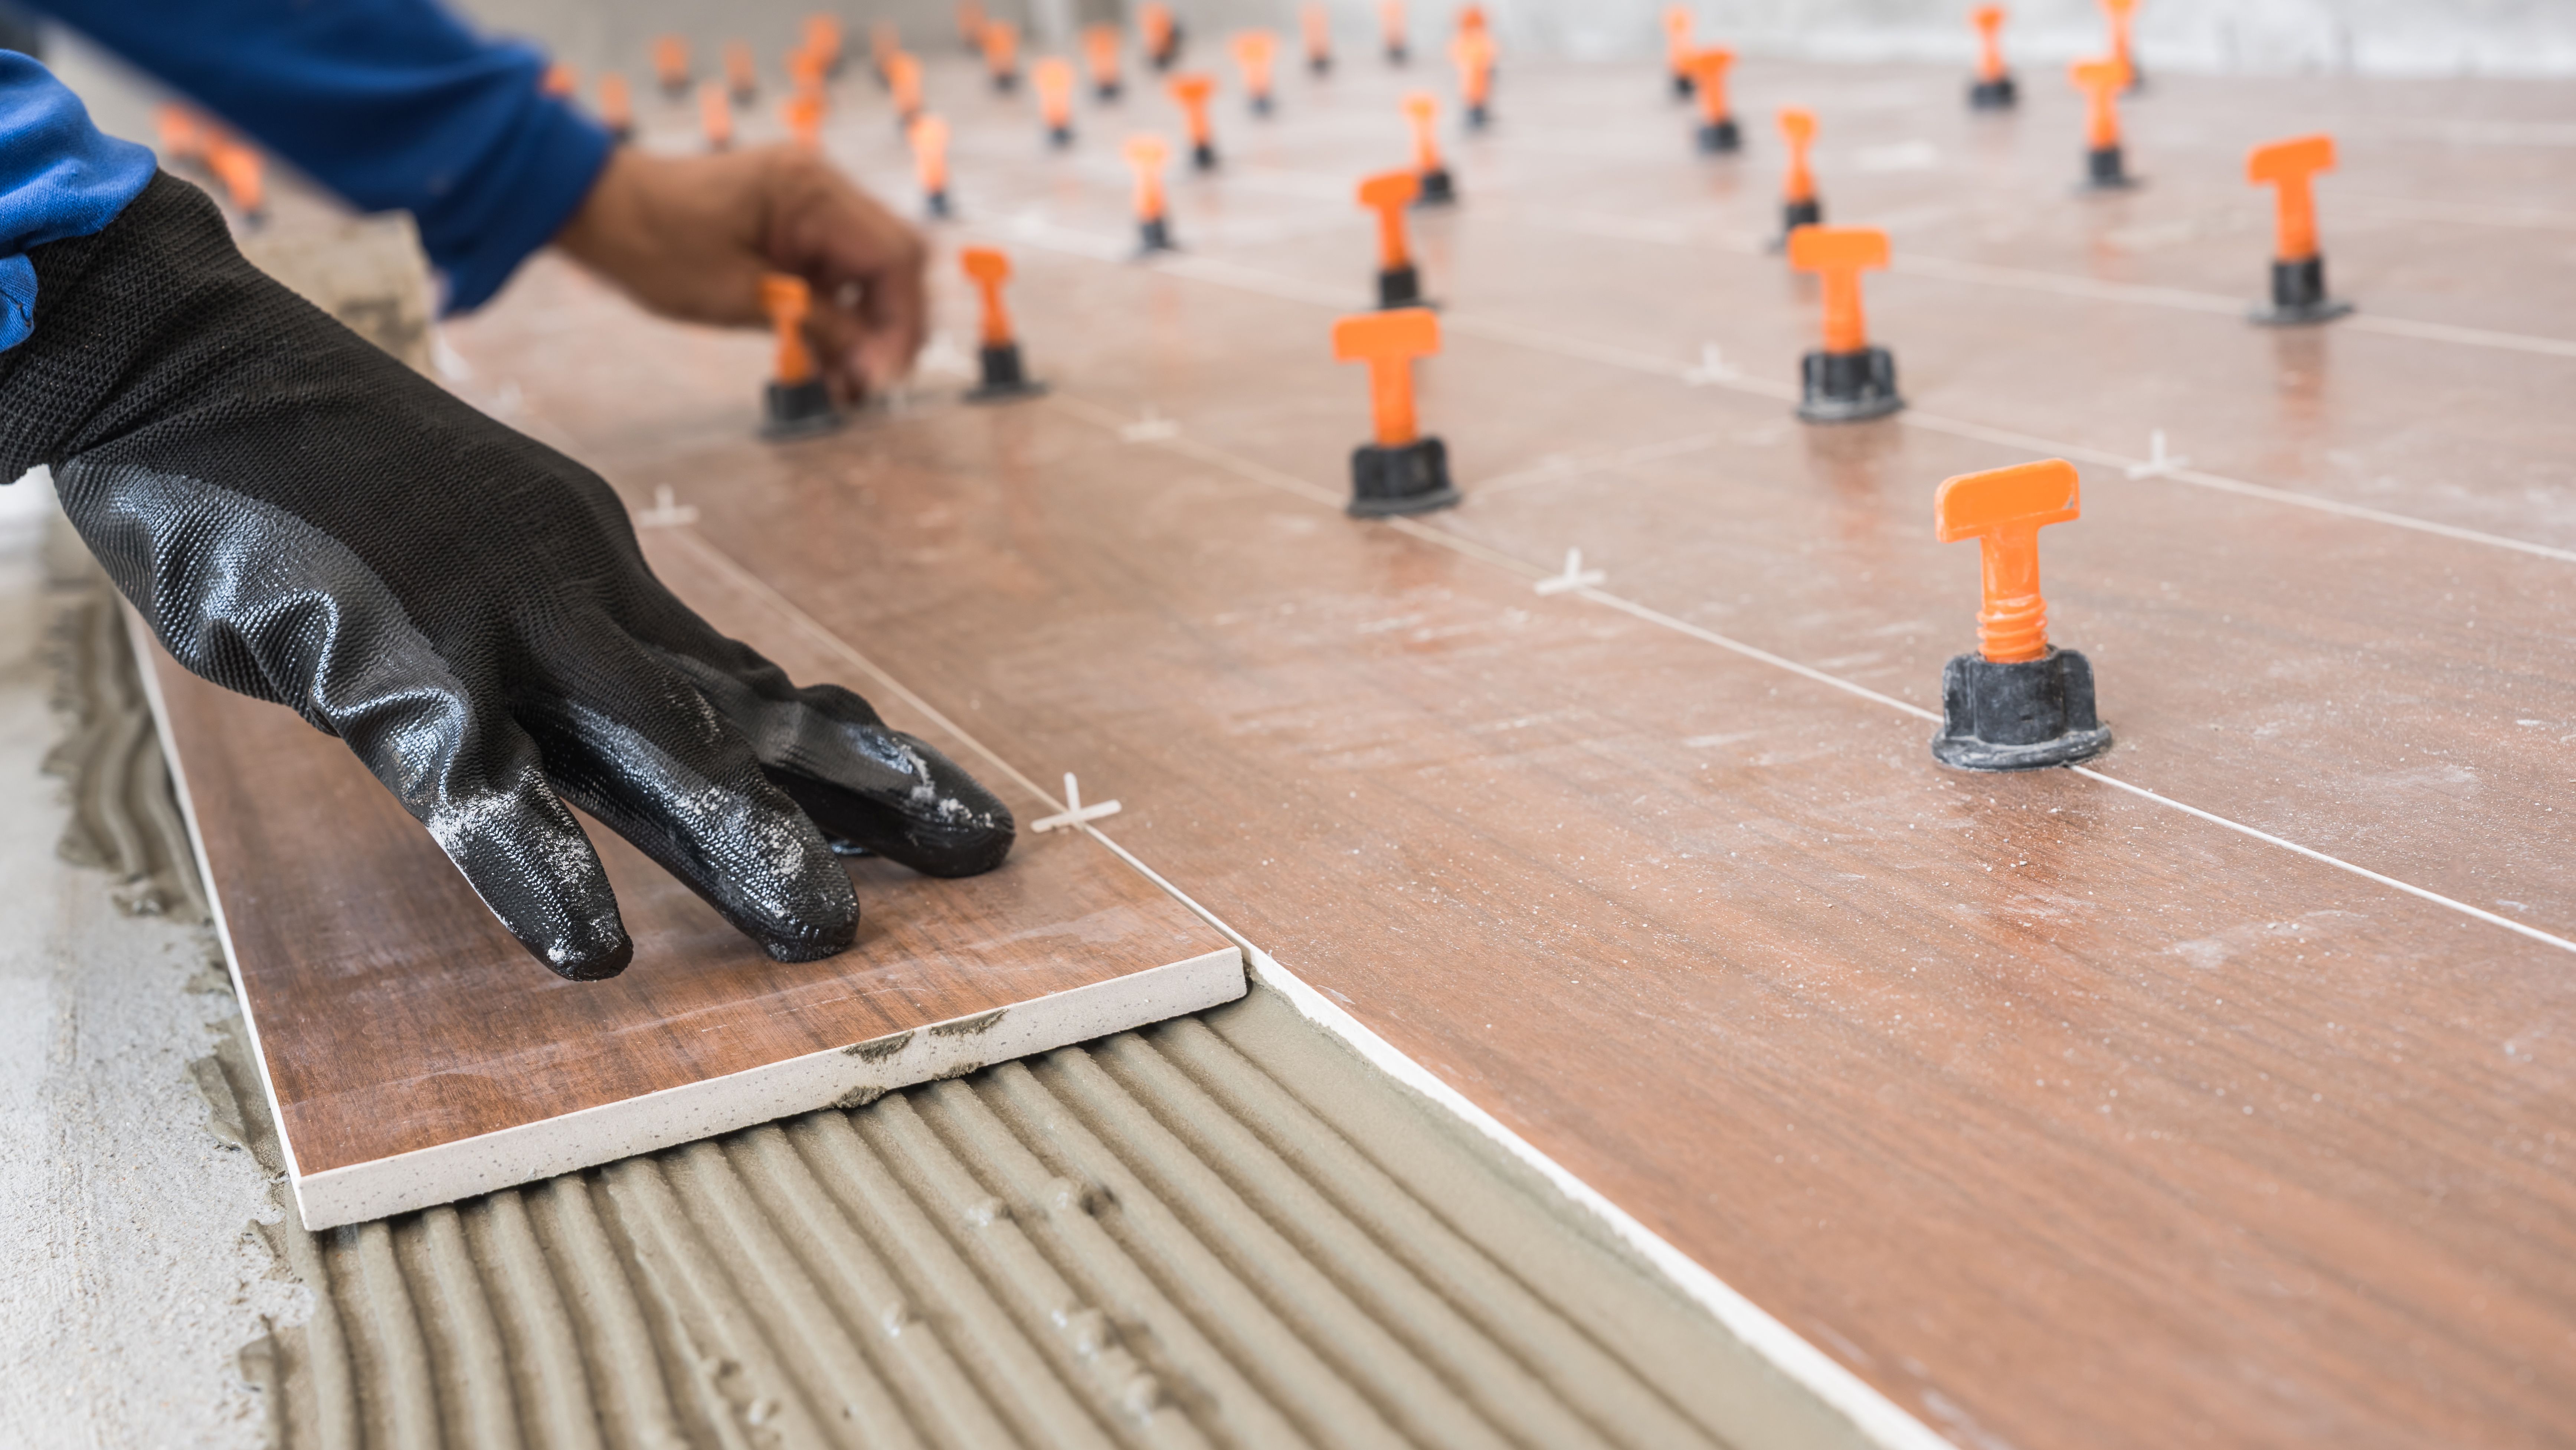
Installing the Flooring
Hardwood and Laminate Flooring
Start by laying the first row of planks along the longest wall, using spacers to maintain an expansion gap. Use a saw to cut planks to size where necessary. Click-lock systems make installation easier for beginners, as they snap together without nails or glue.
- Measure and cut planks to fit.
- Snap or nail planks into place.
- Stagger seams for a natural look.
Vinyl Flooring
Vinyl flooring is often easier to install than hardwood or laminate. Peel-and-stick options simplify the process for DIY enthusiasts. Begin at one corner and work your way across the room, pressing each tile firmly into place.
- Peel off the backing.
- Align tiles carefully.
- Press firmly and evenly.
Finishing Touches
After installation, remove spacers and install baseboards or trim to cover expansion gaps. This not only provides a polished look but also helps secure the flooring edges. Seal any gaps or seams as needed to prevent moisture intrusion.
Finally, clean the floor according to the manufacturer's instructions. Regular maintenance will keep your new floor looking fresh and ensure its longevity. Celebrate your hard work and enjoy the transformation of your space!