
DIY Flooring Installation: A Step-by-Step Tutorial for Beginners


Introduction to DIY Flooring
Installing your own flooring can be a rewarding and cost-effective project for homeowners looking to refresh their living spaces. With the right tools and a bit of patience, even beginners can achieve professional-looking results. This step-by-step guide will walk you through the basics of DIY flooring installation, ensuring you know exactly what to expect along the way.
Choosing the Right Flooring Material
Before you begin, it's crucial to choose the right flooring material for your home. Consider factors such as durability, maintenance, and aesthetics. Popular choices include laminate, vinyl, hardwood, and tile. Each material has its own advantages and challenges, so it's important to select one that fits your lifestyle and skill level.
For beginners, laminate and vinyl flooring are excellent options due to their ease of installation and low maintenance requirements. These materials often come with click-lock systems, making them simple to lay down without the need for adhesives or nails.
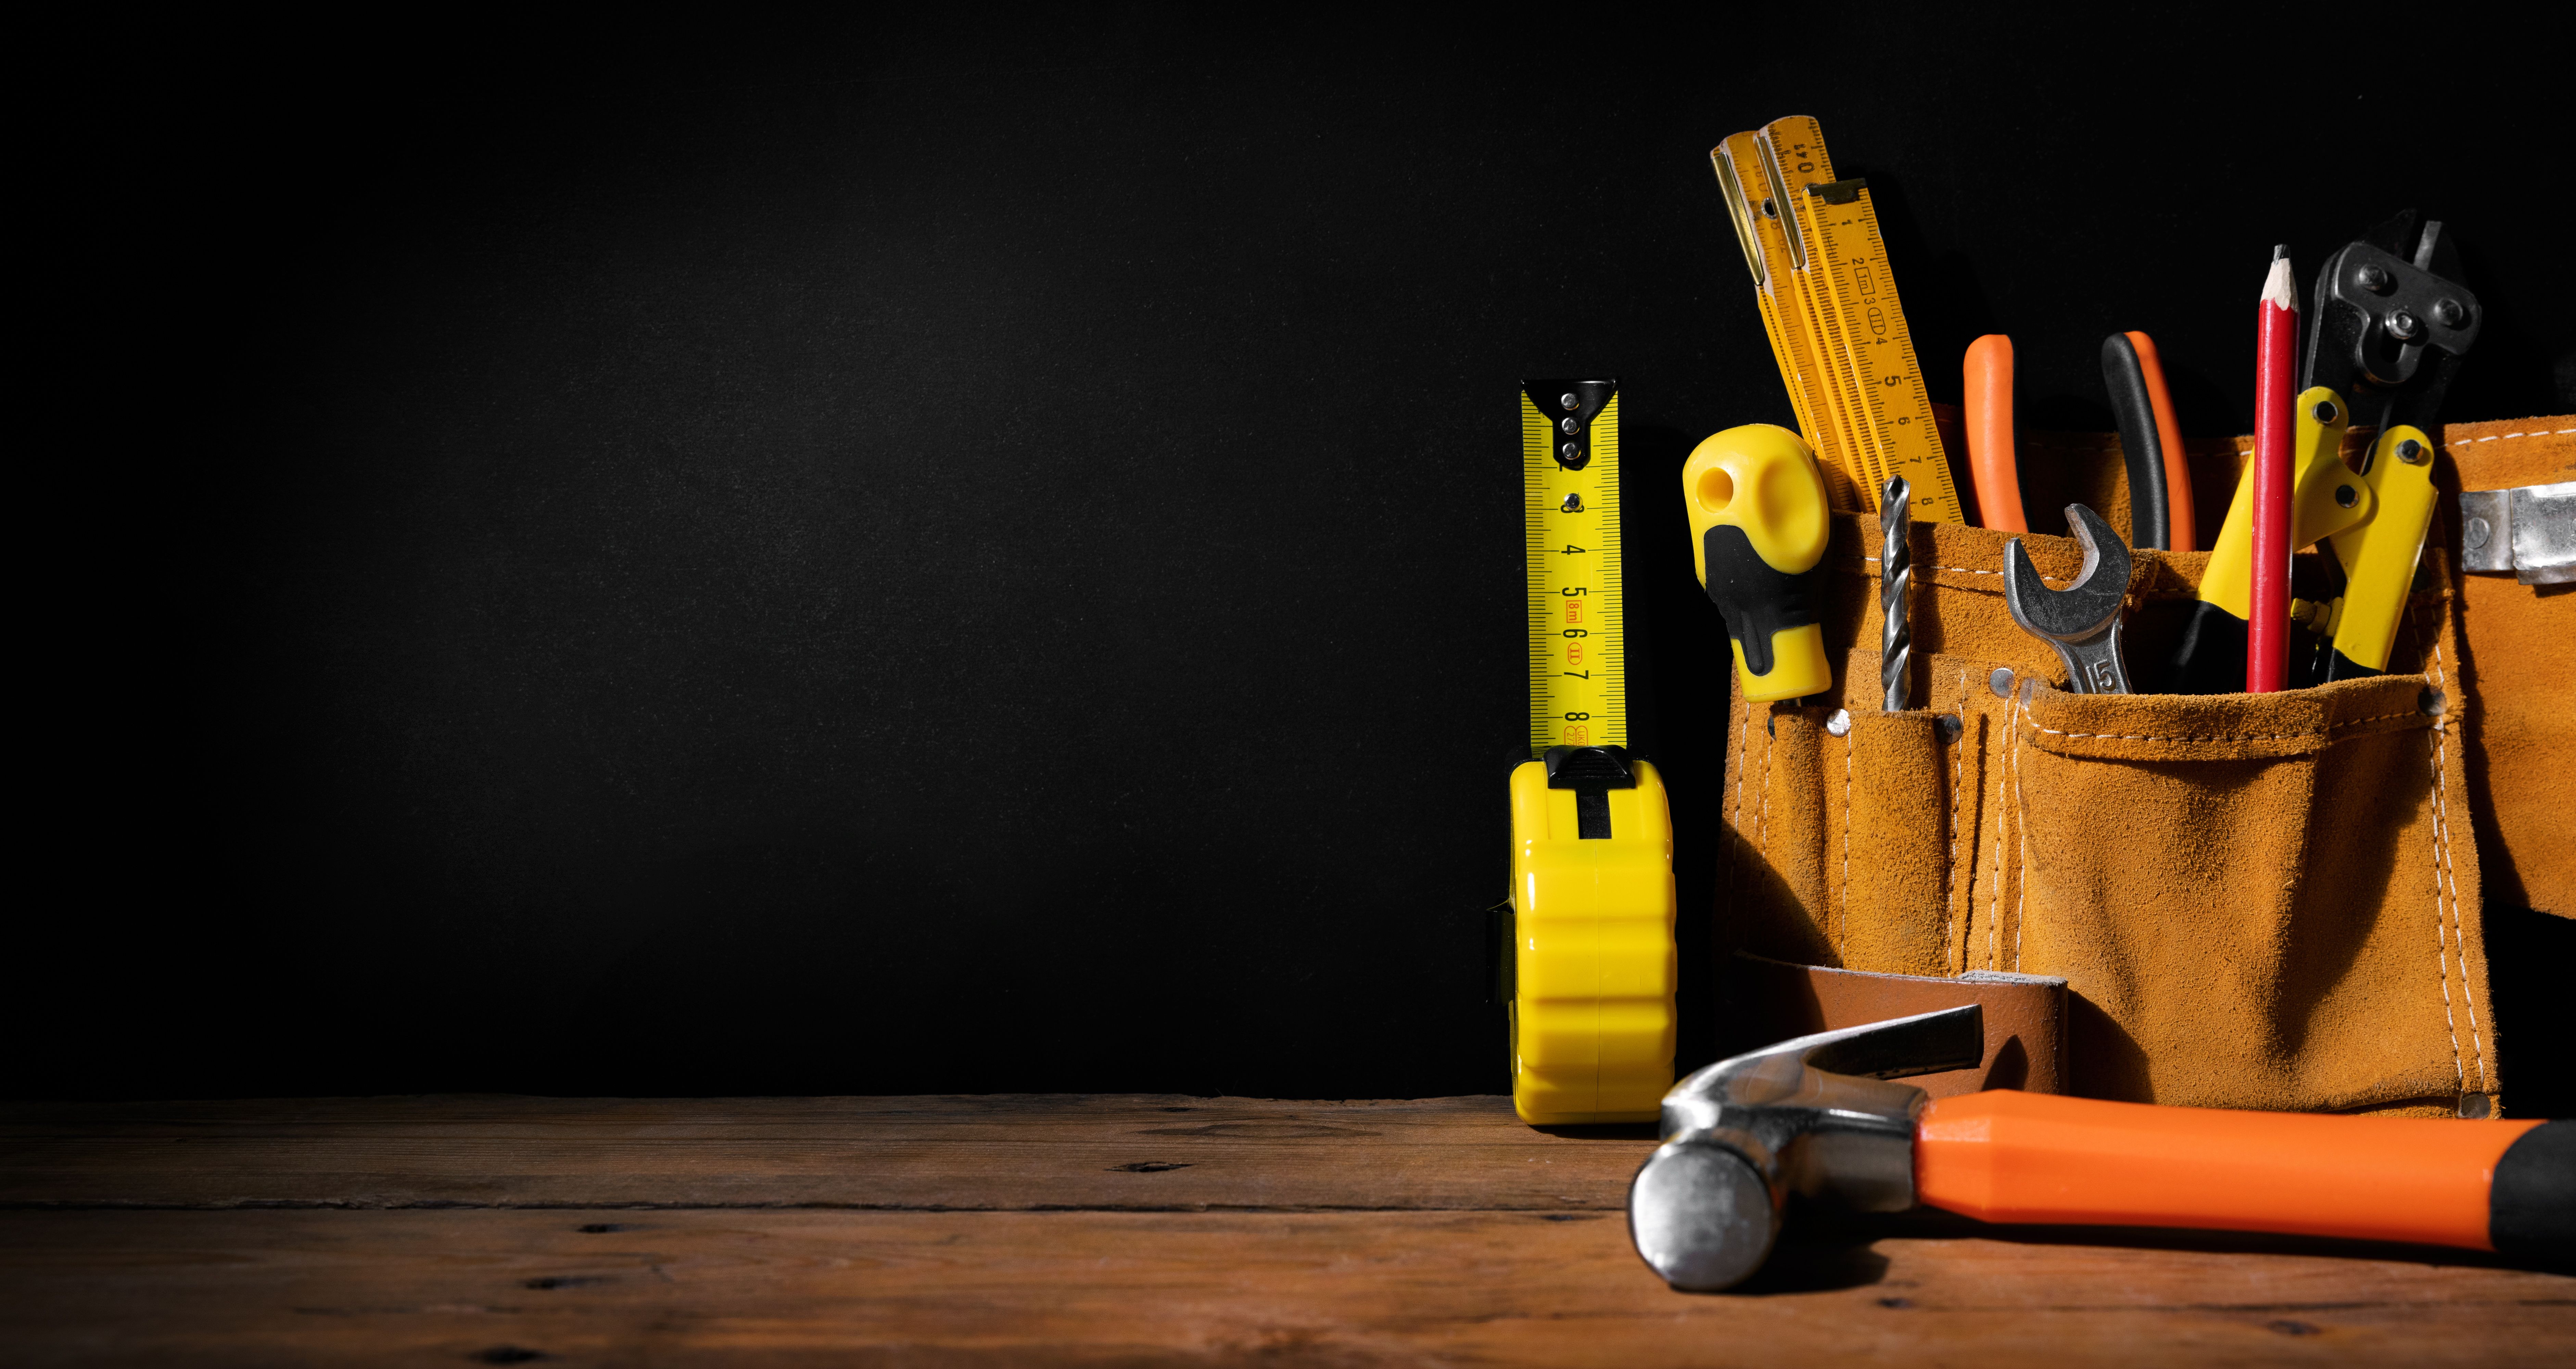
Gathering Your Tools and Materials
Once you've chosen your flooring, you'll need to gather all the necessary tools and materials. Here's a basic list to get you started:
- Measuring tape
- Utility knife
- Flooring spacers
- Underlayment (if required)
- Saw (for cutting planks)
- Mallet
- Safety gear (gloves, goggles)
Preparing Your Subfloor
A successful flooring installation begins with proper preparation of the subfloor. Make sure it's clean, dry, and level. Remove any existing carpet, padding, or old flooring materials. If there are any imperfections or cracks, use a leveling compound to smooth them out.
Additionally, it's important to acclimate your flooring material to the room where it will be installed. Let it sit for at least 48 hours to adjust to the room's temperature and humidity, which helps prevent warping or gaps after installation.
Laying Down the Underlayment
If your chosen flooring requires an underlayment, now is the time to lay it down. The underlayment acts as a moisture barrier and provides cushioning, which is especially important for laminate or vinyl floors. Roll it out across the floor, ensuring there are no overlaps. Tape the seams as per manufacturer instructions.
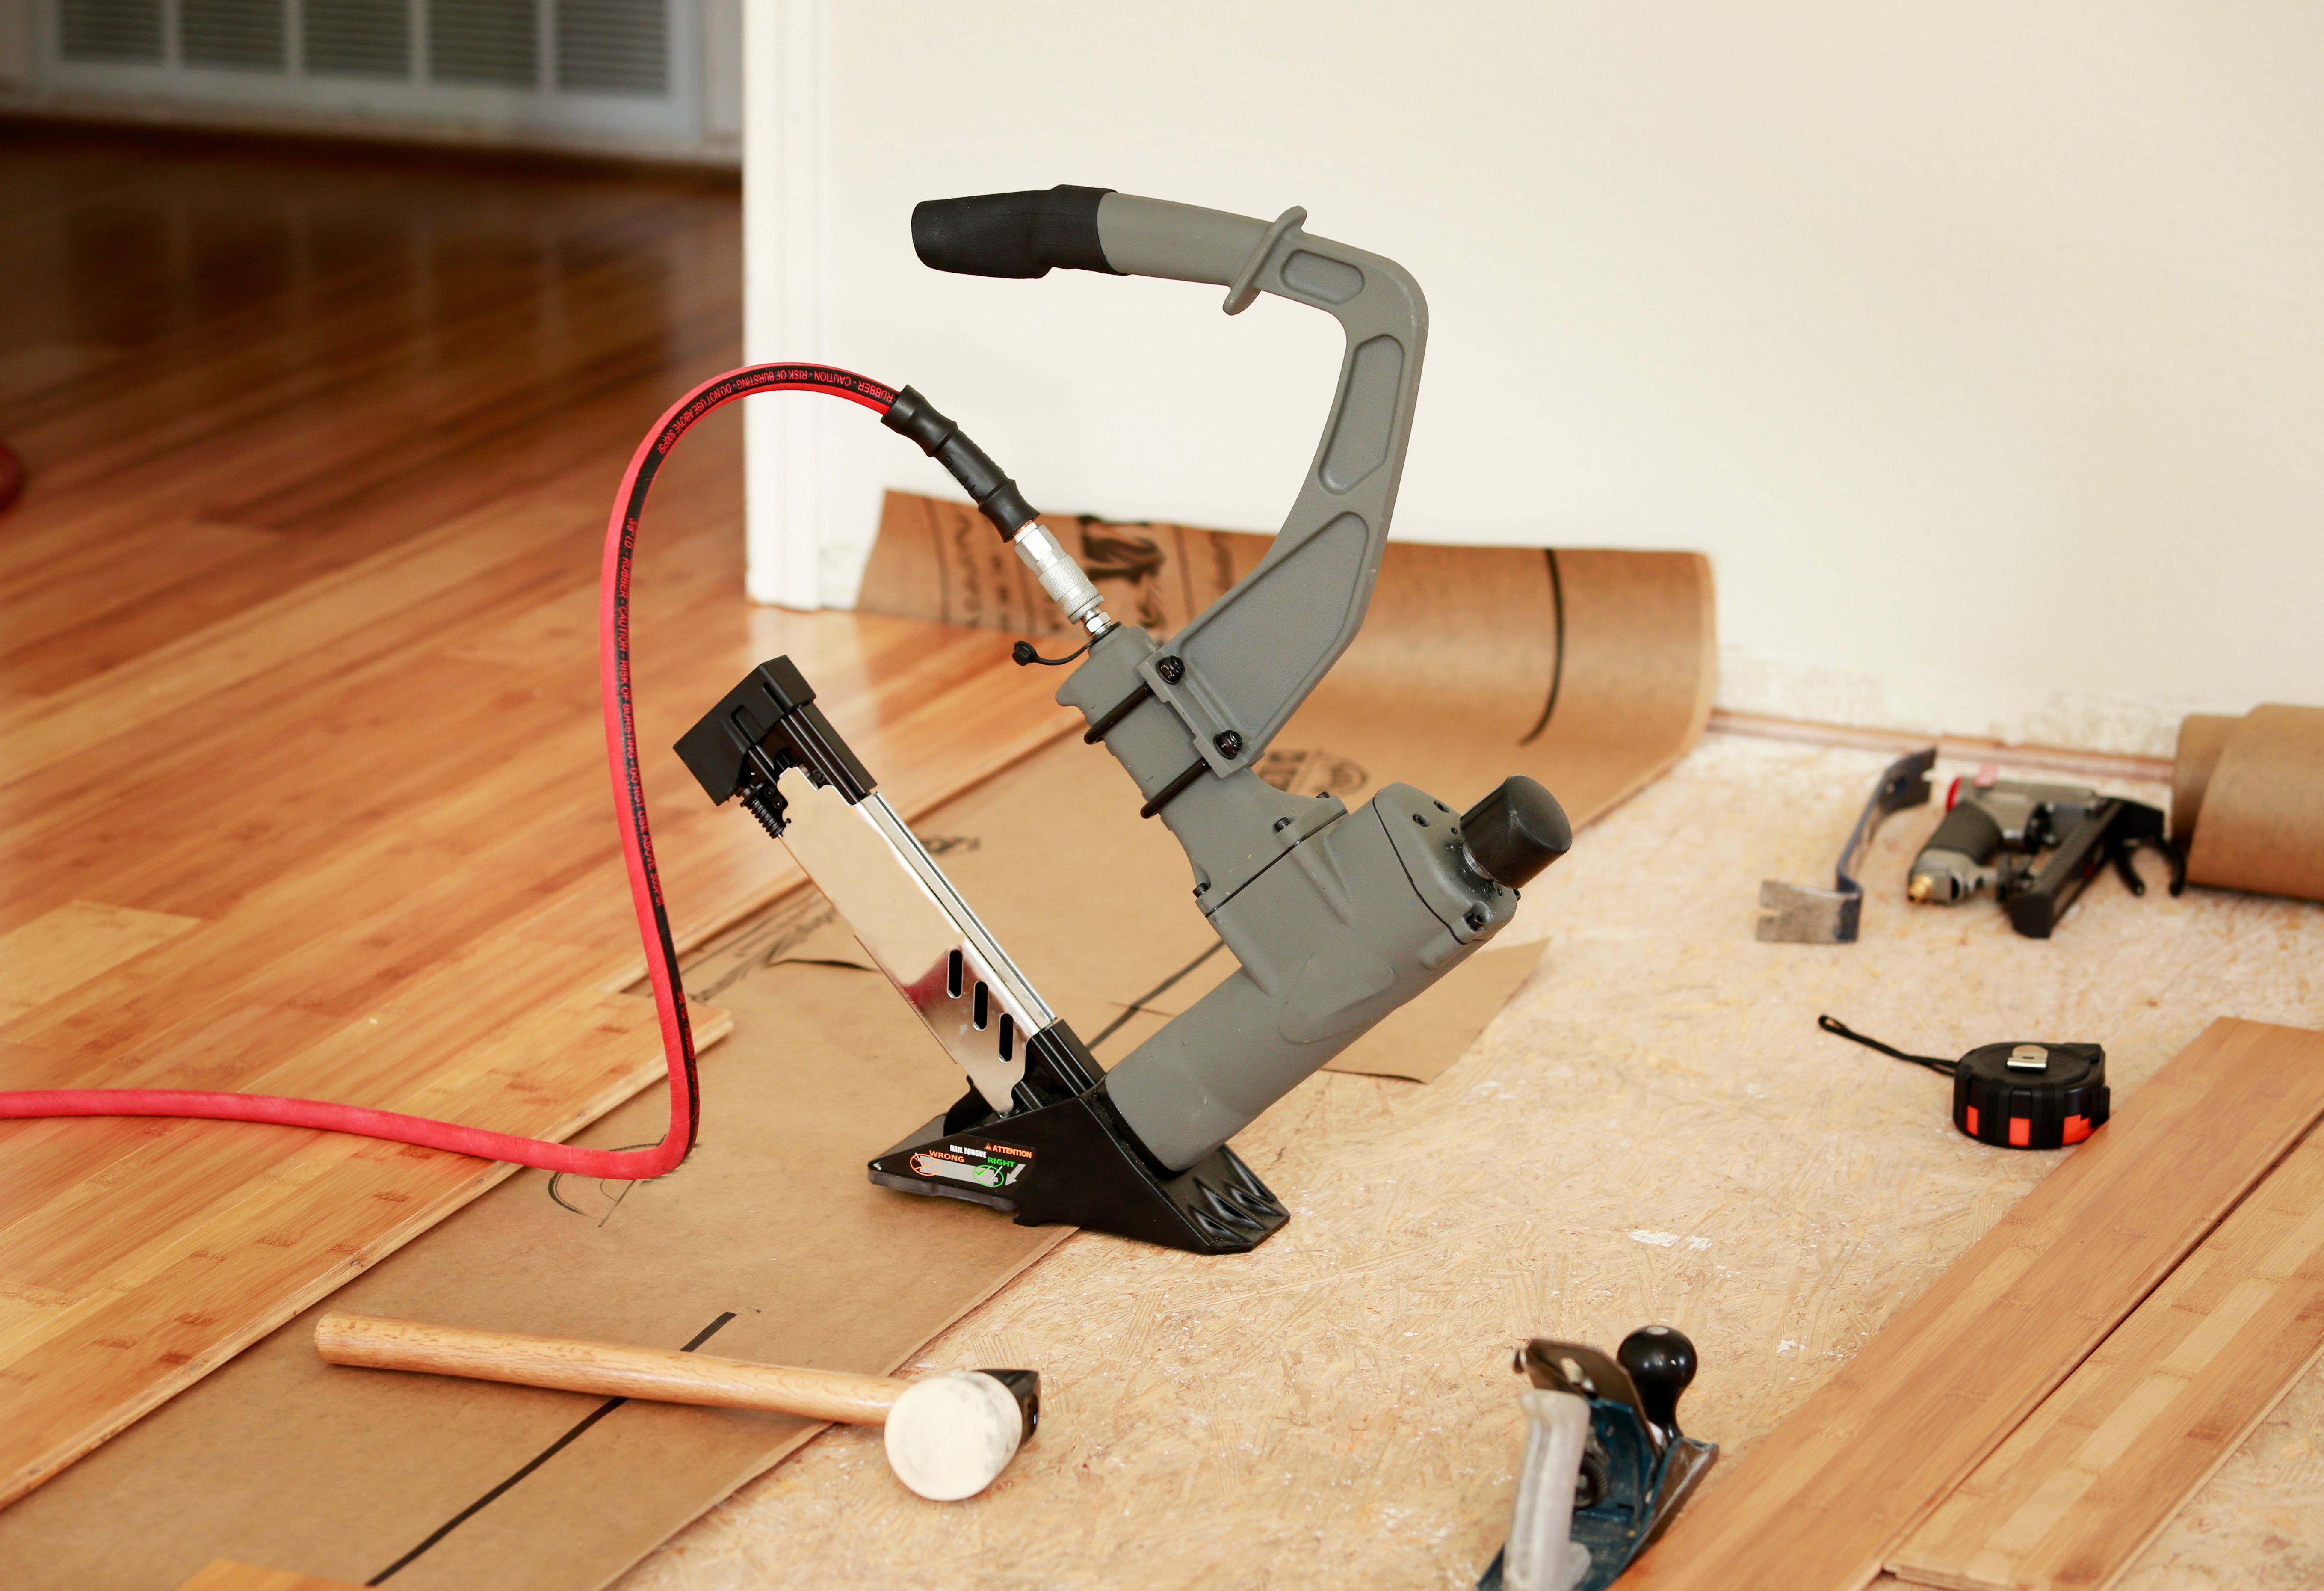
Installing the Flooring
With your subfloor prepared and underlayment in place, you can start installing the flooring. Begin in one corner of the room, placing spacers between the wall and your first row of planks to allow for expansion. Click or lock the planks together according to the manufacturer's instructions.
Take your time during this process to ensure each plank is securely connected before moving on to the next. Use a mallet and tapping block if necessary to snugly fit the pieces together.
Finishing Touches
Once all planks are installed, remove the spacers and install baseboards or molding to cover the expansion gap around the perimeter of the room. This not only provides a clean finish but also allows for natural movement of your flooring over time.
Finally, clean up any debris or dust from the installation process and enjoy your new floors! Regular maintenance, such as sweeping and occasional mopping, will keep them looking their best for years to come.

Conclusion
DIY flooring installation can be a fulfilling project that enhances the beauty and value of your home. By following this step-by-step tutorial, even beginners can achieve a professional finish. Remember that patience and precision are key to a successful installation, so take your time and enjoy the transformation of your living space.