DIY Flooring Installation: A Step-by-Step Guide for Beginners


Introduction to DIY Flooring
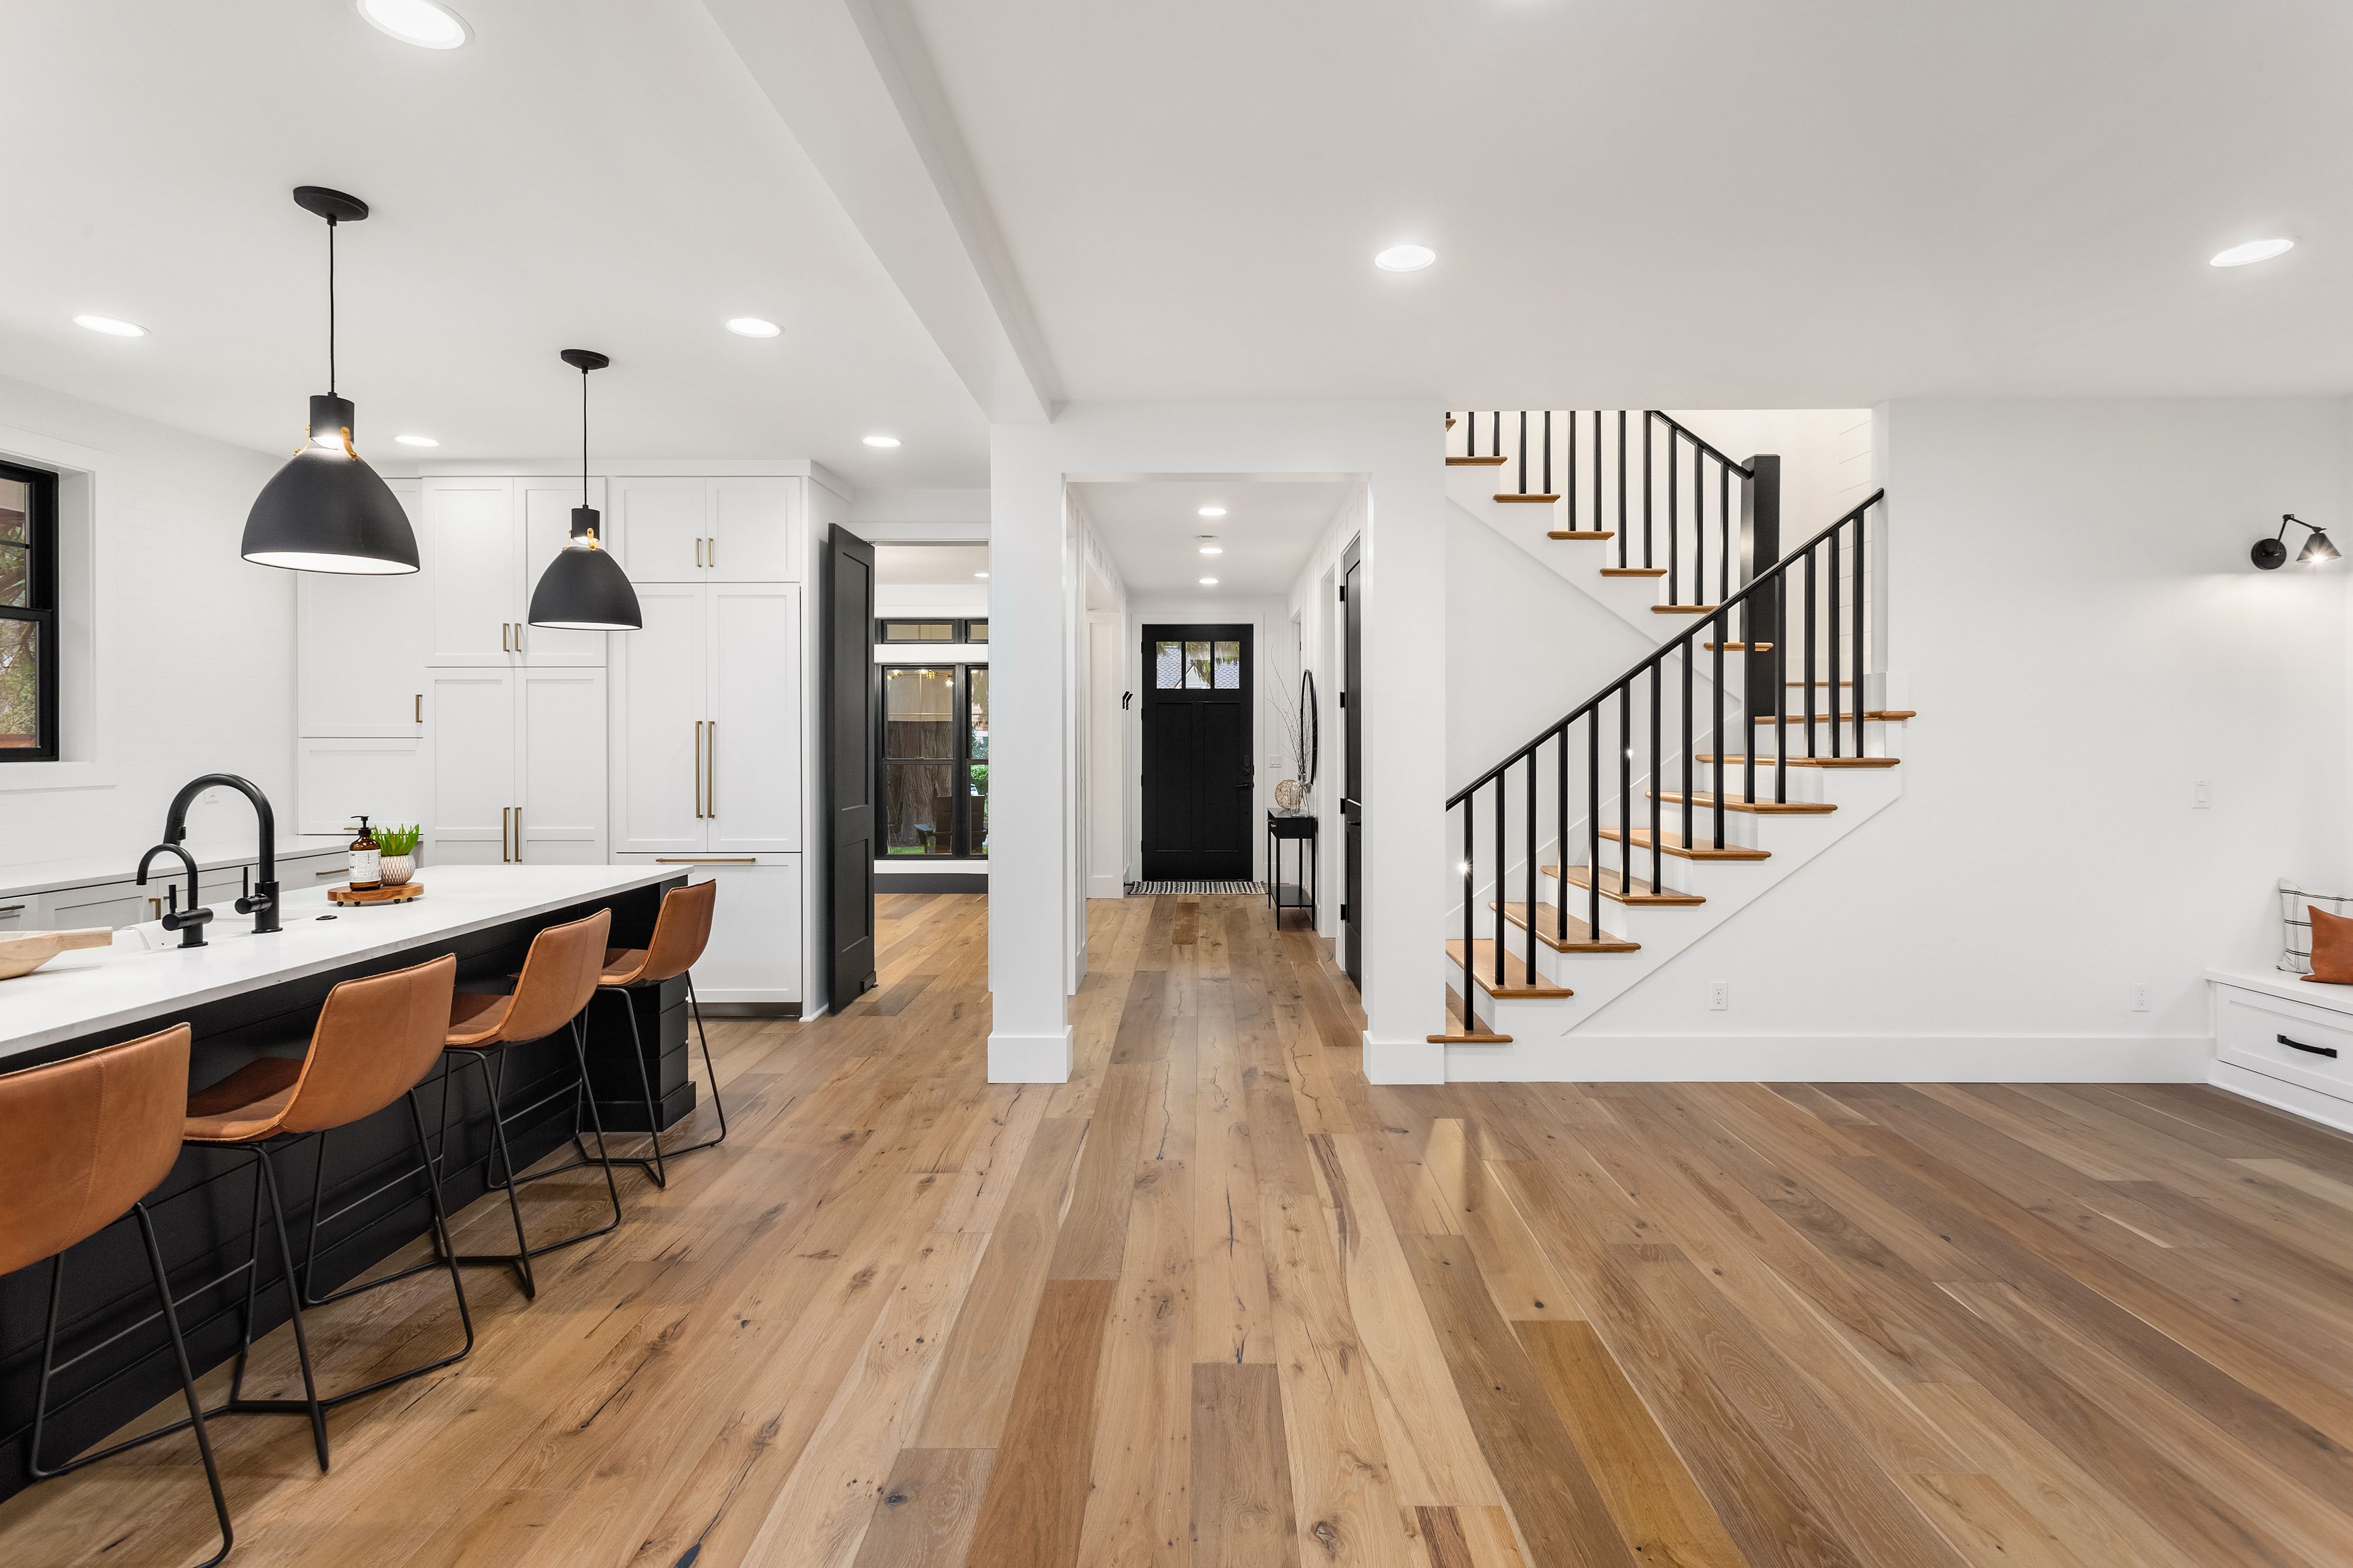
Installing your own flooring can be a rewarding project that not only saves money but also adds a personal touch to your home. Whether you're looking to update a single room or your entire house, this guide will walk you through the process step by step.
Choosing the Right Flooring
The first step in any flooring project is selecting the right material. Options range from hardwood and laminate to vinyl and tile. Consider factors like durability, budget, and the room’s function. For beginners, laminate and vinyl are often easier to work with due to their click-and-lock systems.
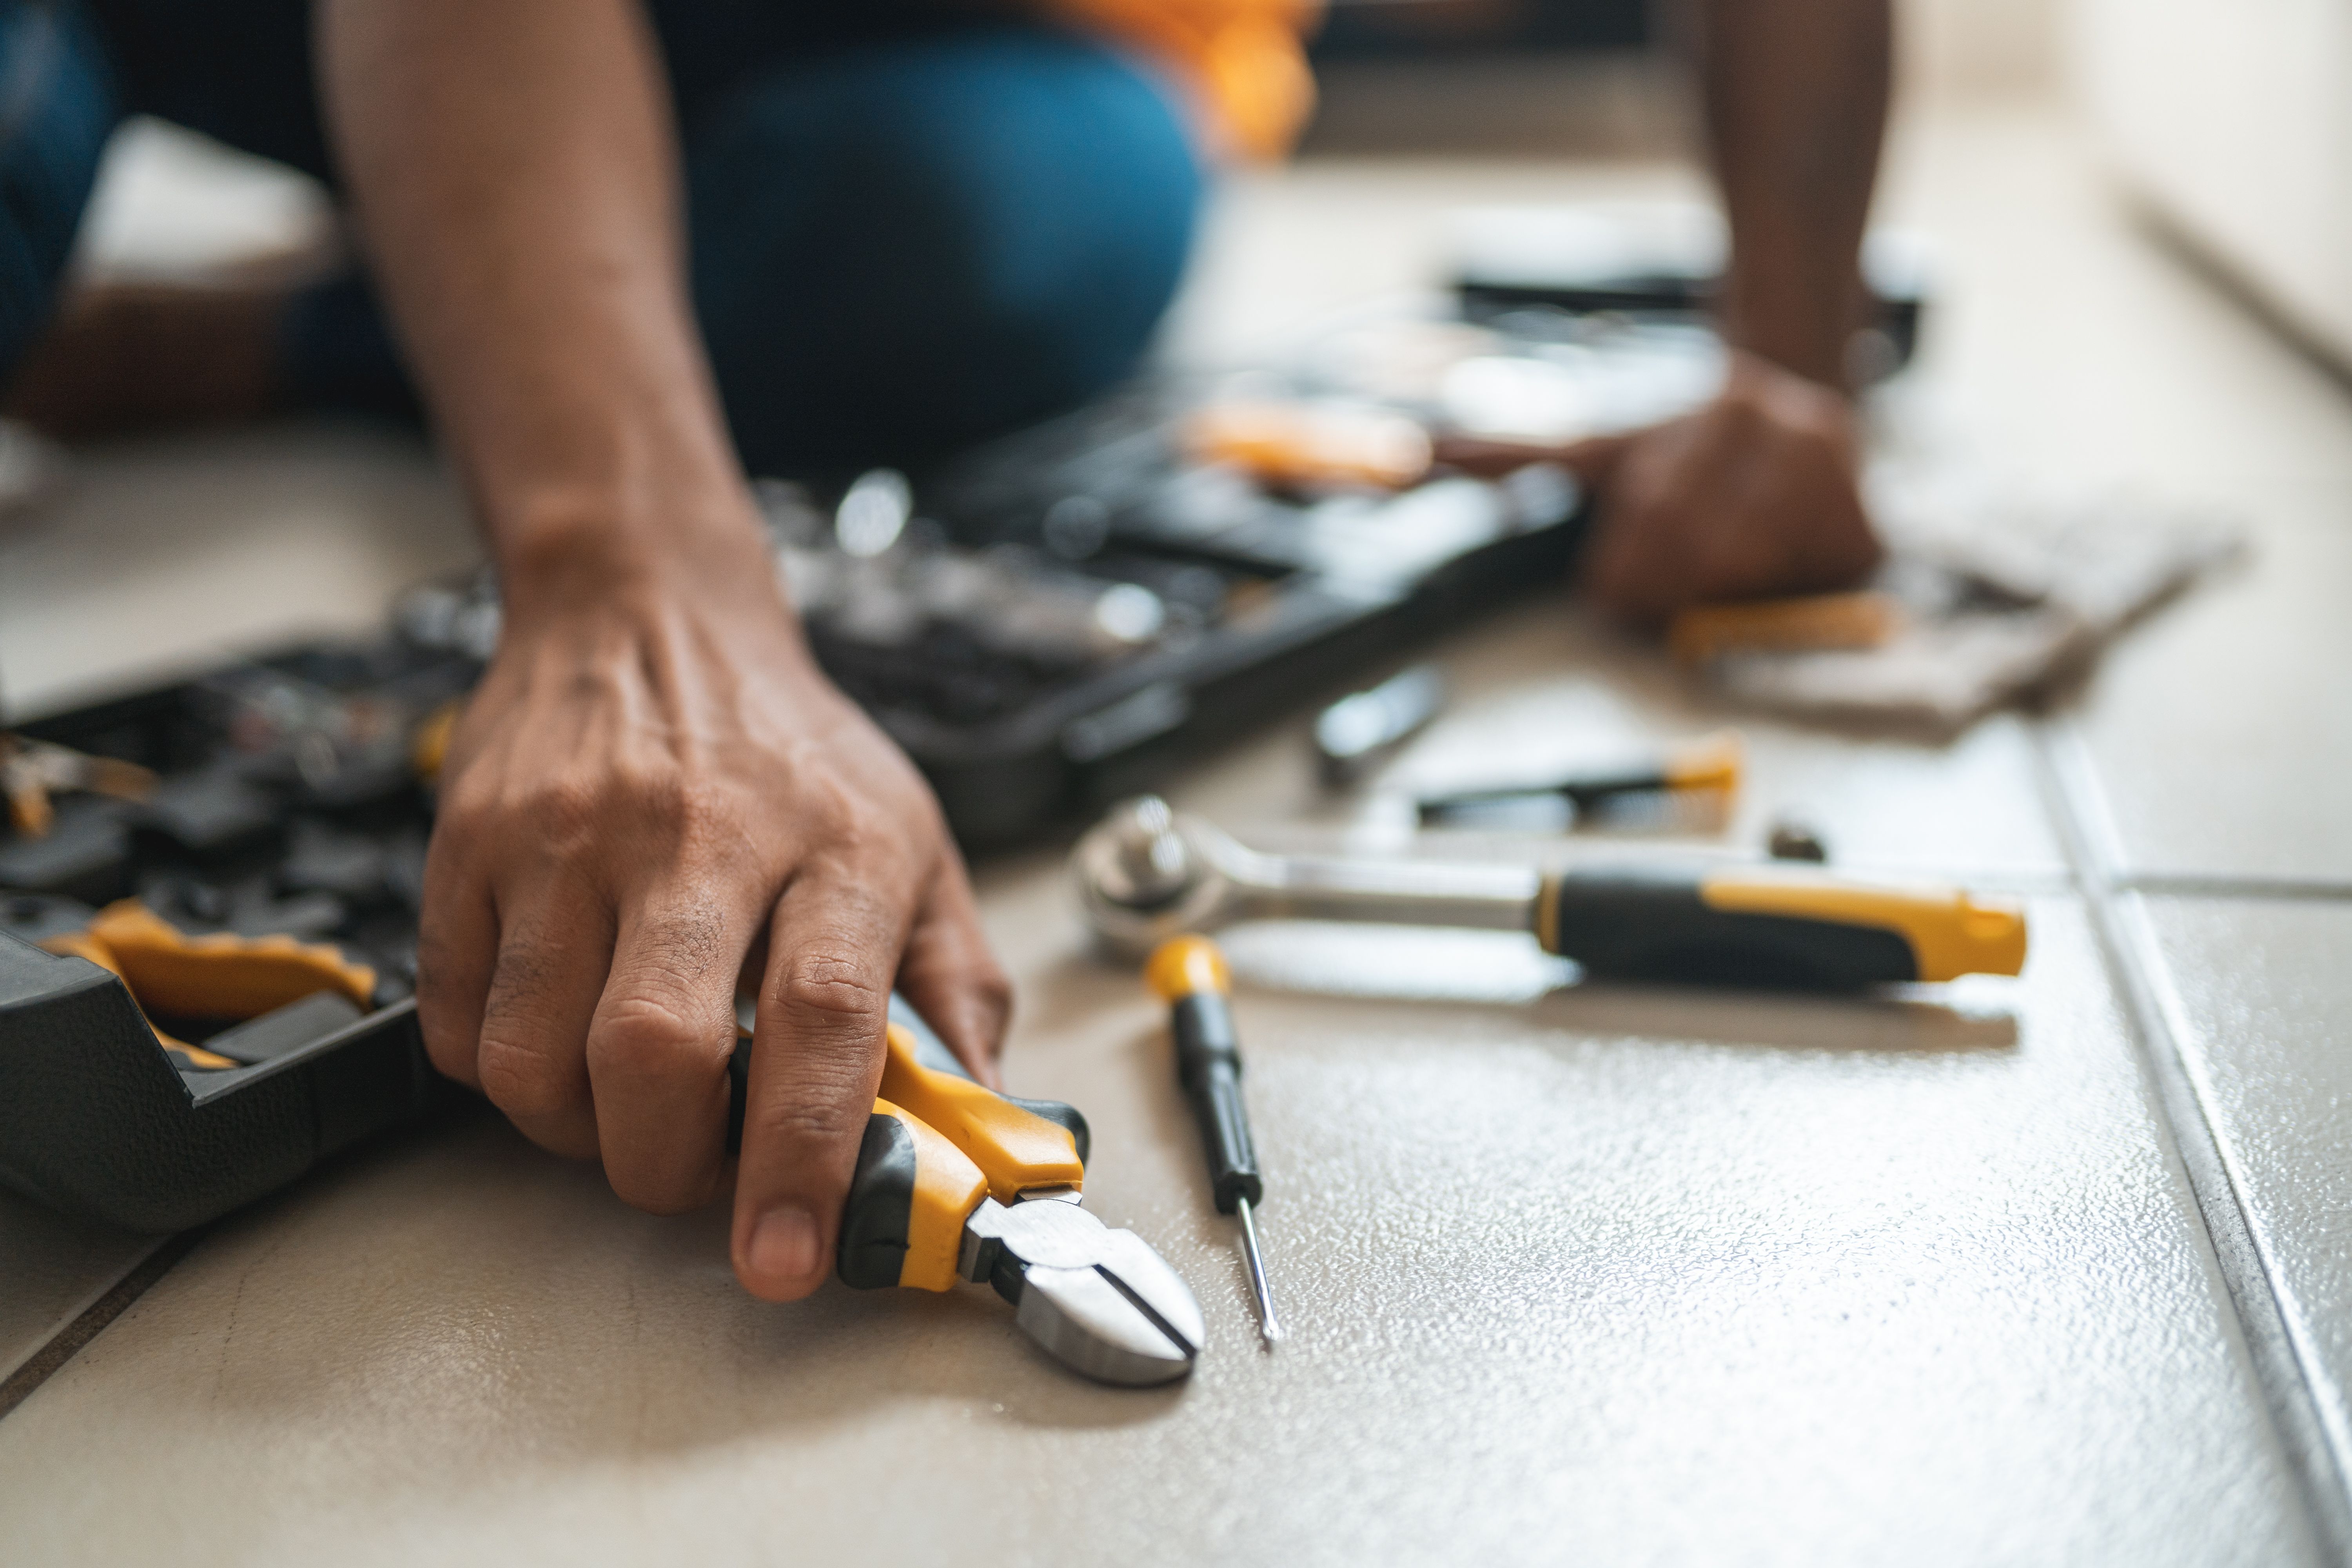
Gathering Your Tools and Materials
Before you begin, ensure you have all the necessary tools and materials. Here's a basic list:
- Measuring tape
- Utility knife
- Underlayment
- Flooring material
- Spacers
- Saw (circular or jigsaw)
- Tapping block
- Pull bar
- Hammer
Preparing the Subfloor
Proper preparation of the subfloor is crucial for a flawless installation. Start by cleaning the surface thoroughly and ensuring it is dry. Check for any uneven areas and sand them down to create a flat surface. If necessary, use a leveling compound to address any major imperfections.
Installing the Underlayment
The underlayment serves as a foundation for your flooring, providing cushioning and soundproofing. Roll it out across the subfloor, ensuring it covers the entire area. Use a utility knife to trim any excess material at the edges.
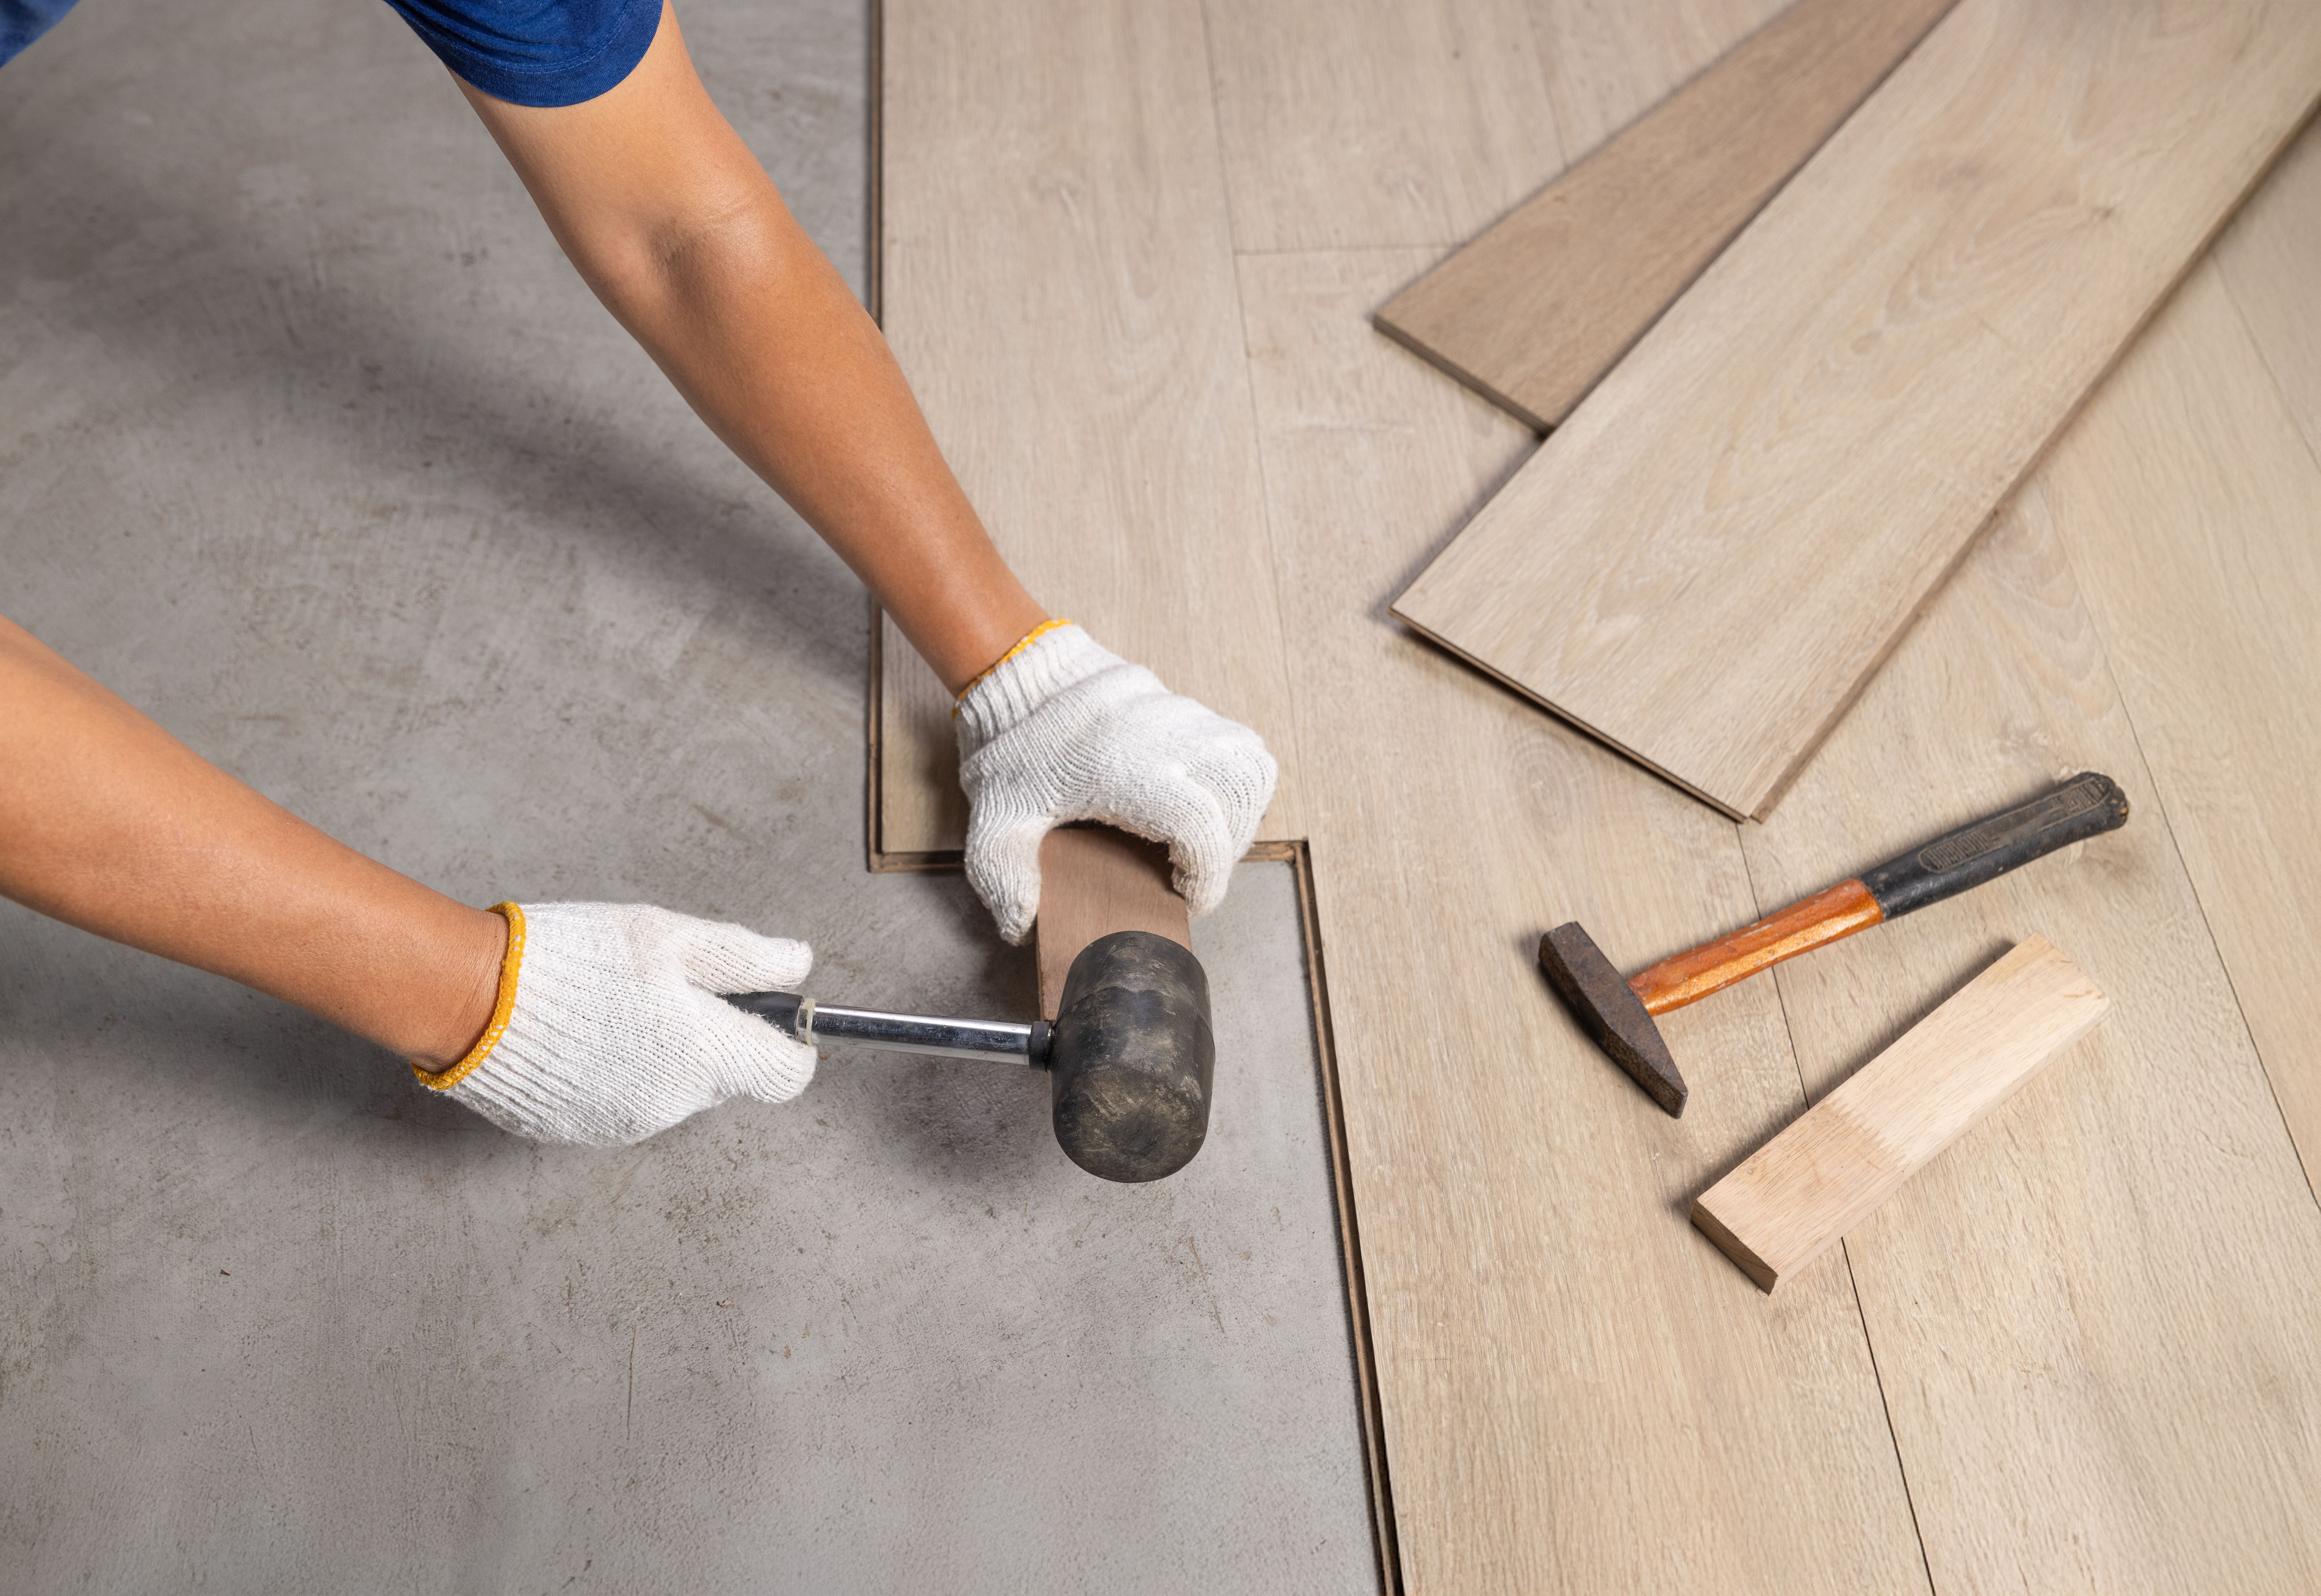
Laying the Flooring
Now comes the exciting part—installing the flooring. Start in one corner of the room and work your way across. Use spacers between the flooring and the wall to allow for expansion. Connect the planks using the click-and-lock mechanism, tapping them together gently with a tapping block and hammer.
Finishing Touches
Once all the planks are in place, remove the spacers and install baseboards or molding to cover the expansion gap. Make sure to clean the floor thoroughly to remove any dust or debris from the installation process.
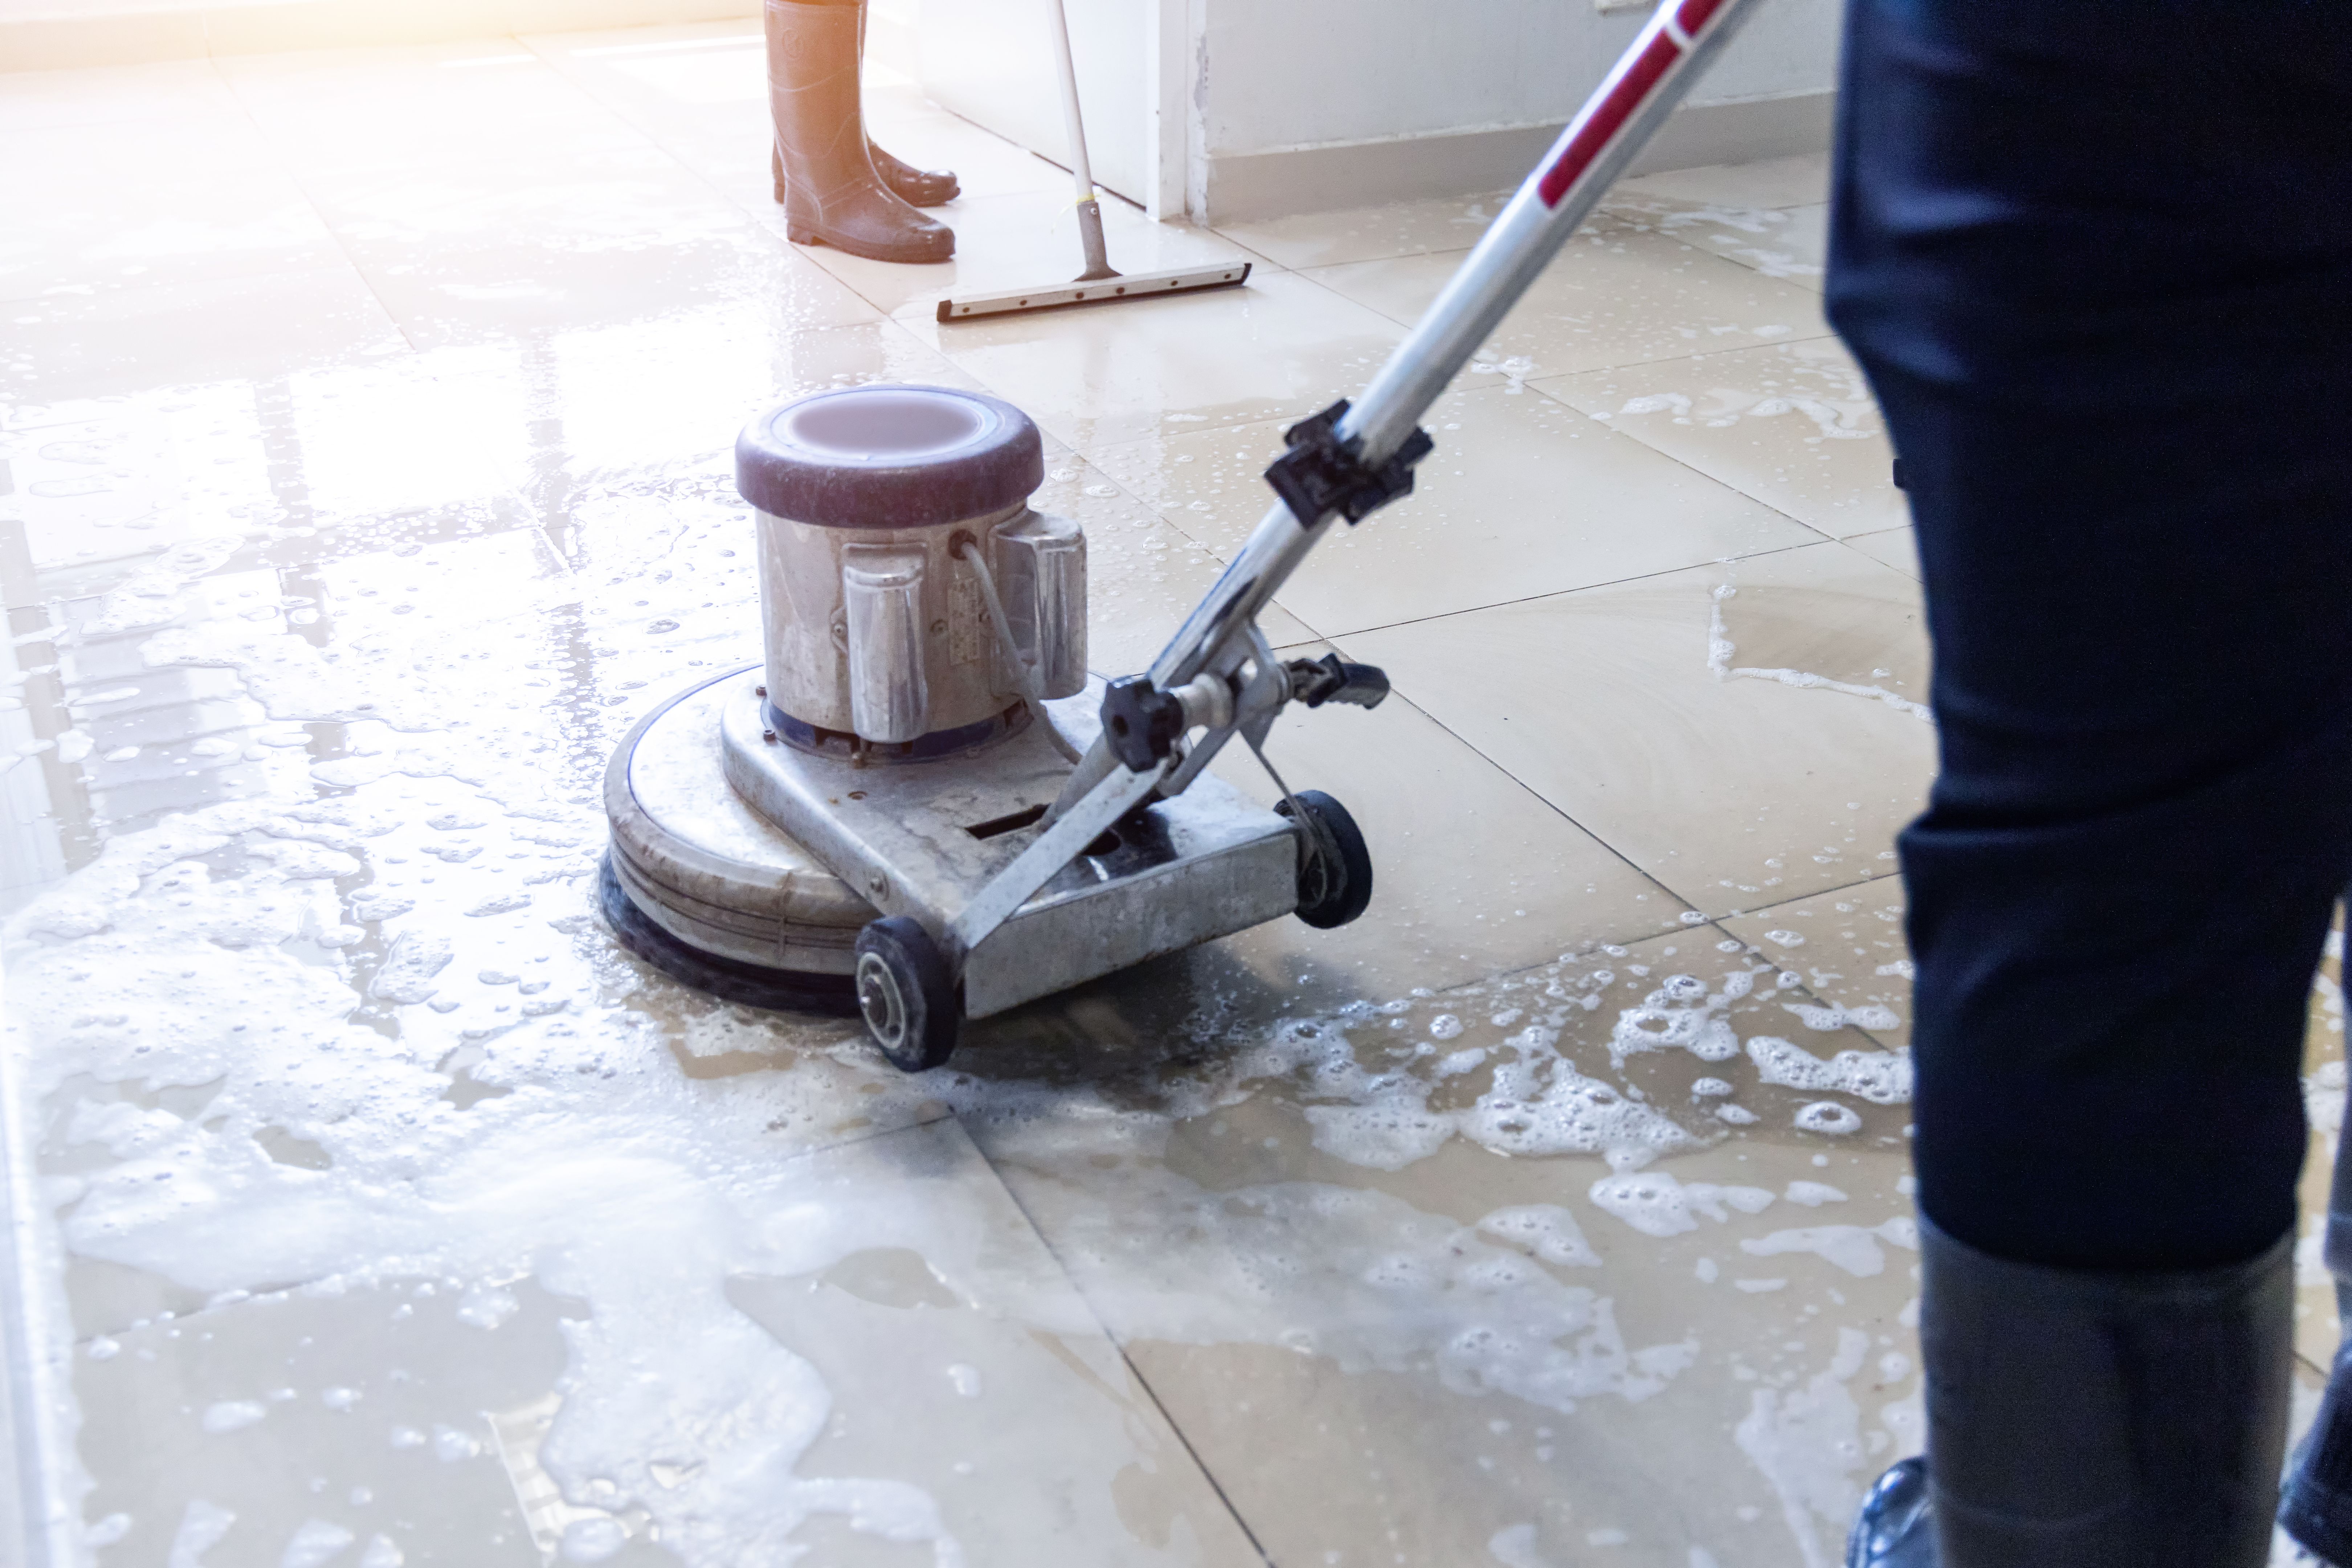
Maintaining Your New Floor
After successfully installing your new floor, proper maintenance will ensure its longevity. Regularly sweep or vacuum to remove dirt and grit. Avoid using excessive water when cleaning, as it can damage certain types of flooring. Instead, use a damp mop and a cleaner specifically designed for your flooring type.
With these steps, you can confidently tackle your DIY flooring project. Enjoy the satisfaction of having transformed your space with your own hands!