
DIY Flooring Installation: A Step-by-Step Guide for Beginners


Understanding Your Flooring Options
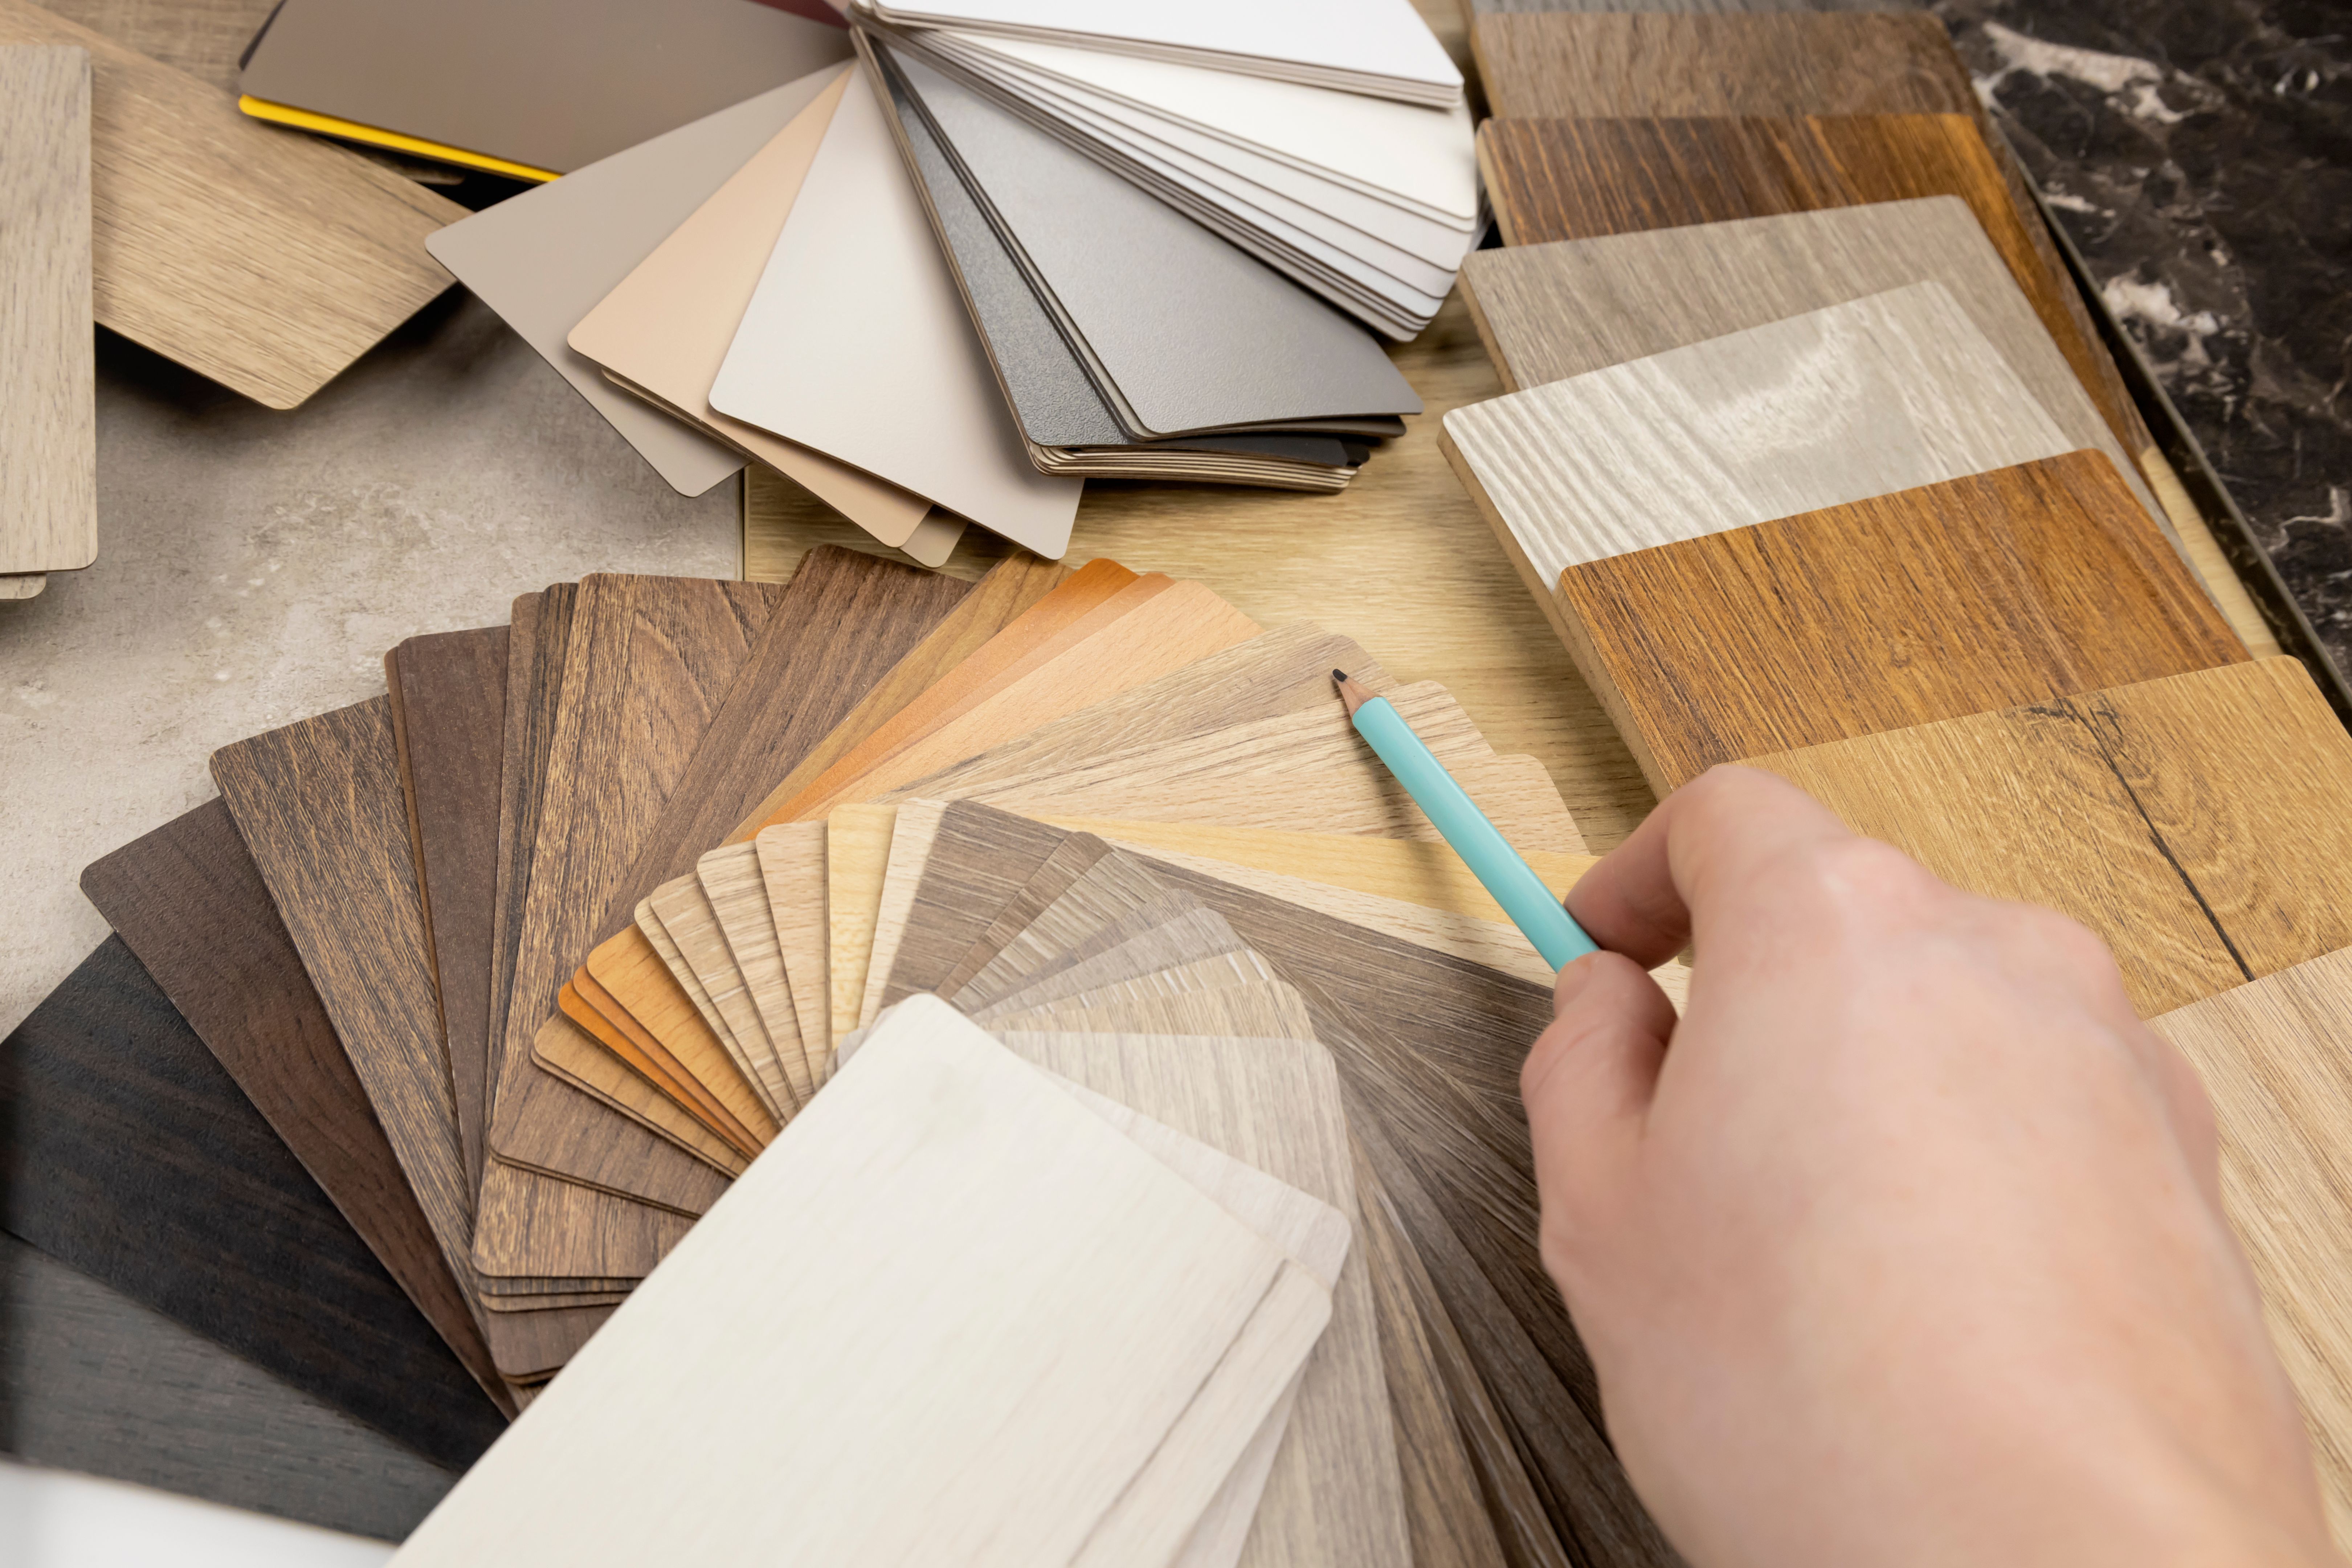
Embarking on a DIY flooring installation project can be both exciting and daunting, especially for beginners. The first step in this journey is to understand the different types of flooring available. Common options include hardwood, laminate, vinyl, and tile. Each material has its own set of characteristics, benefits, and installation requirements. Consider factors such as durability, maintenance, and cost when making your choice.
Gathering Your Tools and Materials
Once you've selected the perfect flooring material for your space, it's crucial to gather the necessary tools and materials. Basic tools for most installations include a tape measure, saw, spacers, adhesive or nails, and a level. Depending on your chosen material, you might also need underlayment or a moisture barrier. Having everything ready before you start will make the process smoother and more efficient.
Preparing the Subfloor
Proper preparation of the subfloor is essential for a successful flooring installation. Begin by removing any existing flooring and thoroughly cleaning the surface. Ensure the subfloor is dry, level, and free of debris. If there are any imperfections, such as cracks or uneven spots, these should be addressed before proceeding. Proper preparation will help prevent issues like squeaking or uneven flooring in the future.

Installing the Flooring
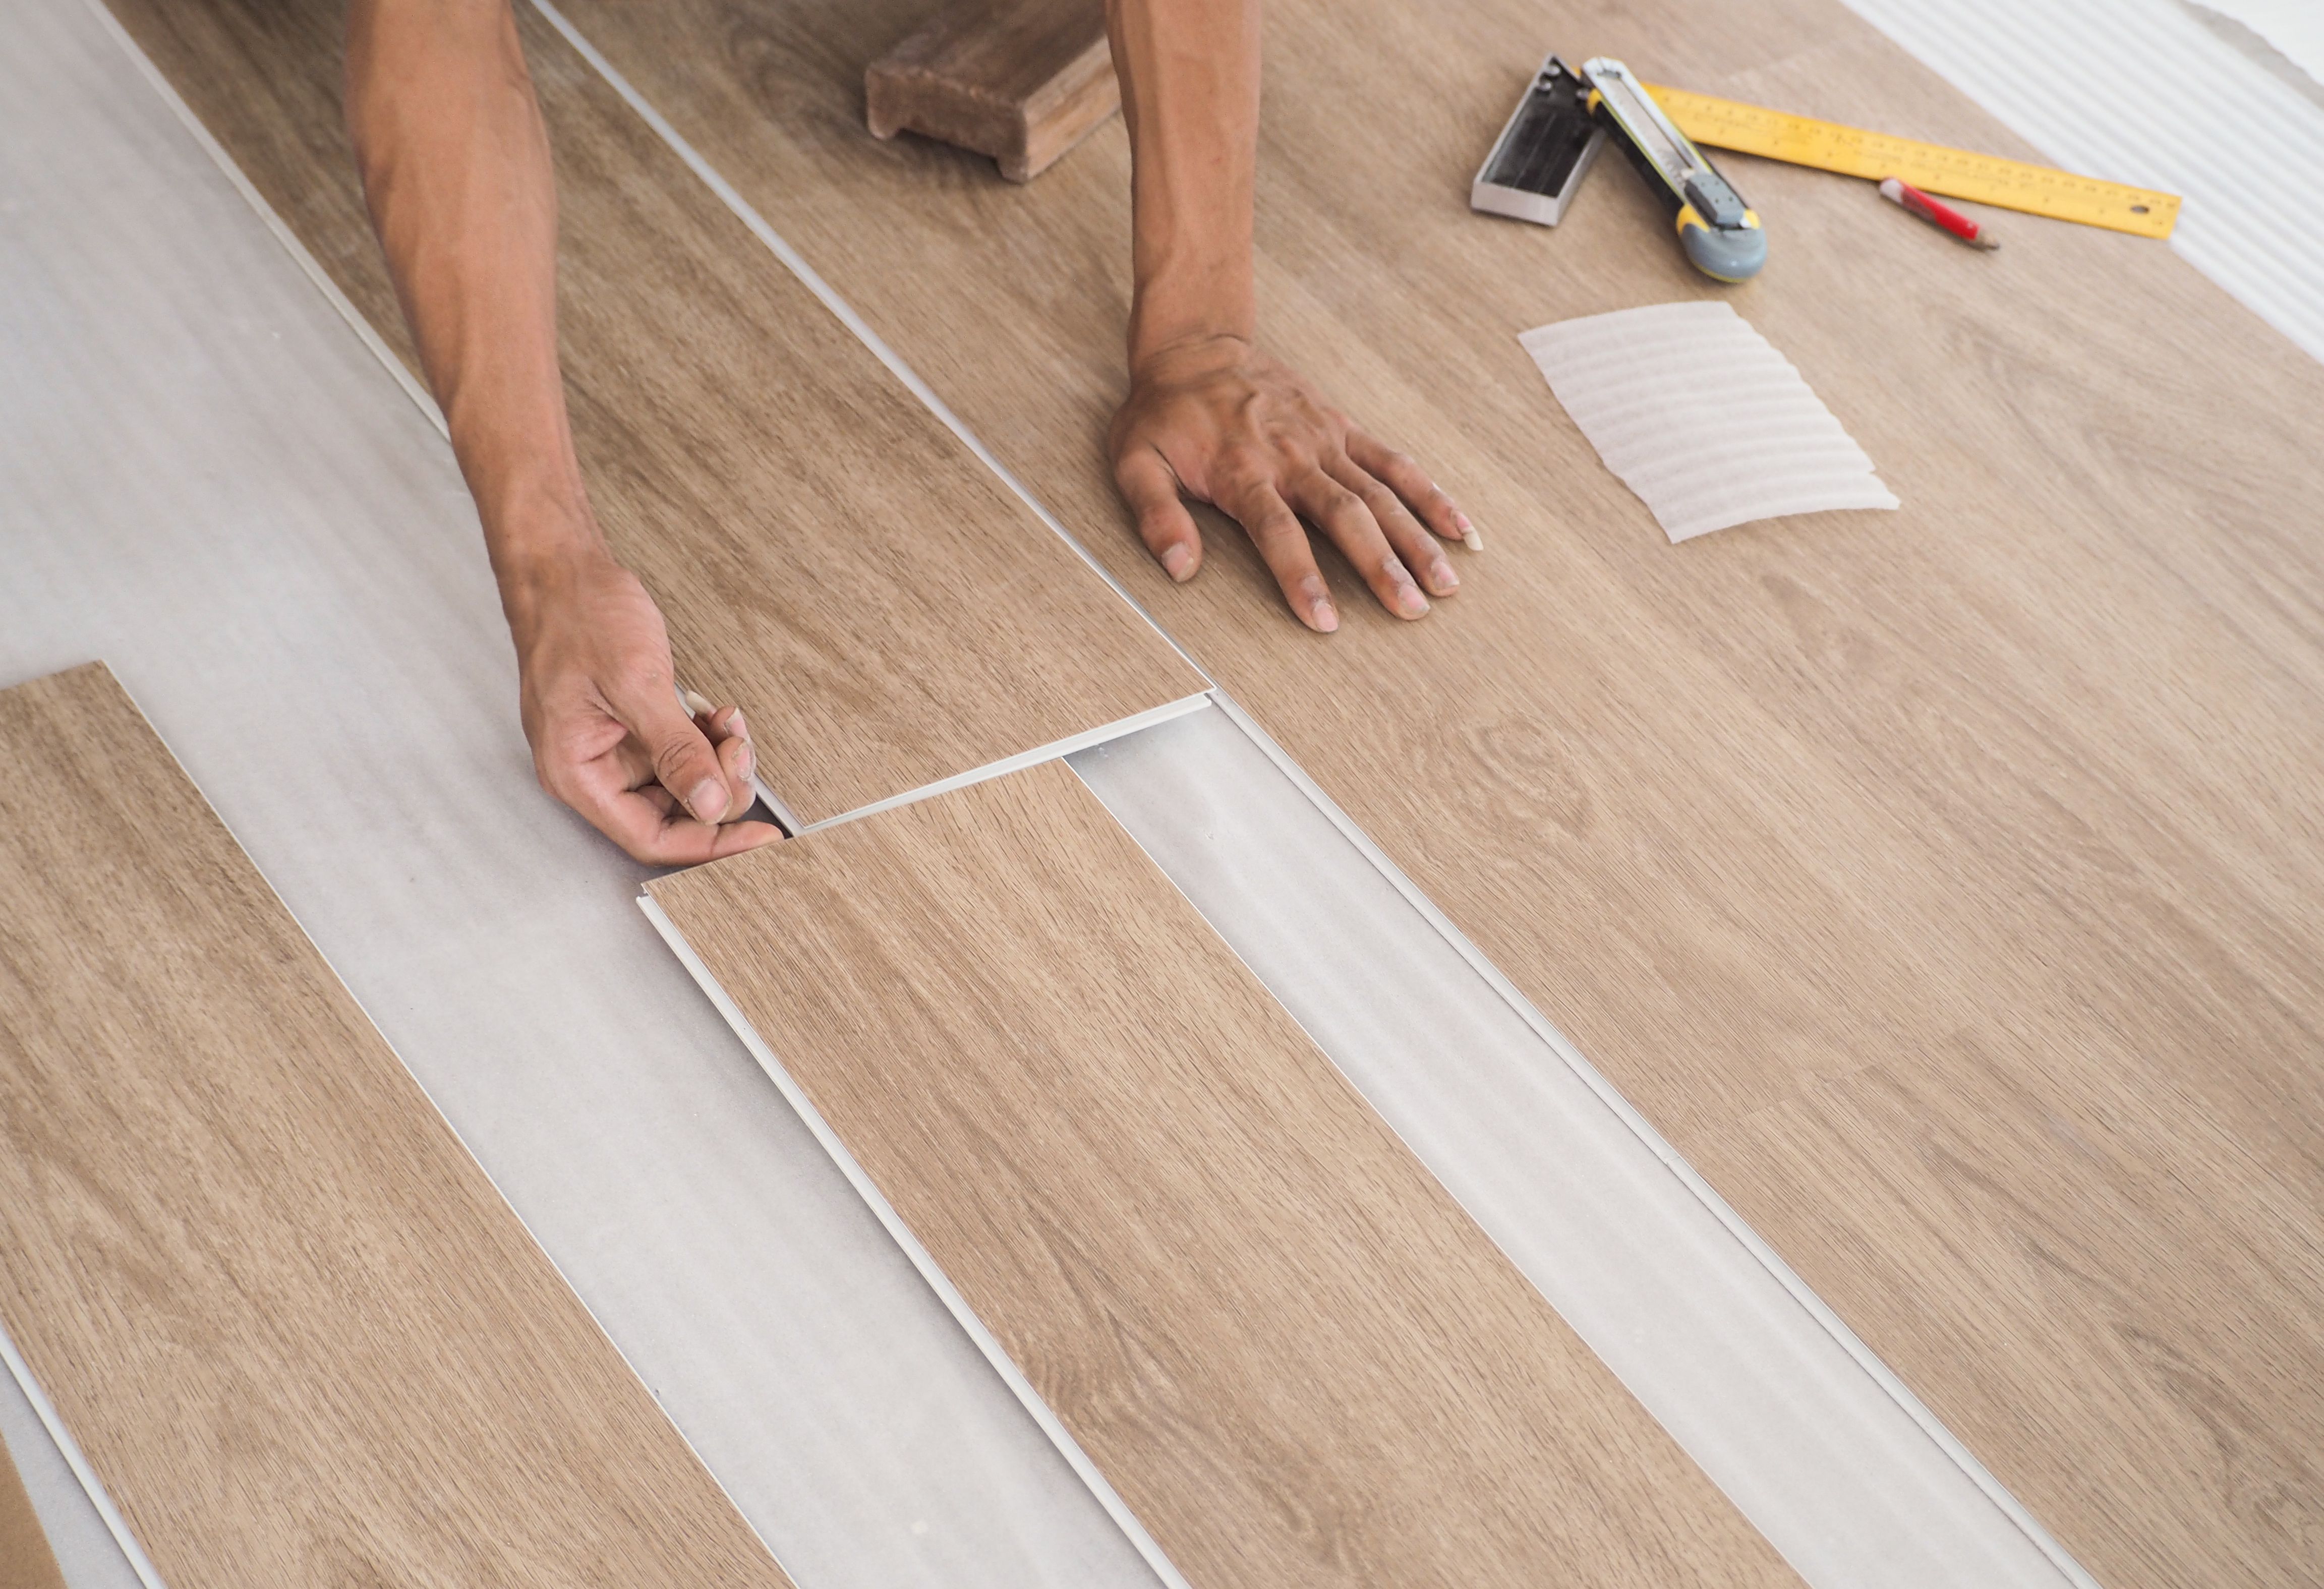
Now comes the main event: installing your new flooring. Start by laying out the first row of planks or tiles against the longest wall in the room. Use spacers to maintain a consistent gap between the flooring and the wall, allowing for expansion. Follow a staggered pattern to enhance stability and aesthetics. Secure each piece according to the manufacturer's instructions, whether that involves clicking pieces together or using adhesive.
As you progress, carefully measure and cut pieces to fit around obstacles like door frames or vents. Always double-check your measurements before making cuts to avoid mistakes that can lead to wasted materials.
Finishing Touches
Once all the flooring is in place, it's time to add the finishing touches. Remove the spacers and install baseboards or trim to cover the expansion gaps along the walls. This not only provides a polished look but also secures the edges of your new floor. If your flooring requires a sealant or finishing layer, apply it now according to the product instructions.
Cleaning Up and Enjoying Your New Floor
The final step is to clean up your workspace and enjoy your newly installed floor. Sweep or vacuum any dust and debris, and dispose of leftover materials responsibly. Take a moment to admire your handiwork and enjoy the satisfaction of transforming your space with your own two hands.
Remember, practice makes perfect. With each project, you'll gain more confidence and skill. So don't hesitate to tackle another room or upgrade your techniques as you become more experienced in DIY flooring installation.
