
DIY Flooring Installation: A Step-by-Step Guide


Introduction to DIY Flooring Installation
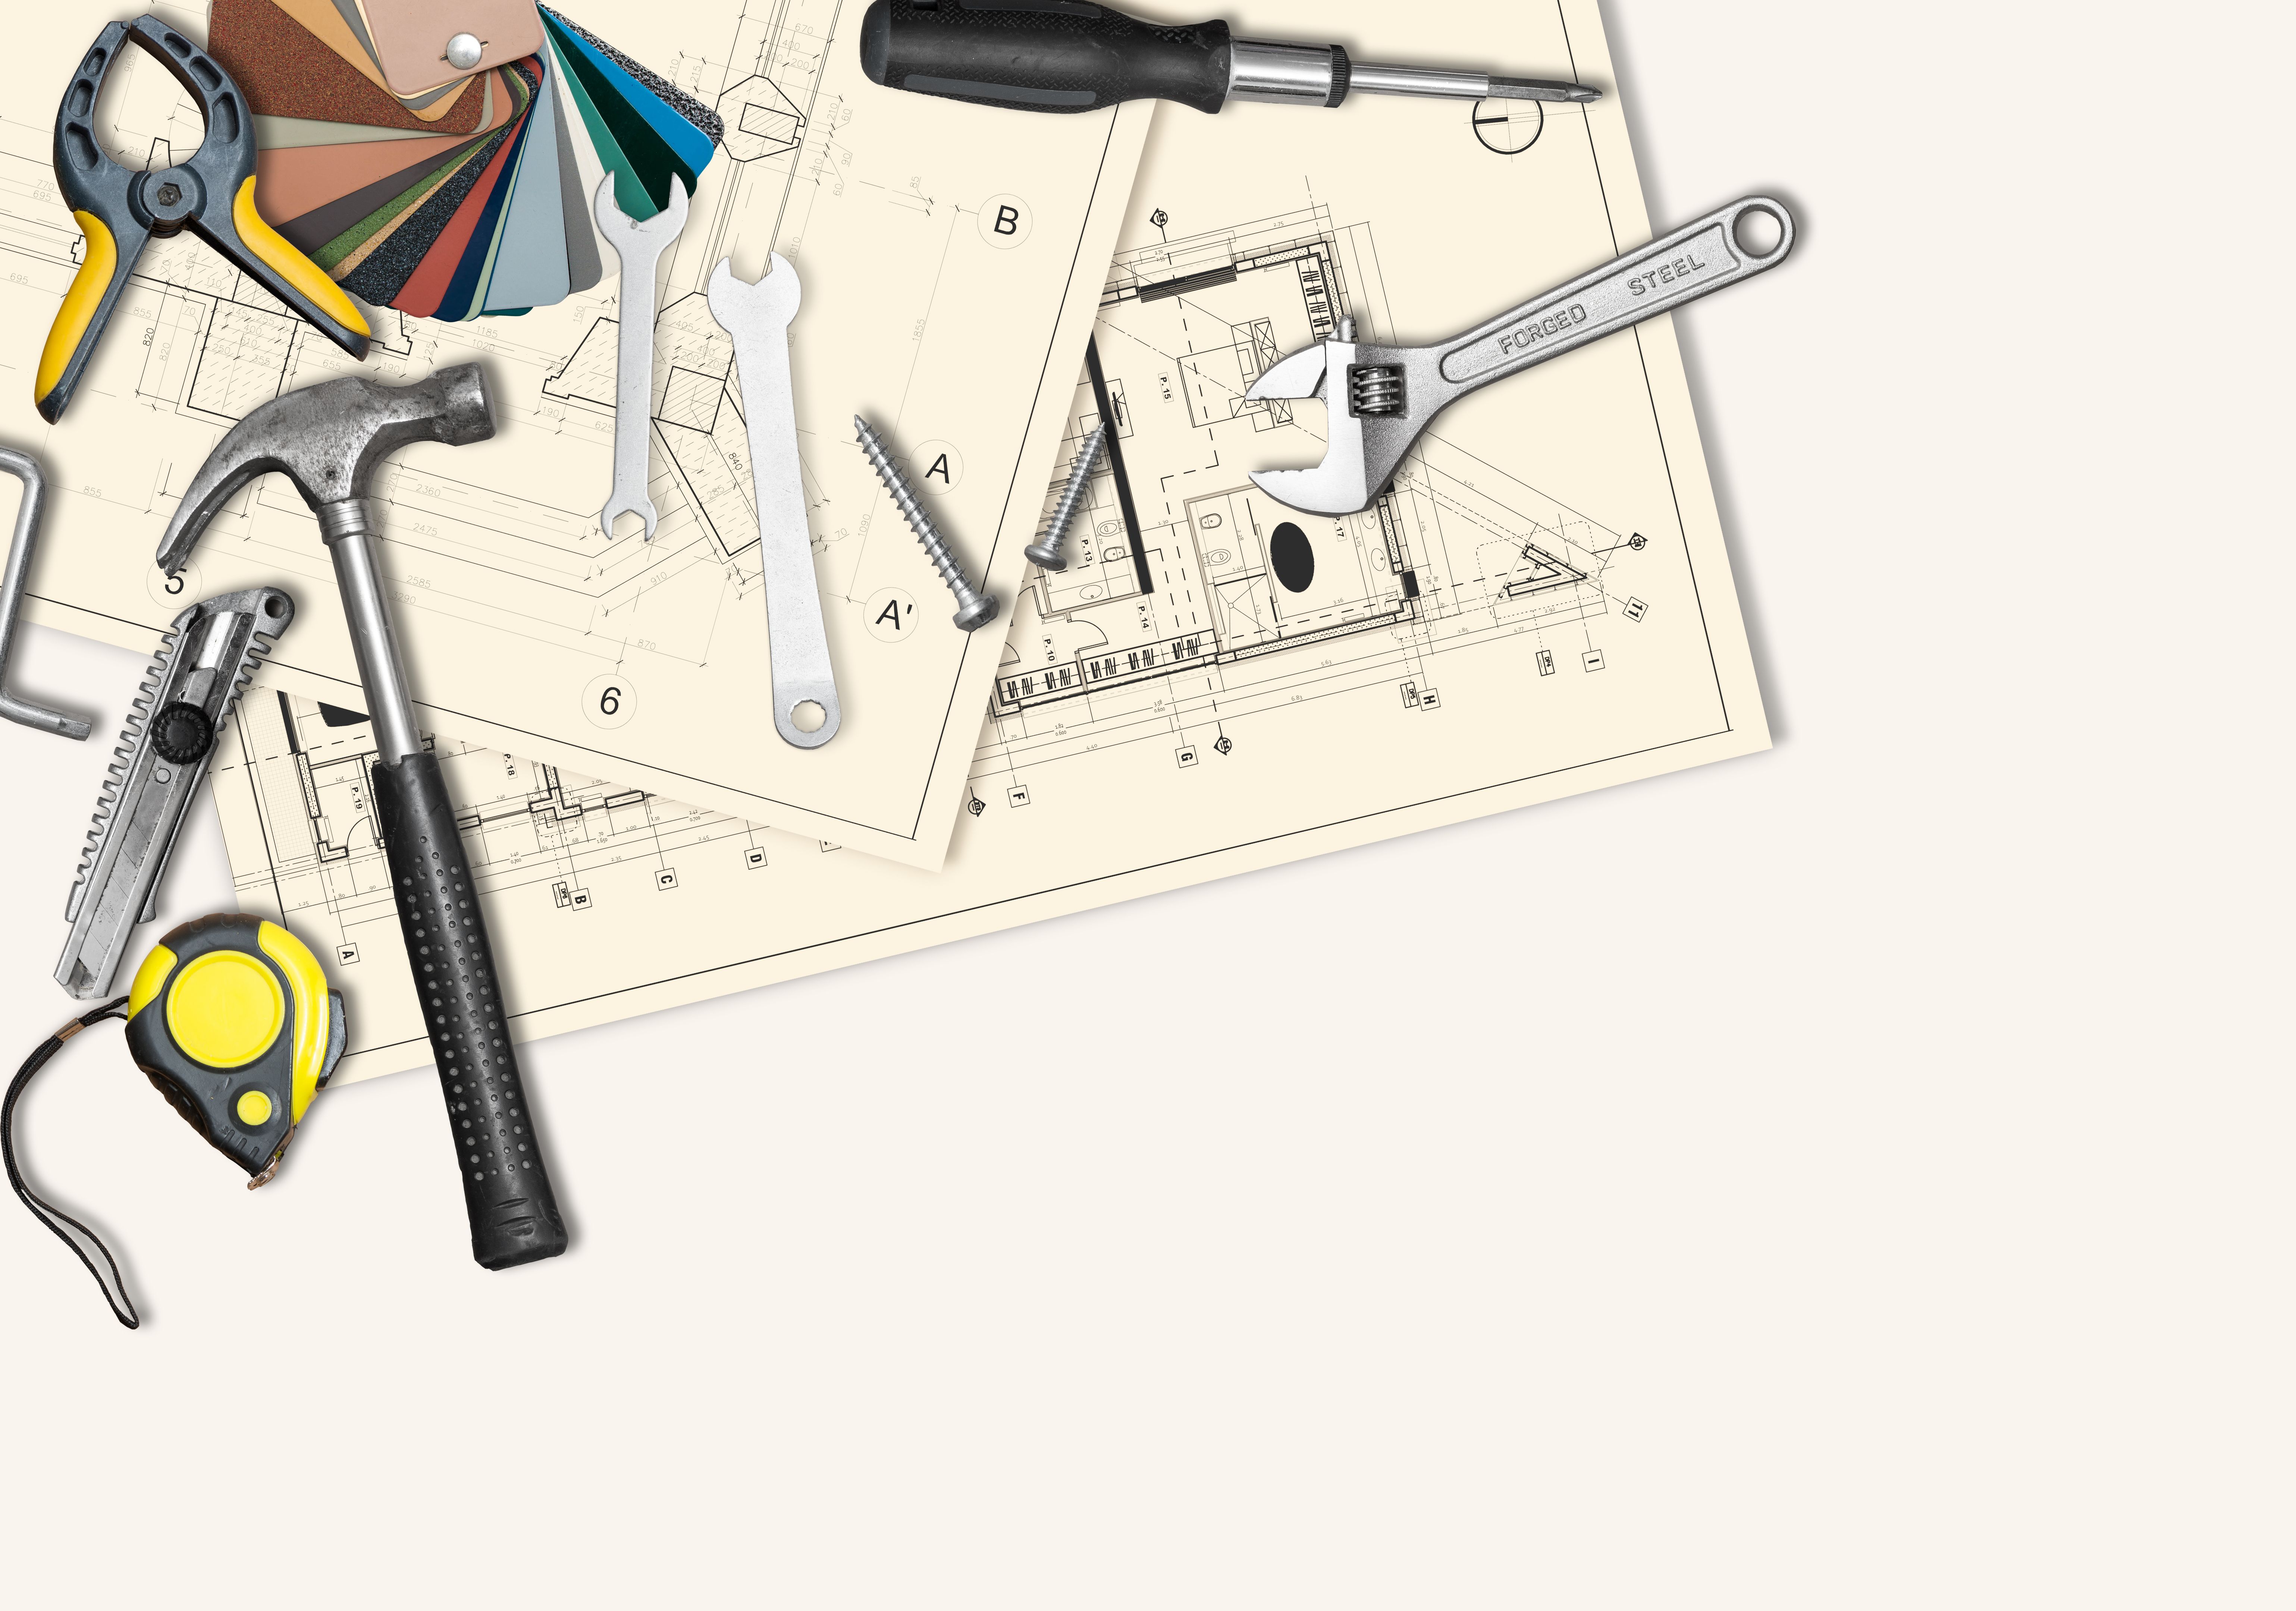
Installing a new floor can significantly enhance the beauty and value of your home. While hiring professionals is an option, many homeowners prefer the satisfaction and cost savings of a DIY flooring installation. With the right tools and guidance, you can successfully lay new flooring yourself. This guide will walk you through each step of the process.
Before beginning, it's essential to choose the right type of flooring for your space. Consider factors like durability, maintenance, and budget. Popular options include laminate, hardwood, vinyl, and tile. Once you've chosen your material, it's time to gather your supplies and get started.
Preparing Your Space
Preparation is key to a successful flooring project. Start by removing any existing flooring and thoroughly cleaning the subfloor. Ensure the surface is dry, level, and free from debris. Any imperfections can cause problems later on, so take the time to fix them now.
Next, measure your room carefully. Accurate measurements will help you calculate how much material you'll need and reduce waste. Don't forget to account for additional materials such as underlayment or adhesive, depending on the type of flooring you've chosen.
Acclimating Your Flooring
Before installation, allow your flooring material to acclimate to the room's temperature and humidity. This step is crucial for materials like hardwood and laminate, which can expand or contract based on environmental conditions.
Installing the Flooring
With preparation complete, you're ready to install your new floor. Follow these general steps for a successful installation:
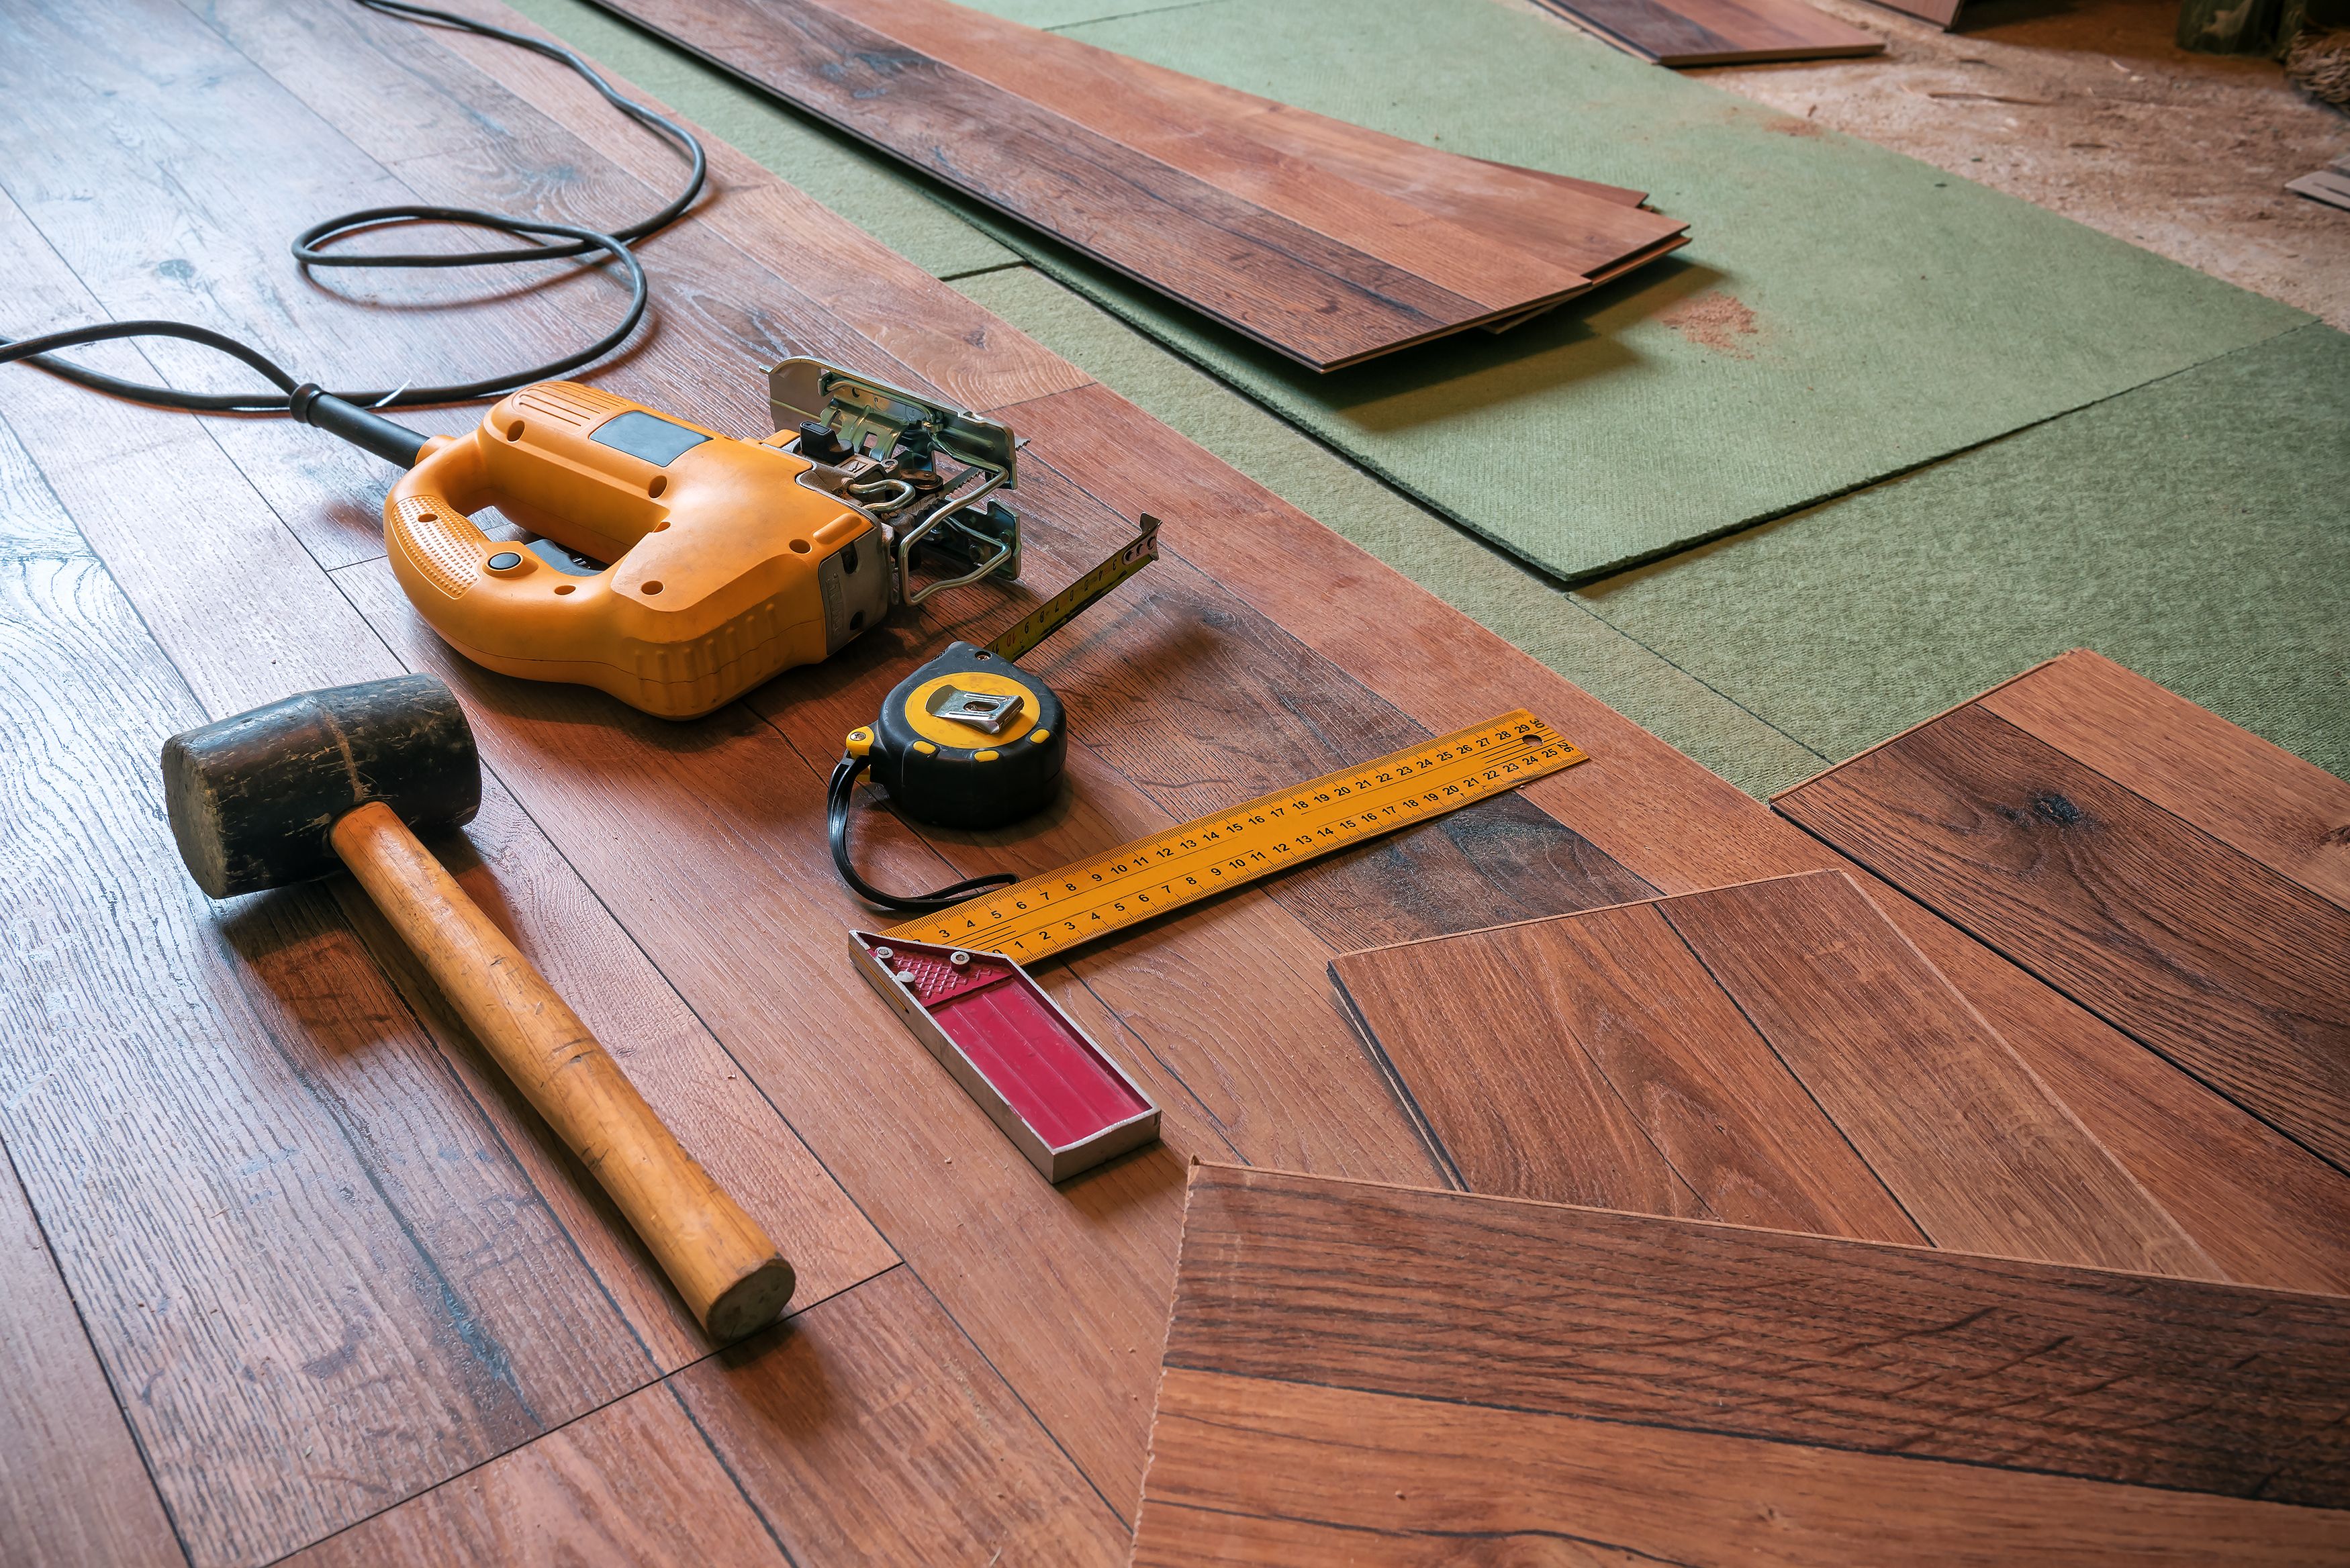
- Lay the underlayment: This provides a smooth surface and adds insulation.
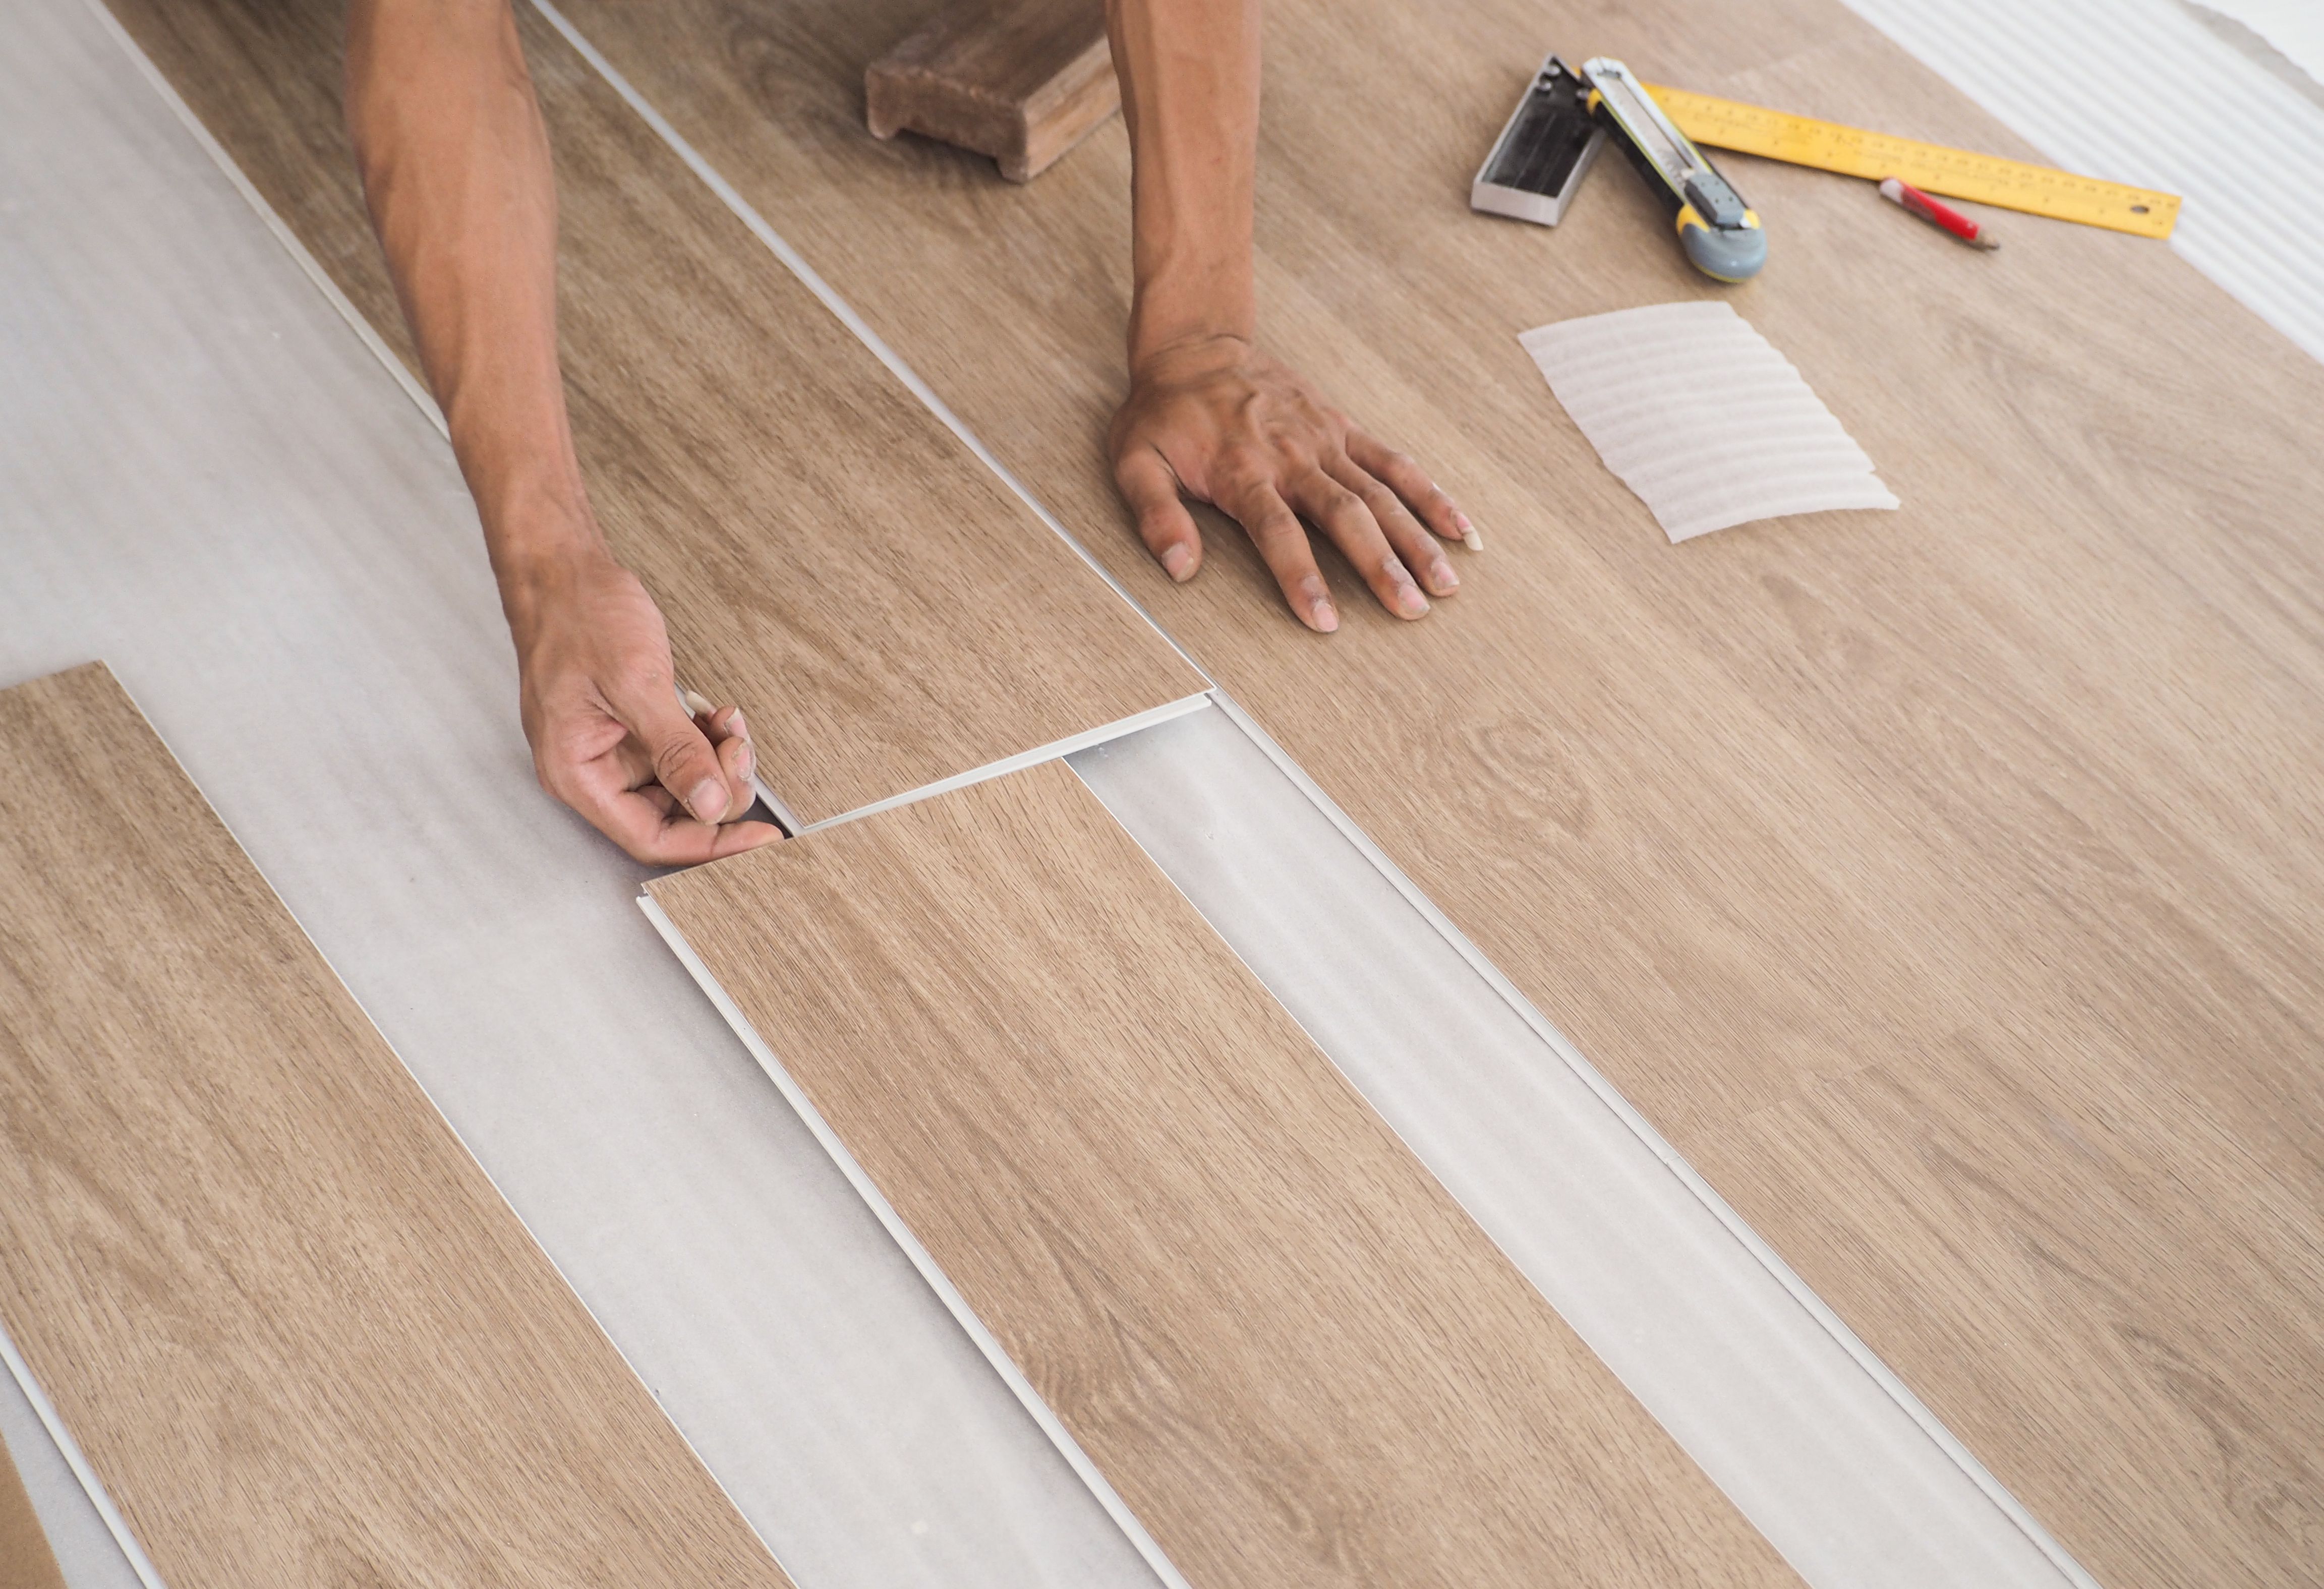
- Begin laying the flooring: Start in one corner of the room and work your way out, using spacers to maintain expansion gaps along walls.
- Trim as necessary: Use a saw to cut pieces to fit around obstacles and along edges.
- Secure the flooring: Depending on the material, you may need nails, glue, or a click-lock system.
Finishing Touches
Once your floor is laid, remove the spacers and install baseboards or molding to cover expansion gaps. This step not only enhances the aesthetic appeal but also helps secure the floor in place.
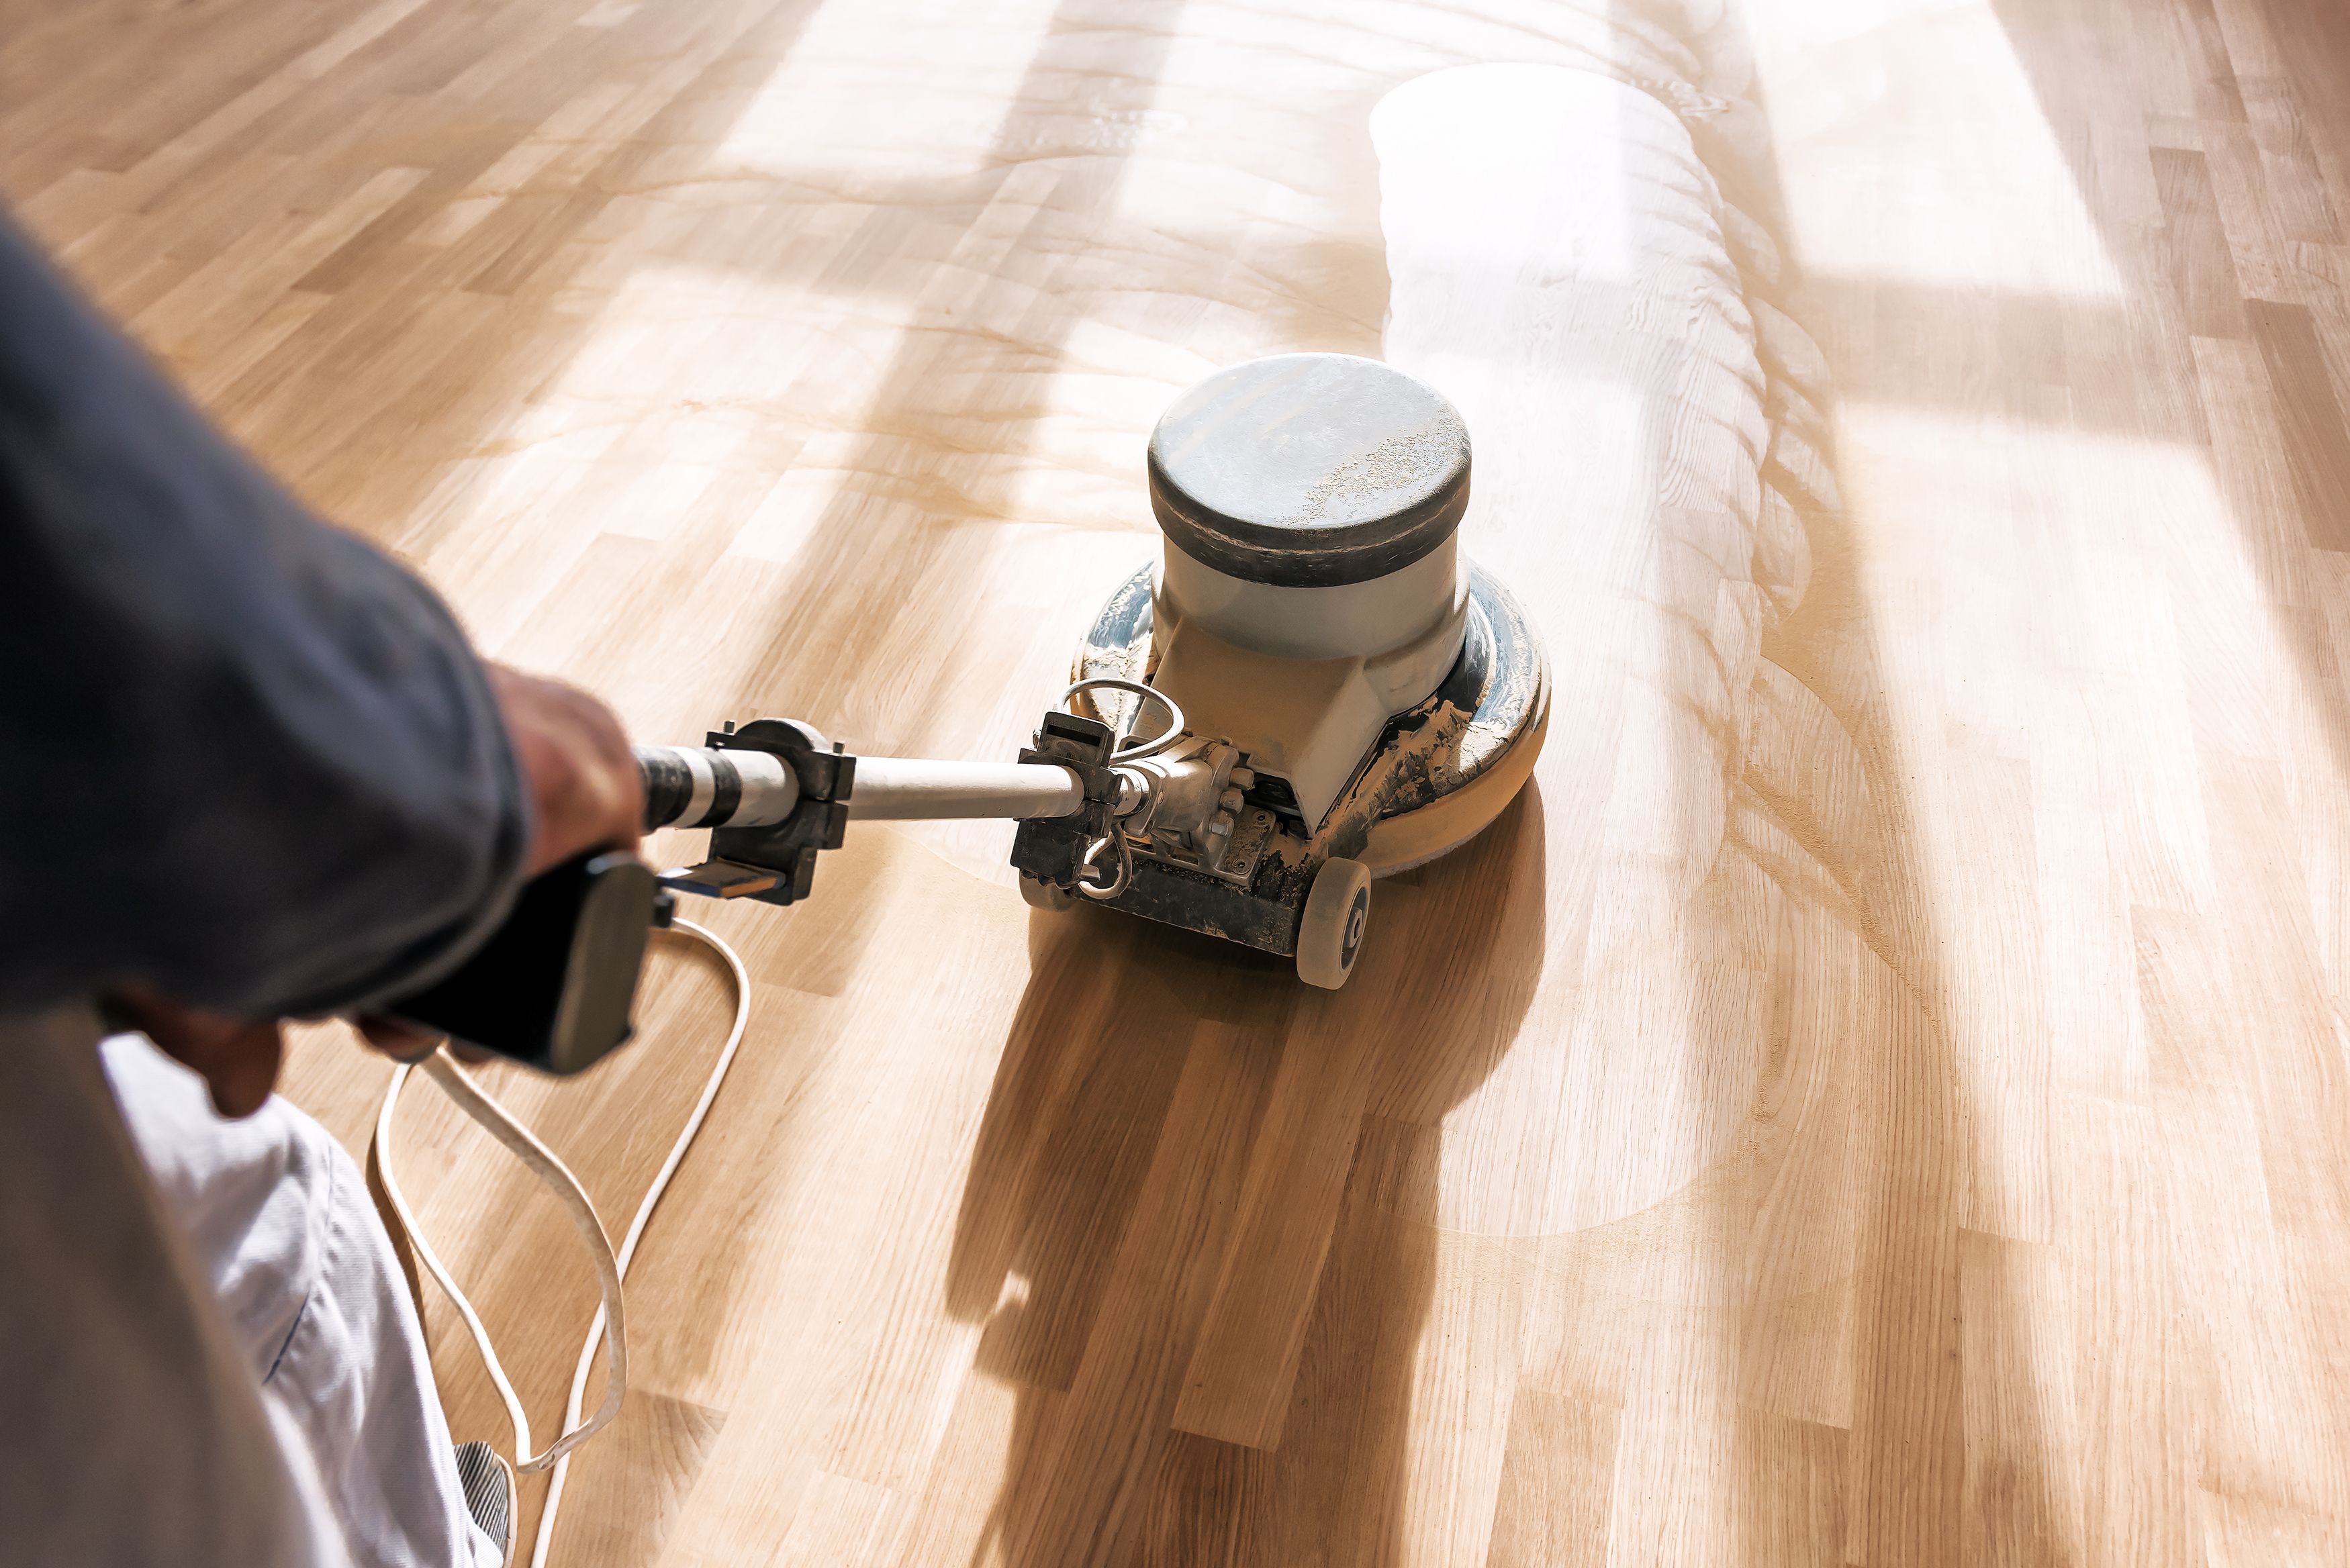
Inspect your work carefully, checking for any loose pieces or gaps. Make any necessary adjustments to ensure everything is secure and visually appealing. Finally, clean the new floor according to the manufacturer's instructions.
Caring for Your New Floor
Proper maintenance will keep your new floor looking beautiful for years to come. Regular cleaning with appropriate products is essential. Avoid using harsh chemicals or abrasive tools that could damage the surface.
Place mats at entryways to reduce dirt and moisture tracked onto your flooring. Consider using furniture pads to prevent scratches and dents from heavy furniture.
Conclusion
Tackling a DIY flooring installation can be a rewarding project that transforms your space. With careful planning and attention to detail, you can achieve professional-looking results. Enjoy the satisfaction of knowing you accomplished it yourself while adding value to your home.